
The Ultimate Guide to Lightroom Presets

I have a confession to make… I am a preset junky. Seriously, I love presets. I love buying them. I love dissecting them. I love creating them. Colour grading is half the fun for me when I take photos. Over the last 5 years of being a photographer, everything I’ve learnt about colour grading has come from studying presets.
With every Instagrammer and their dog coming out with presets it feels like as of recent, it can be hard to navigate whether they are going to be a worthwhile purchase or not. And can I be honest with you? Ninety-nine percent of the presets out there are not. Something I’ve discovered through my purchasing of presets is that most of the time they’re crap. Why you ask? Well, most Instagrammers out there aren’t actually photographers working in a multitude of scenarios with different places, environments, camera systems, skin tones, etc. To create truly successful presets, they need to be flexible, easy to use, and tested on a large array of different types of work. Most of the time they aren’t doing these types of tests, and are just looking to make a quick buck off of there followers. If they’re selling presets with 100+ different presets or packs for every different city and insist that they use all 100+ on their photos… it means they don’t know what they’re doing.
Let me tell you, I’ve learnt this the hard way. I’ve spent more money than I probably should have in my time purchasing presets that end up making photos look like shite without 100 tweaks. So to save you all the headache and heartbreak I’ve had to endure over my purchasing past and give you a quick guide on purchasing the right presets, how to create your own, plus some of my favourites.

Before you buy:
Are these presets from a photographer that does paid work for others or for companies?
Are they respected in their communities? Have they been published?
How long have they been working for?
Do you know any photographers that use these presets besides the person who made them?
Does this photographer shoot similar work to you?
Do they have a facebook community where you can get your raw files tested first?
So, what should you be looking out for? First things first, I would check to see if the instructions on how to use them are being used on RAW images, or if they’re telling you the presets are for jpegs. If they’re for jpegs, thats an automatic no from me, as no respectable photographer is shooting in jpeg (except in very rare circumstances, like sports photographers who need fast buffer times).
Something else I would look for is if you know any successful photographers using the presets other than the person who made them. See if the people using their presets and their customers are real photographers, not just instagram followers.
Check to see if they have any facebook support groups, more often than not there are lots of people in those groups willing to test out your raw photos with the presets to help you see if they work for you or not. More often then not, there are support groups out there for presets that are more than willing to help you out. Sometimes too, the photographer that created them is also willing to test them for you.
Rebecca Lily Presets
Rebecca Lily makes my all-time favourite presets. She’s been in the editing game for ten years now, and she even provides a signature colour service where she designs custom presets for photographers based off of their own photos and inspiration photos they send through. I own every single preset pack she’s ever come out with (including I, II, and the basics pack she no longer offers) and I’ve never been disappointed. Her presets are the base to my own presets that I use (mixed with some RNI - more on that in a bit) on a lot of my photos. My most used sets are definitely IV and VI, but you wouldn’t go wrong with any of them! When you purchase a pack, on top of having the colour presets, you also get a toolbox that makes it easy to make quick changes to photos. I also use her presets on all of my photos over on my finsta, as they work great on iphone pics too.
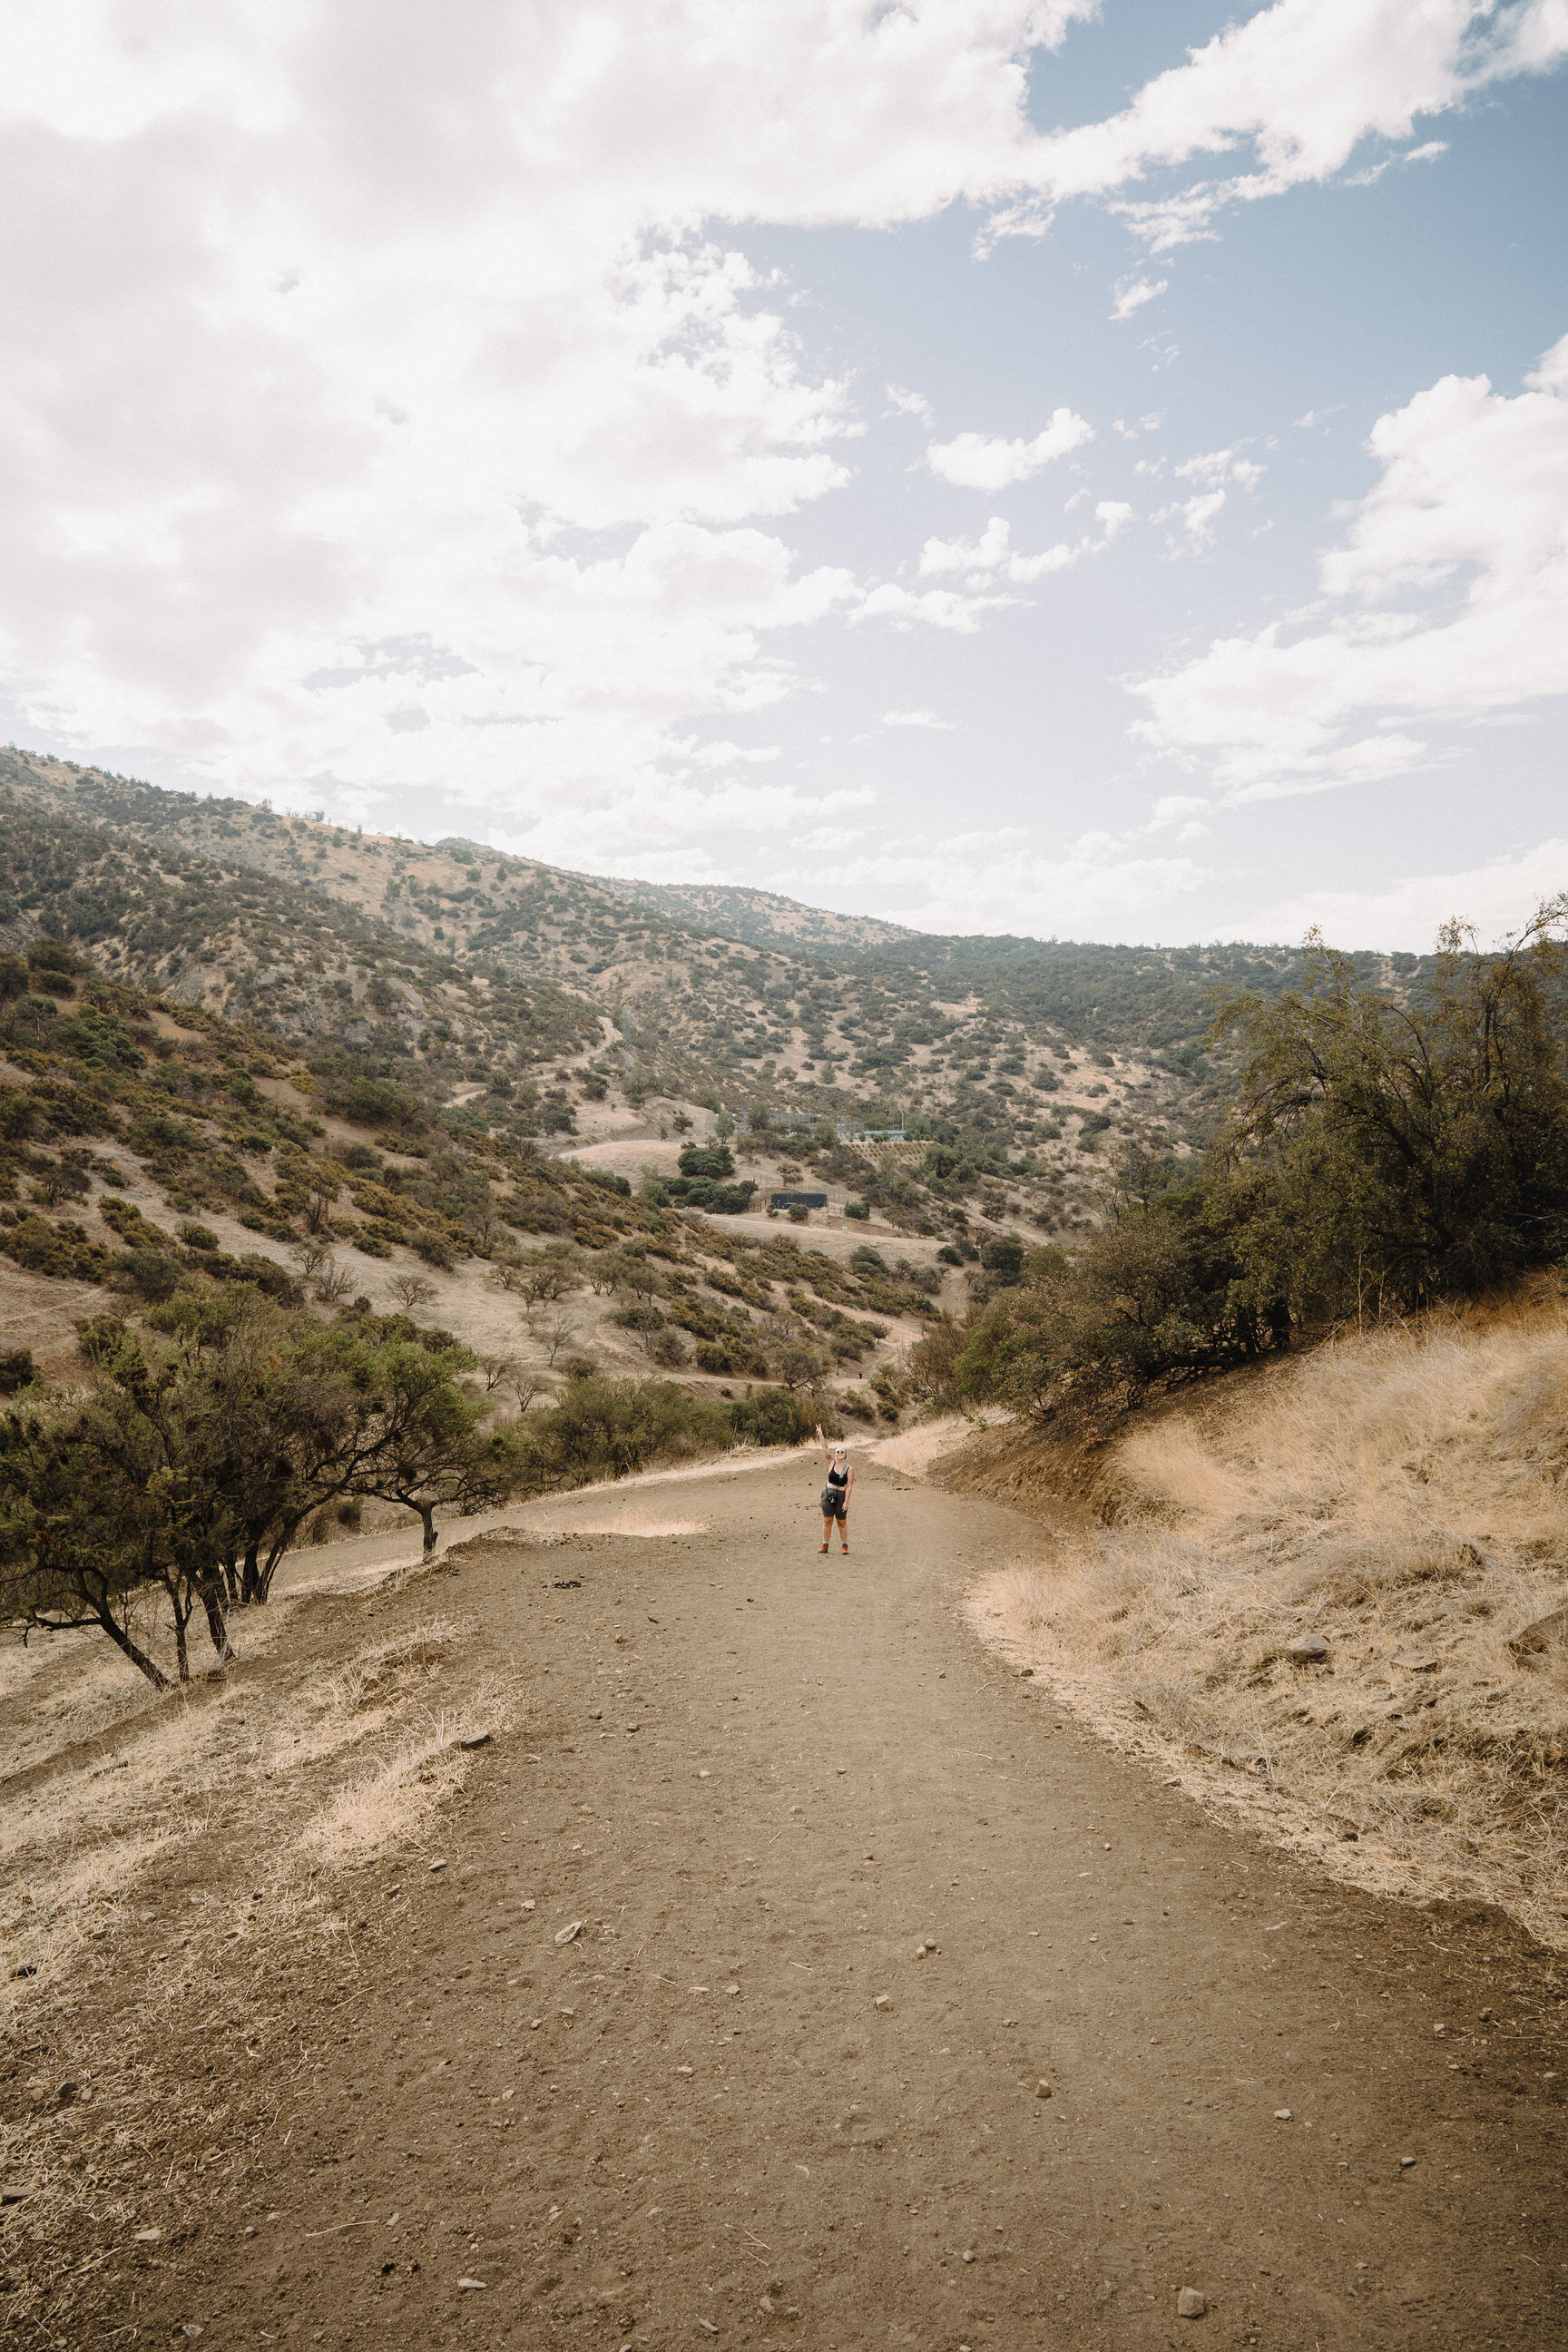
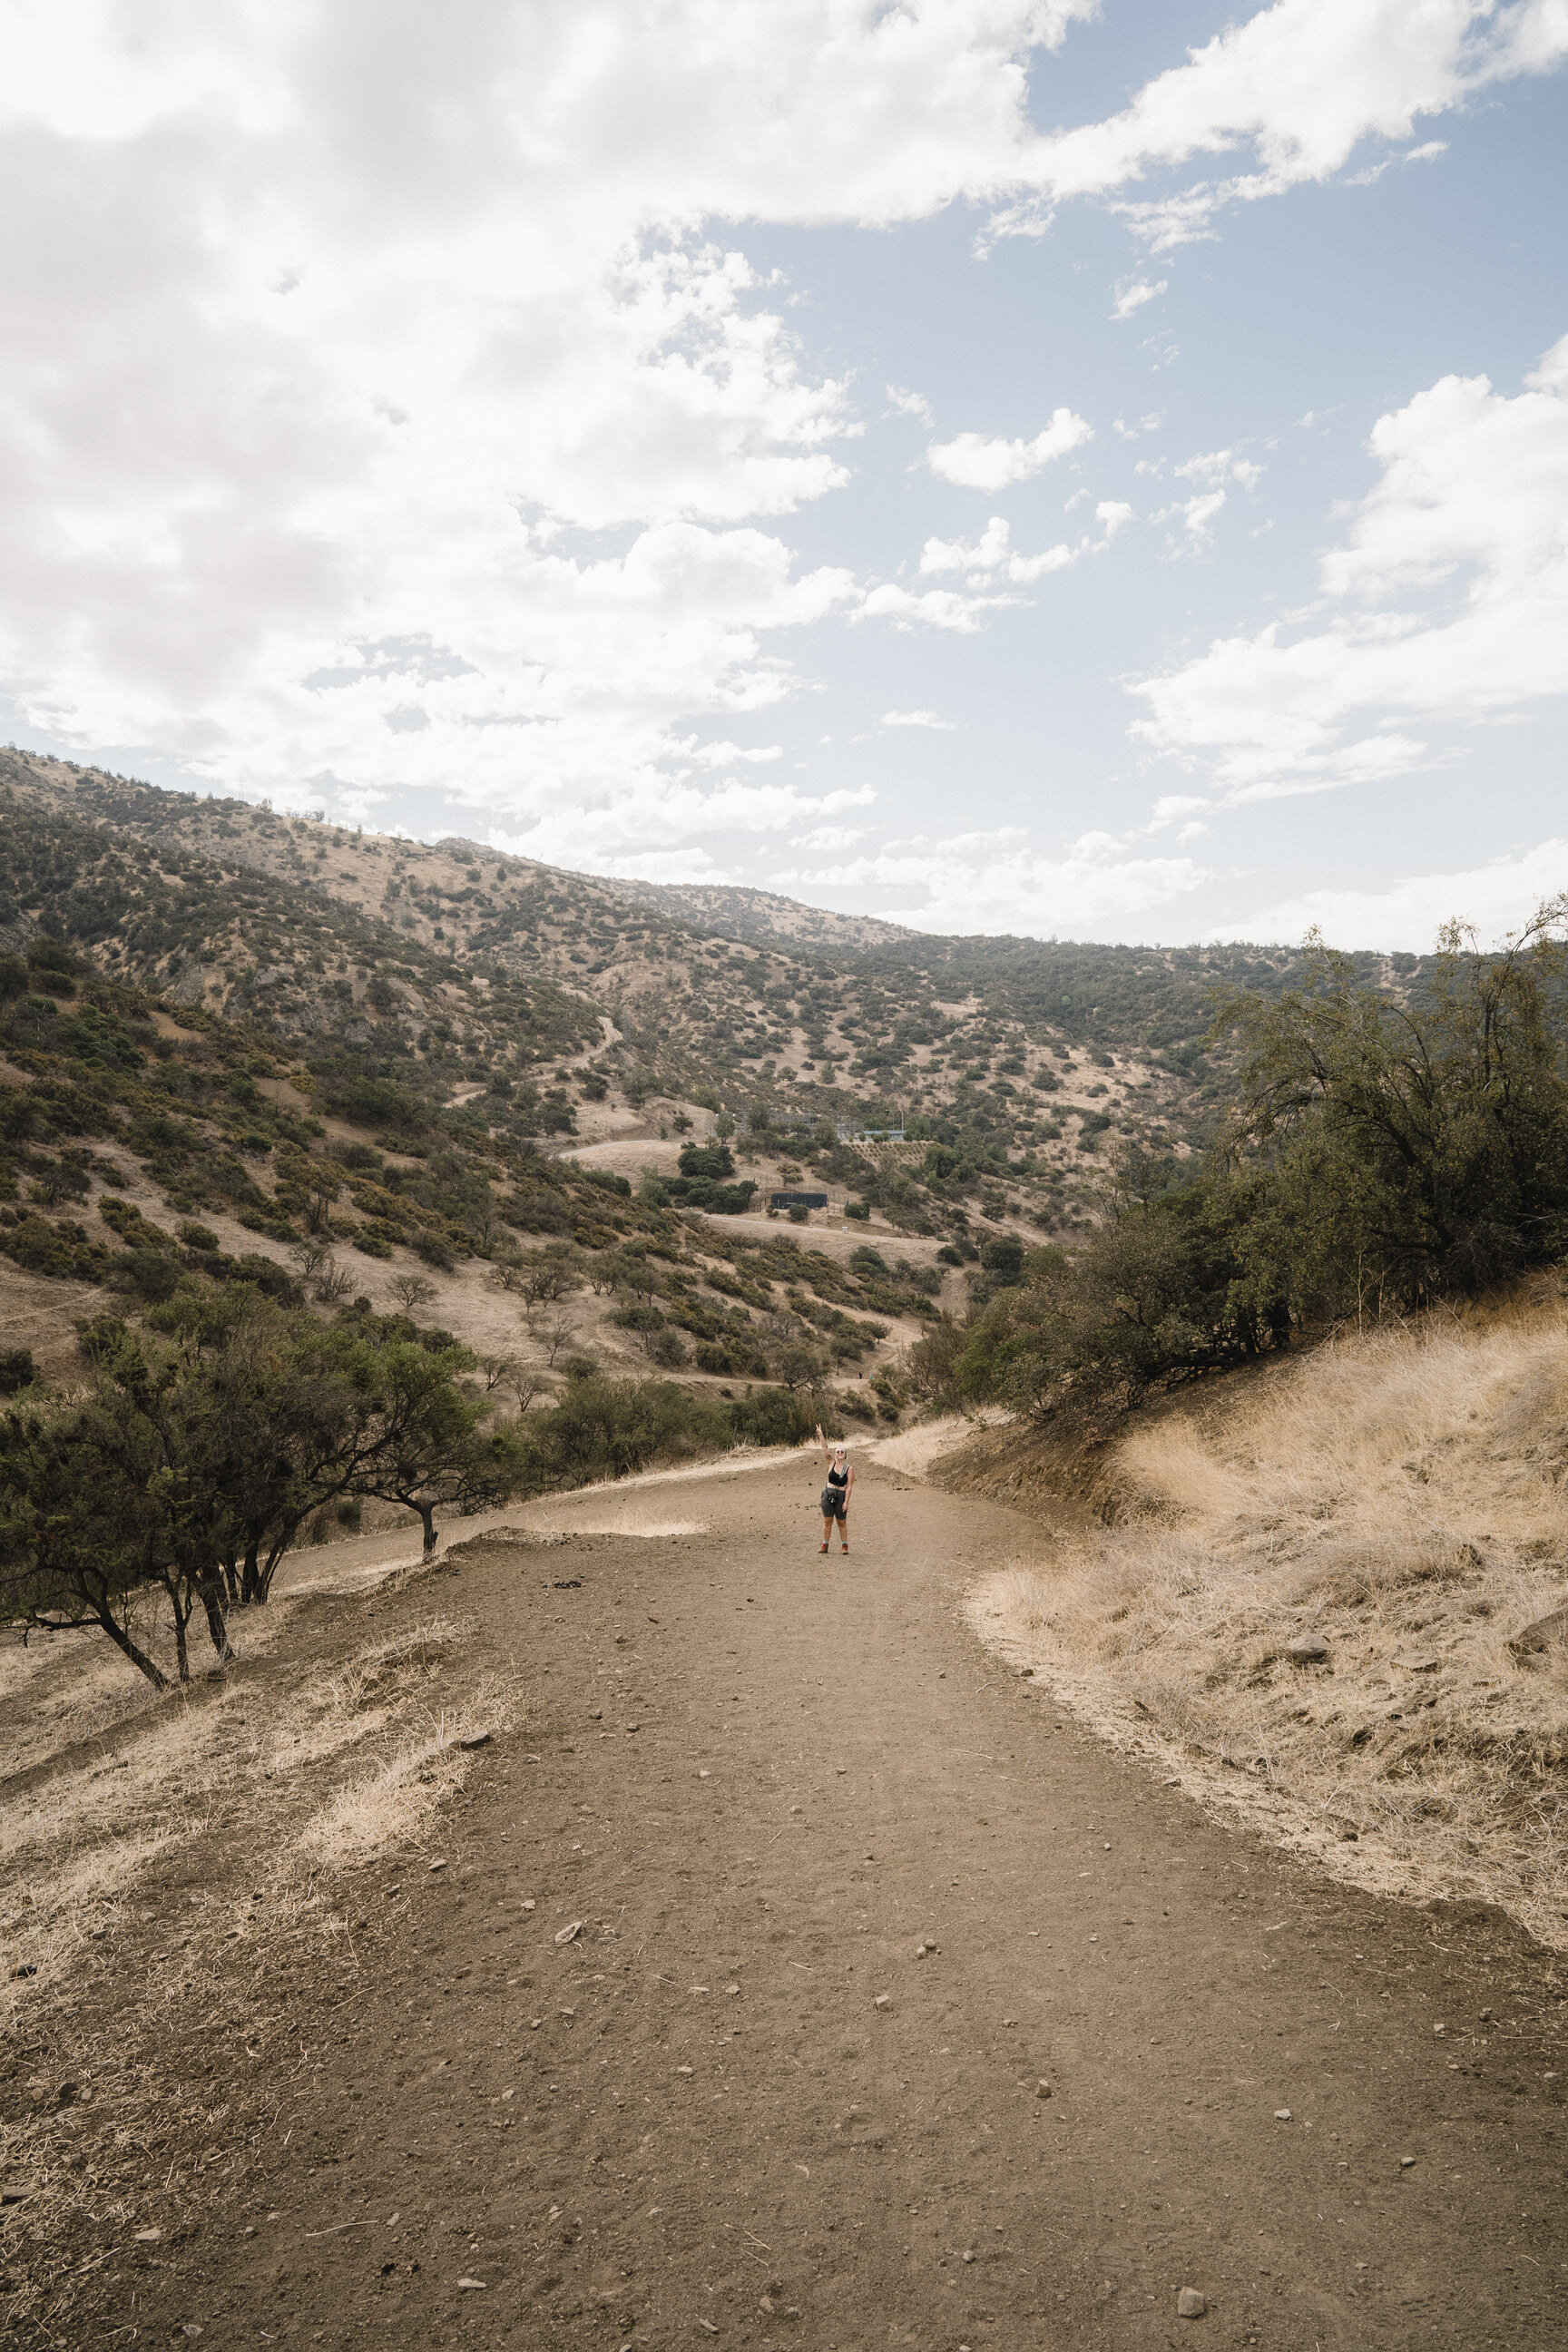
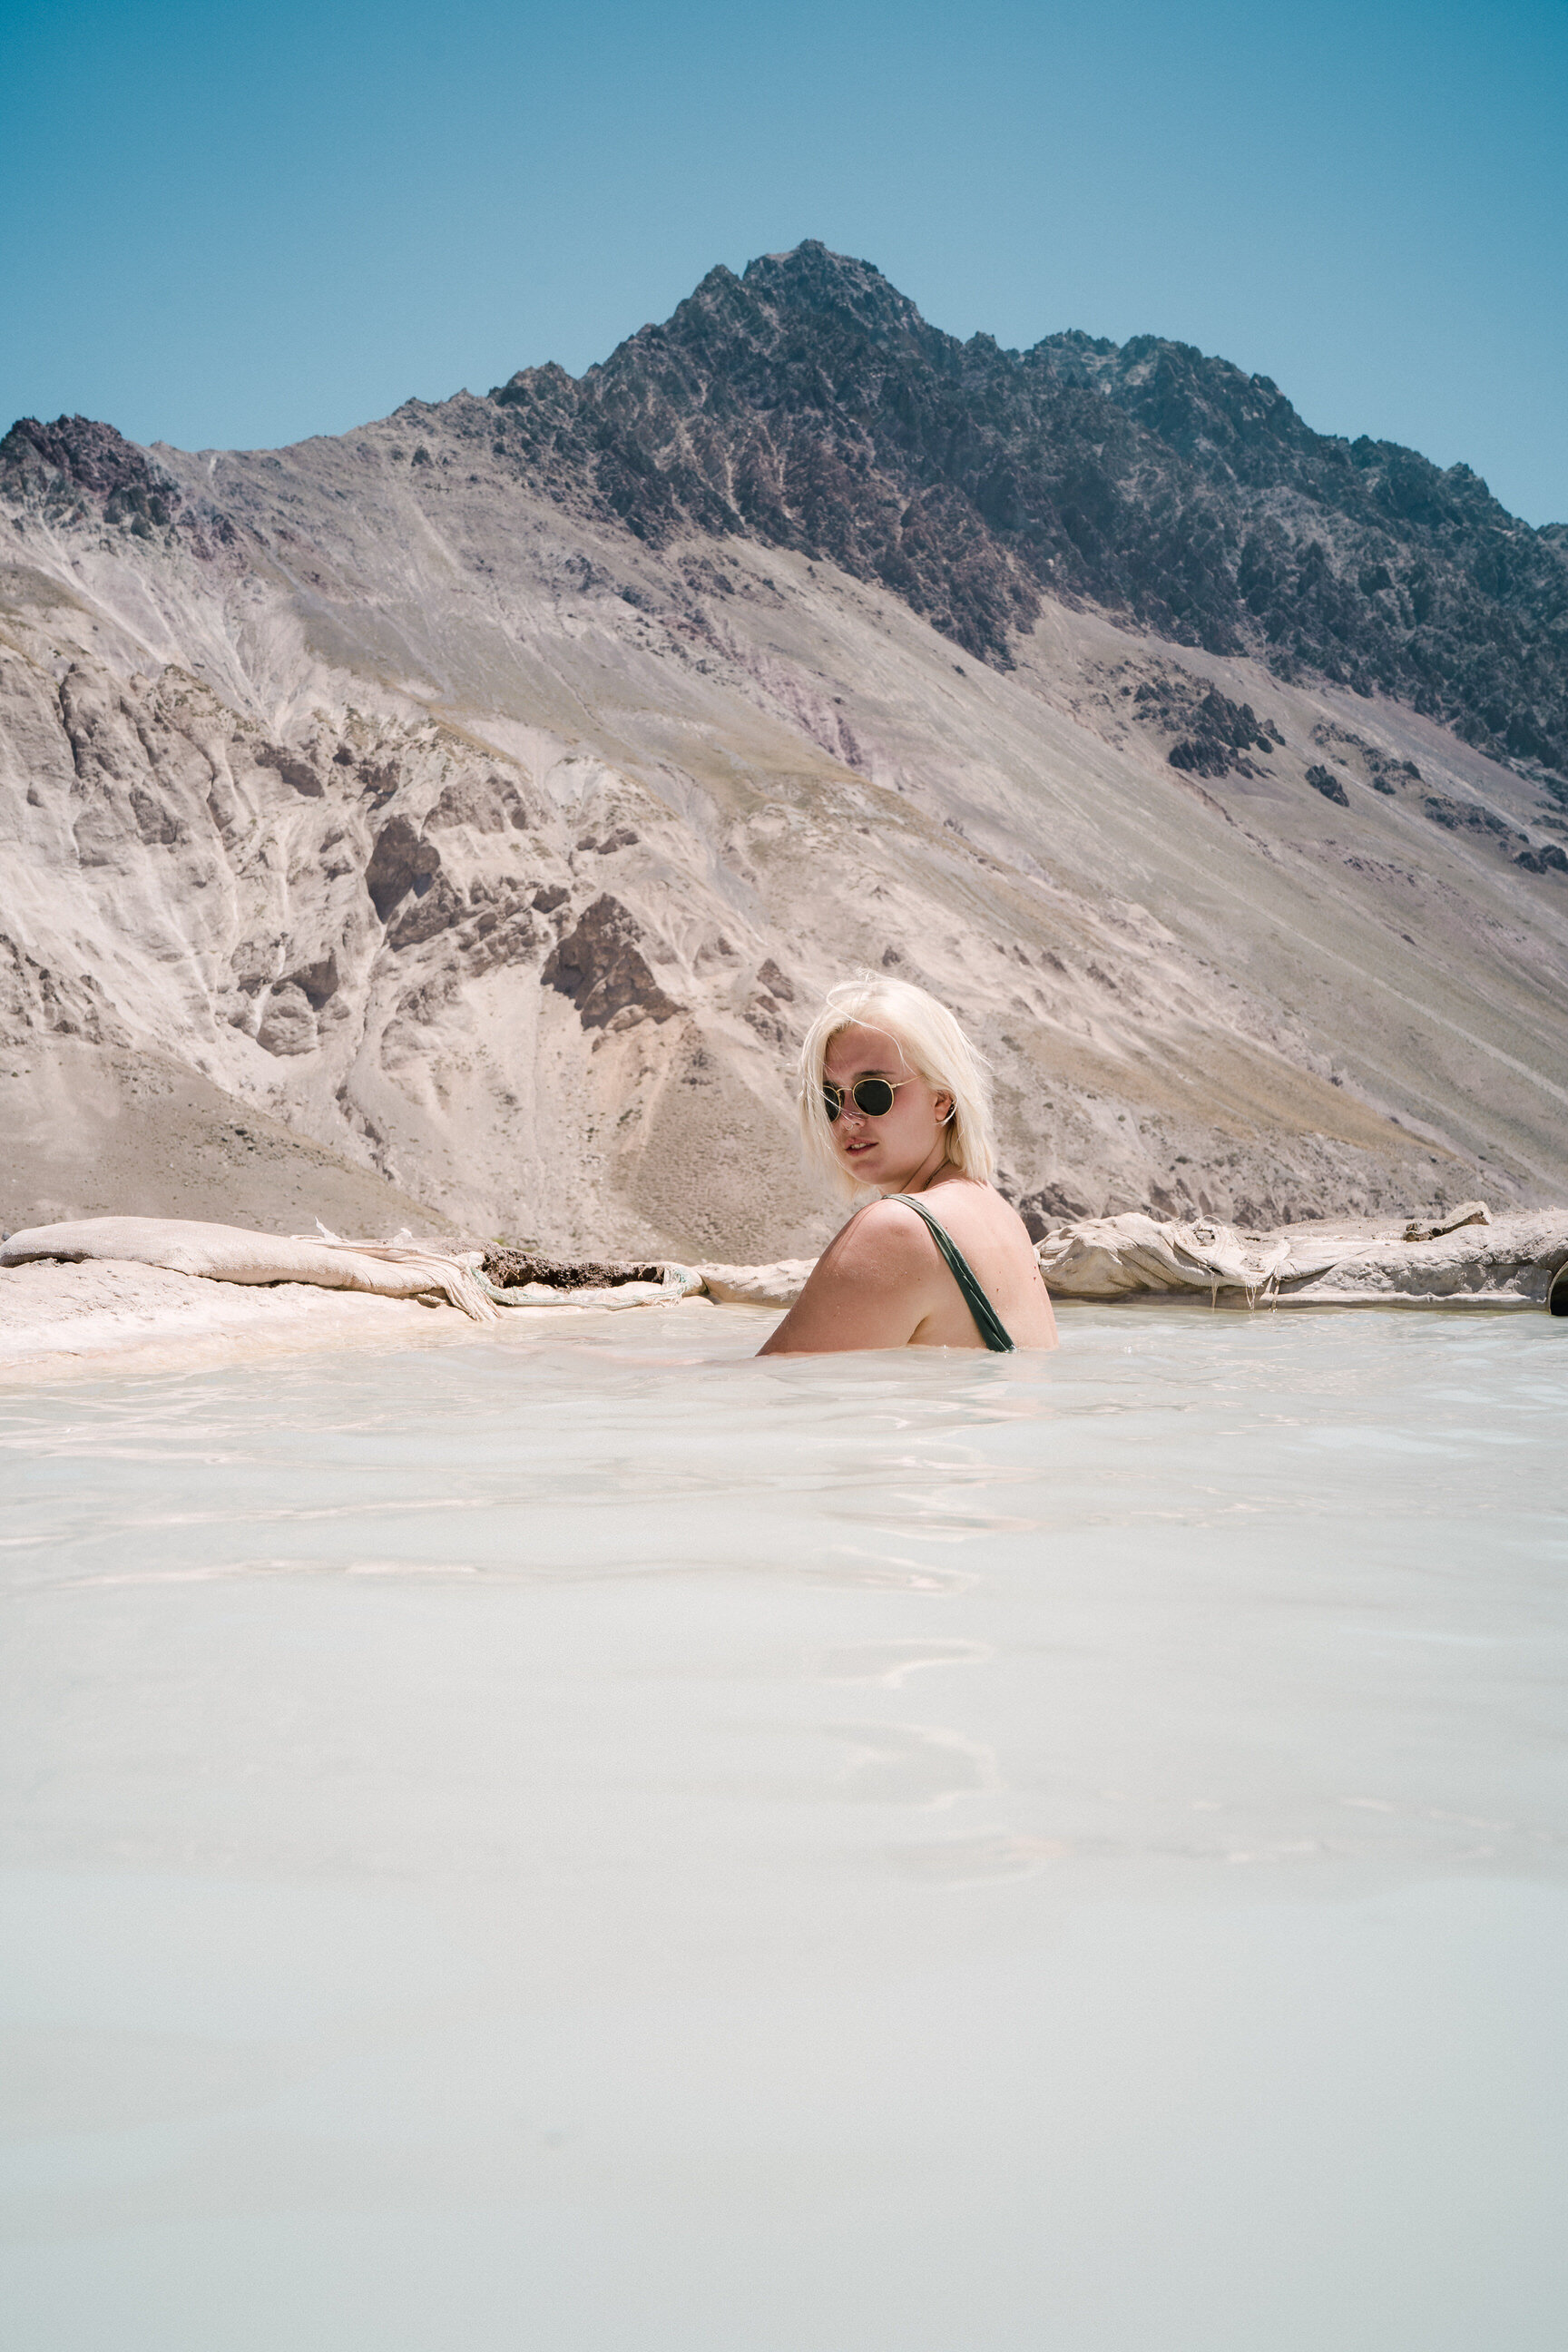
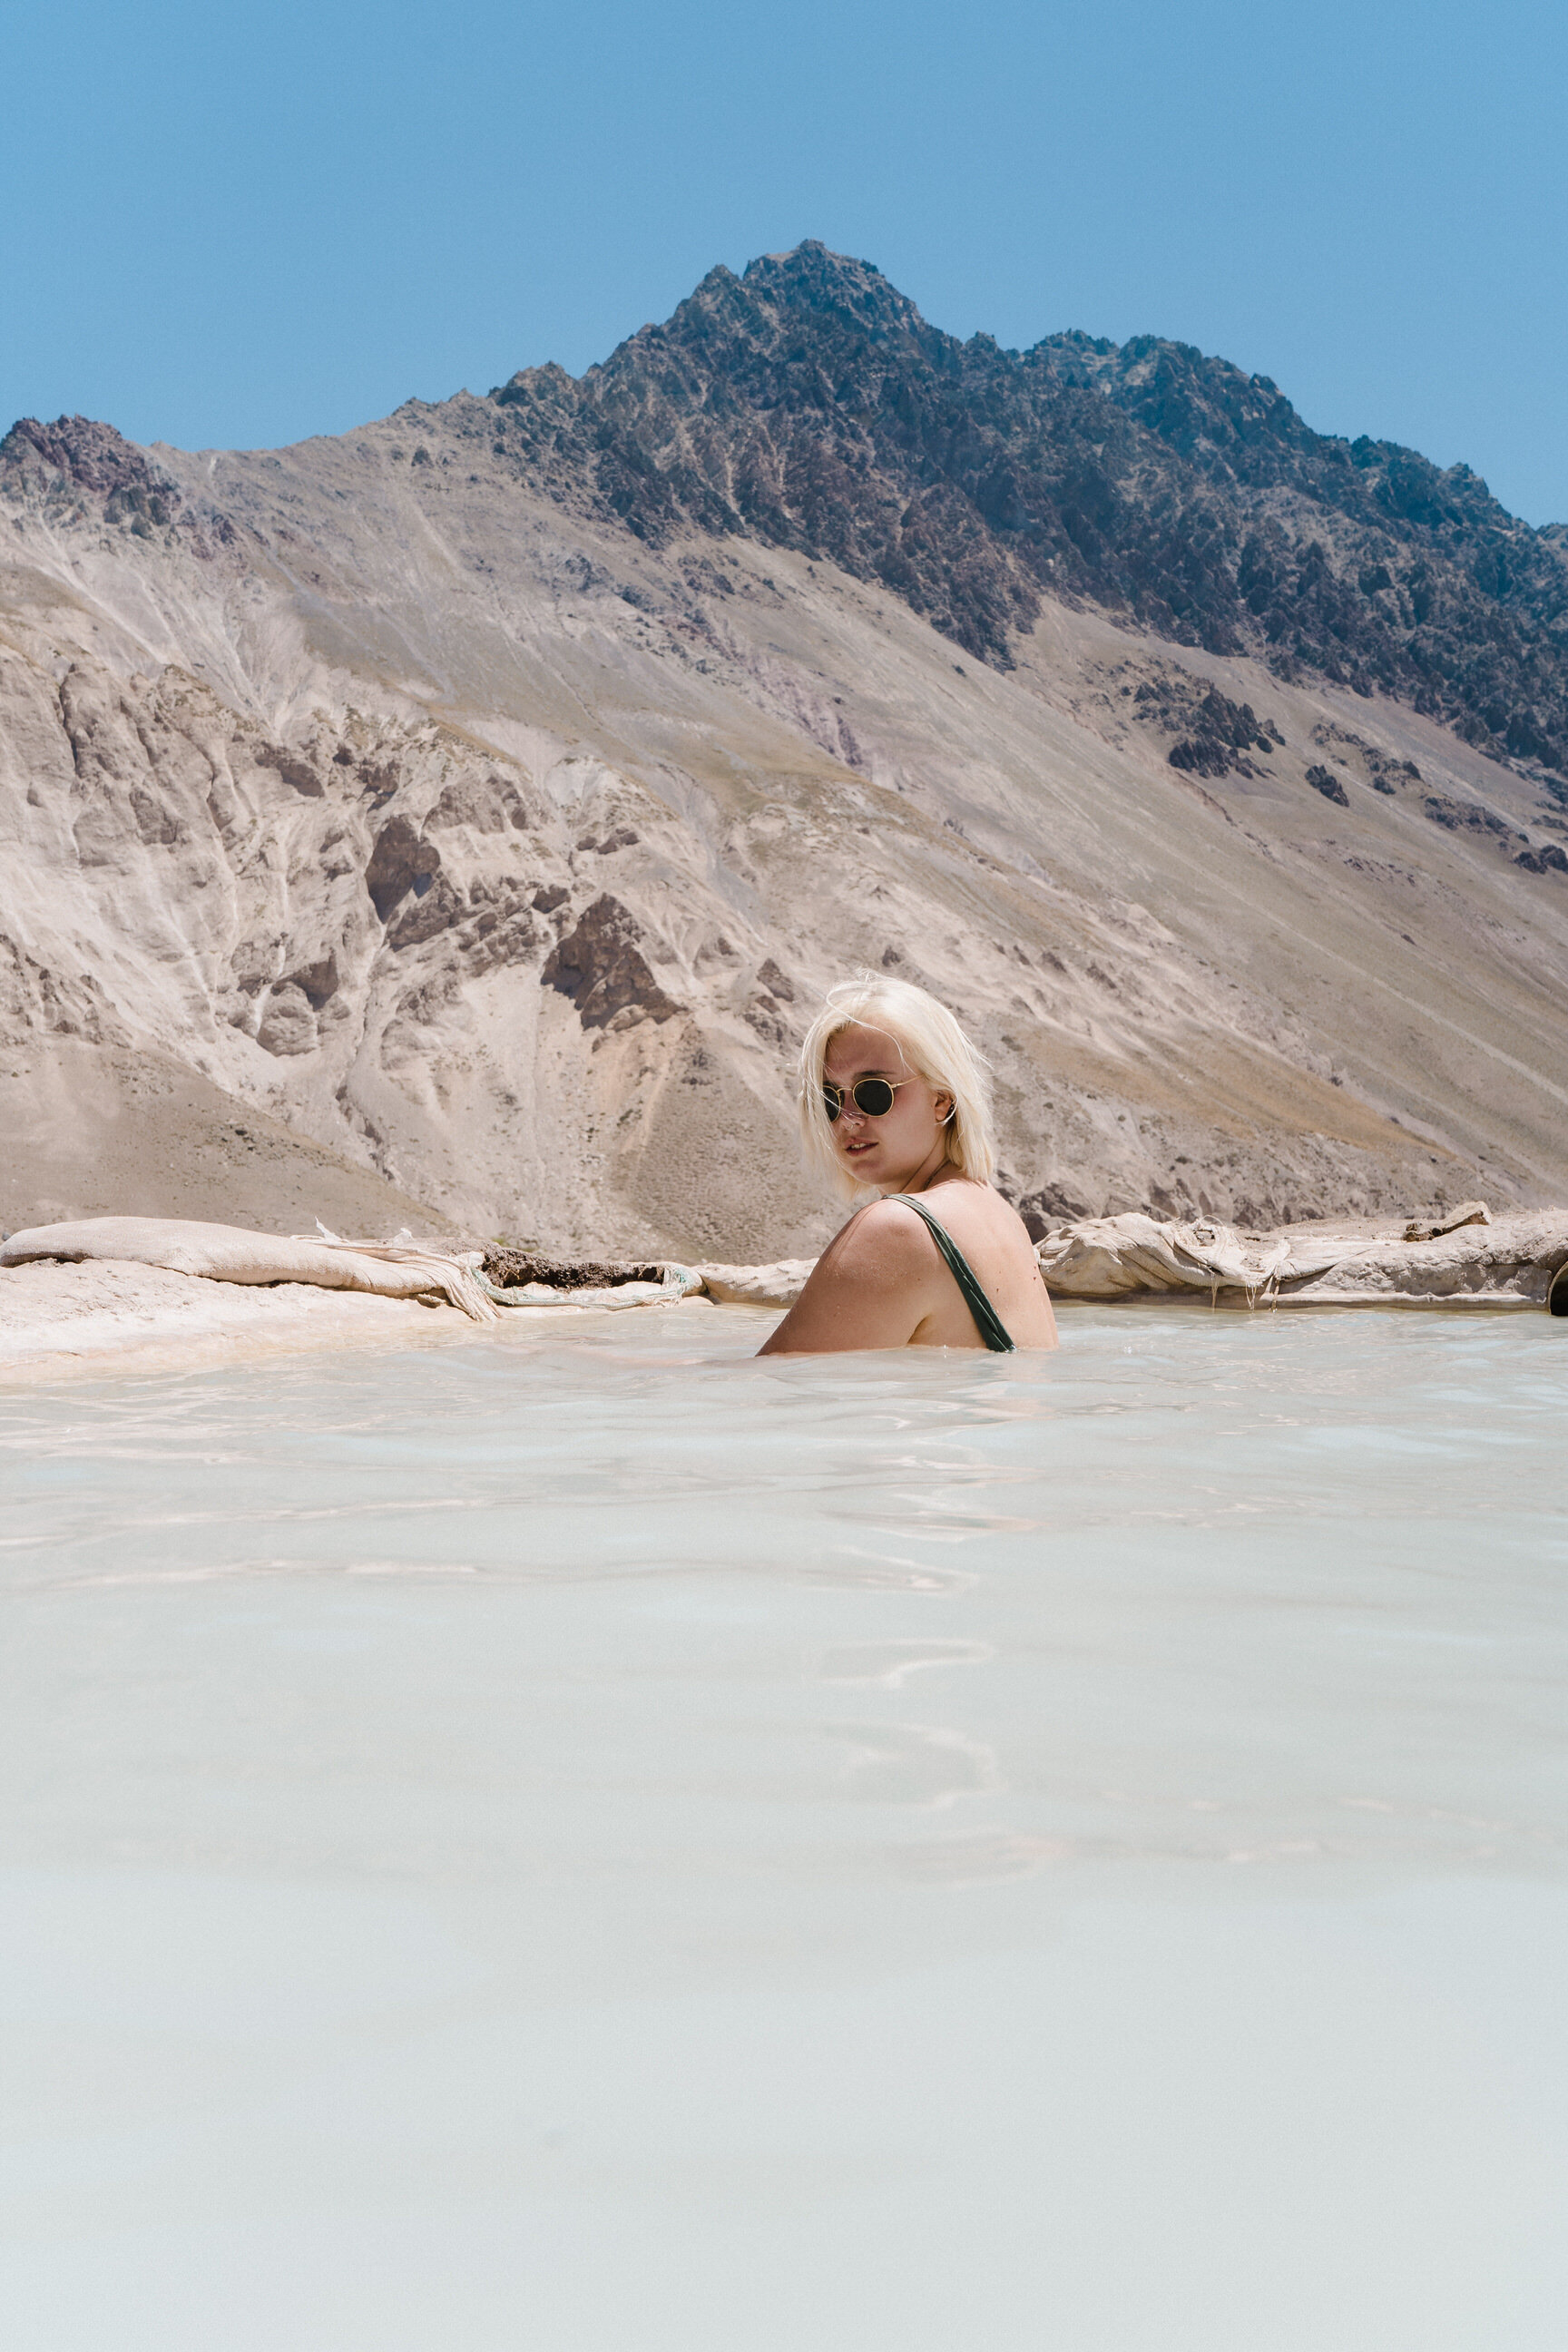
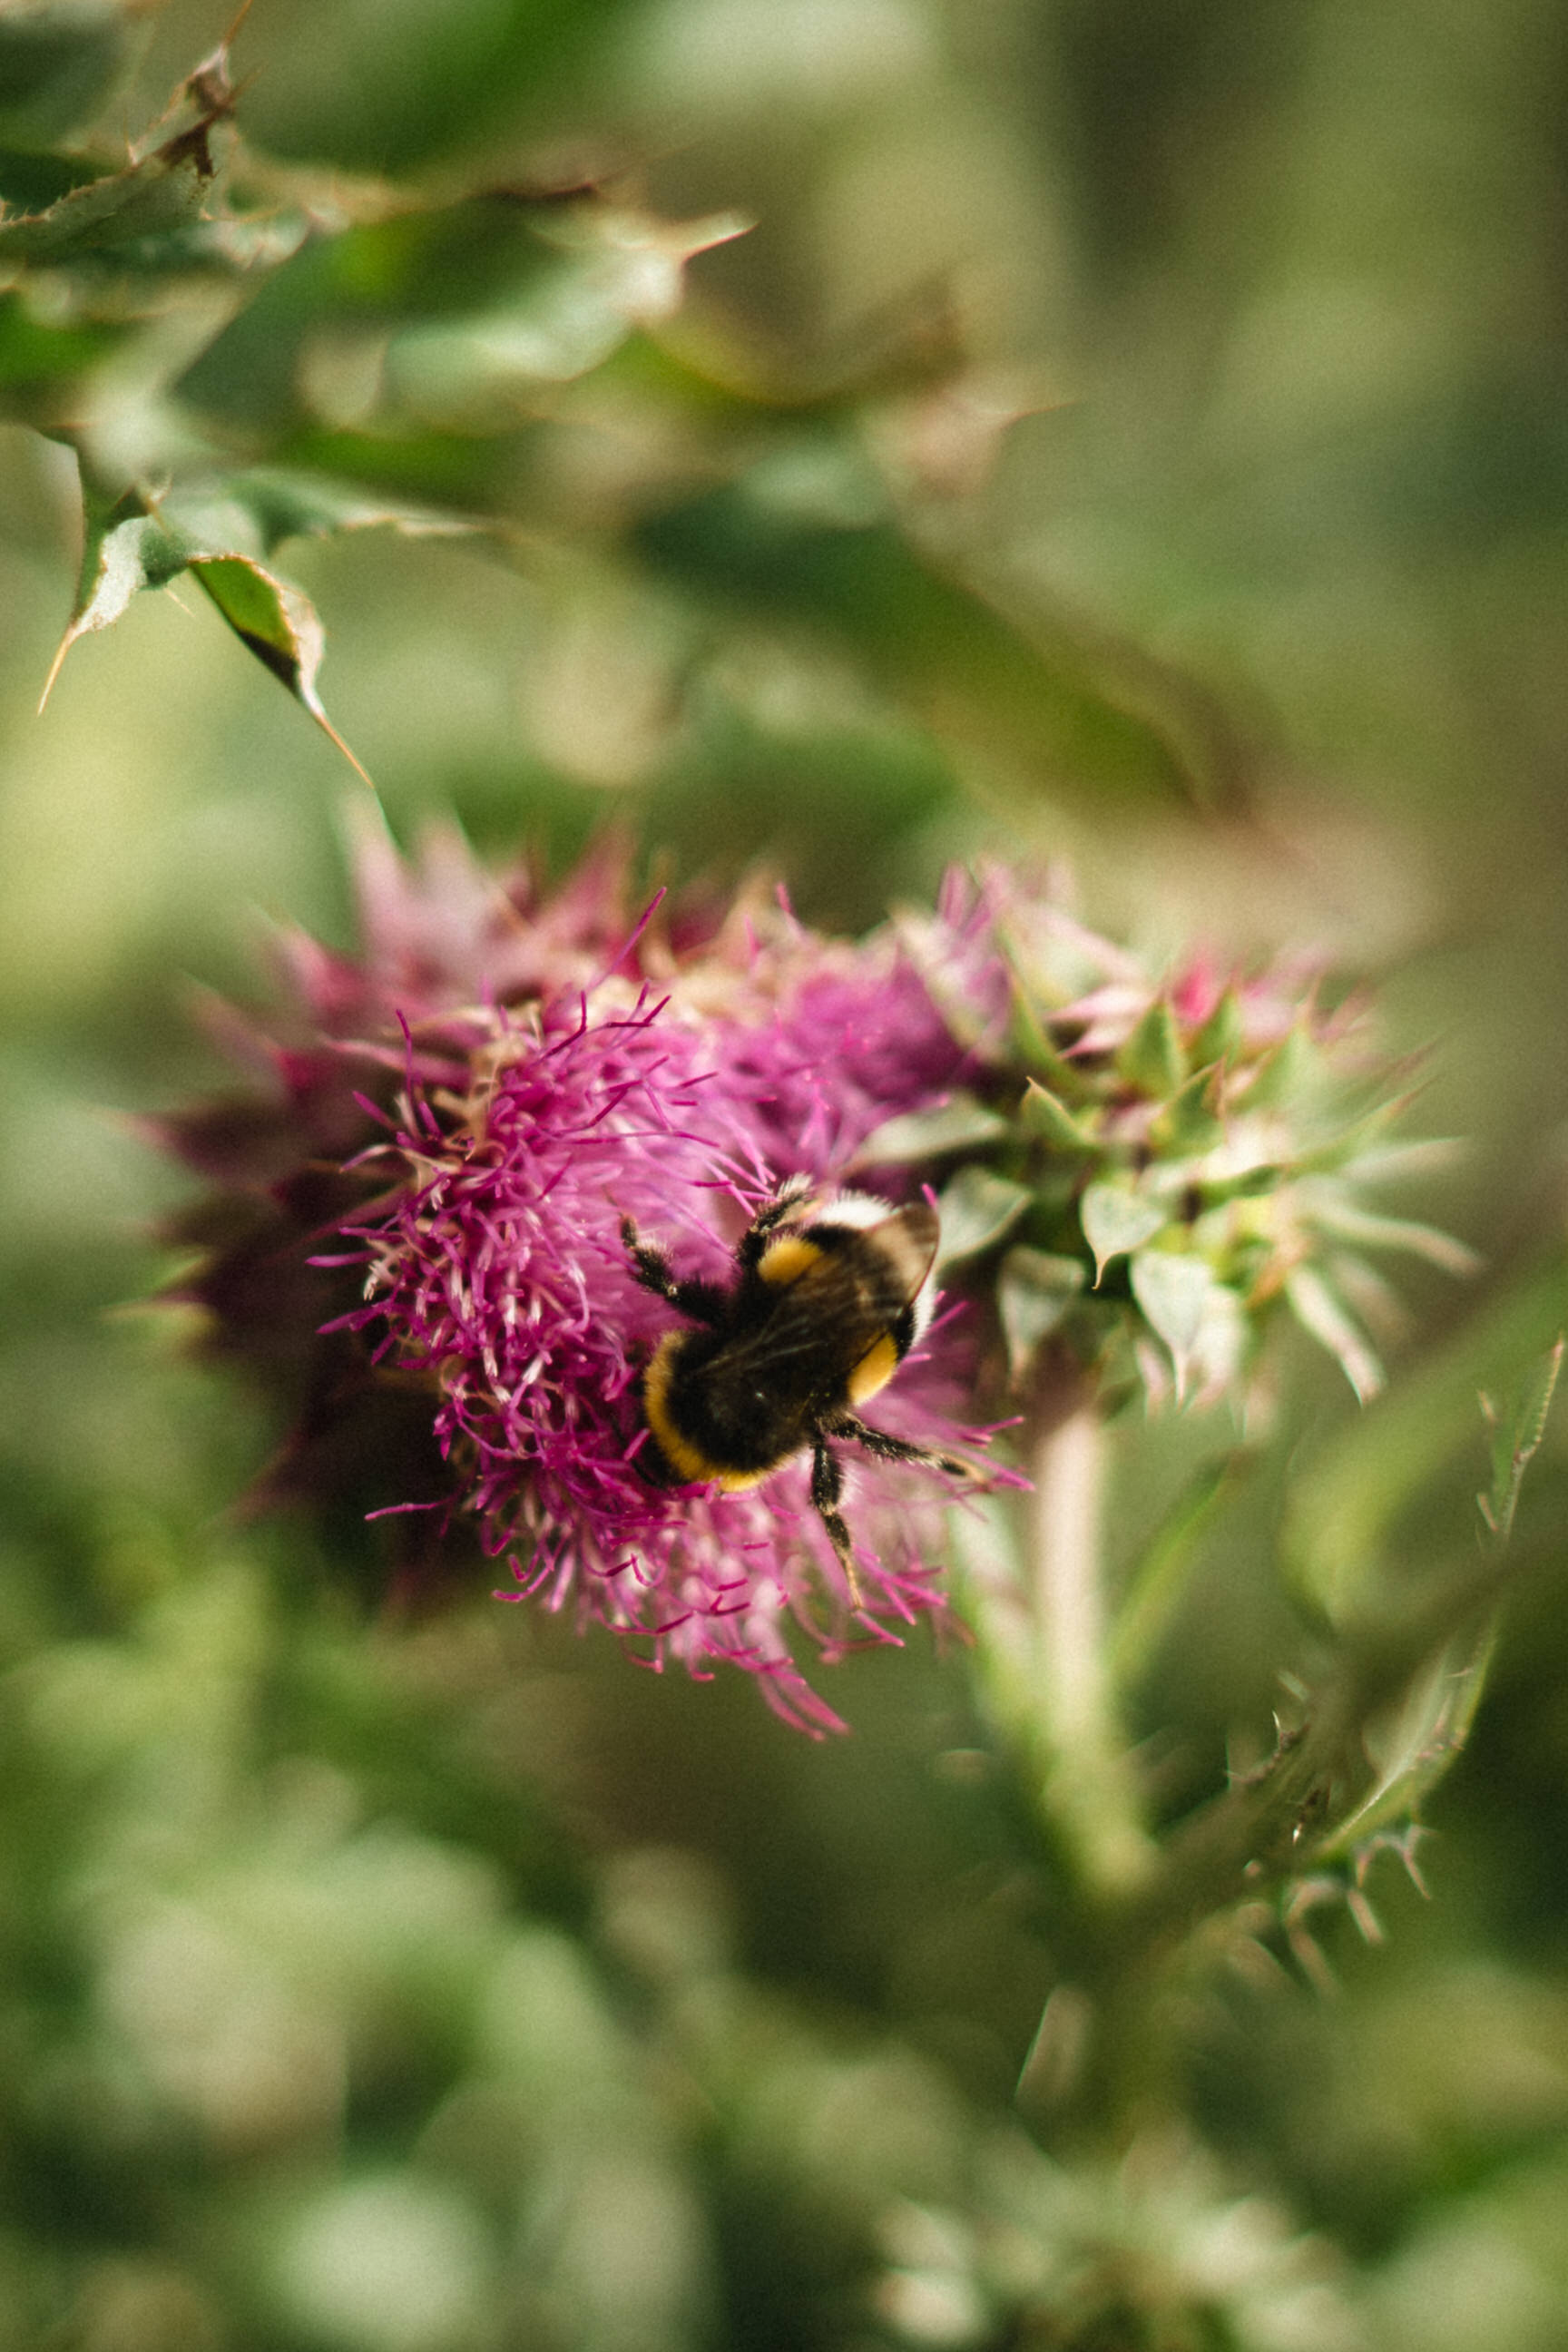
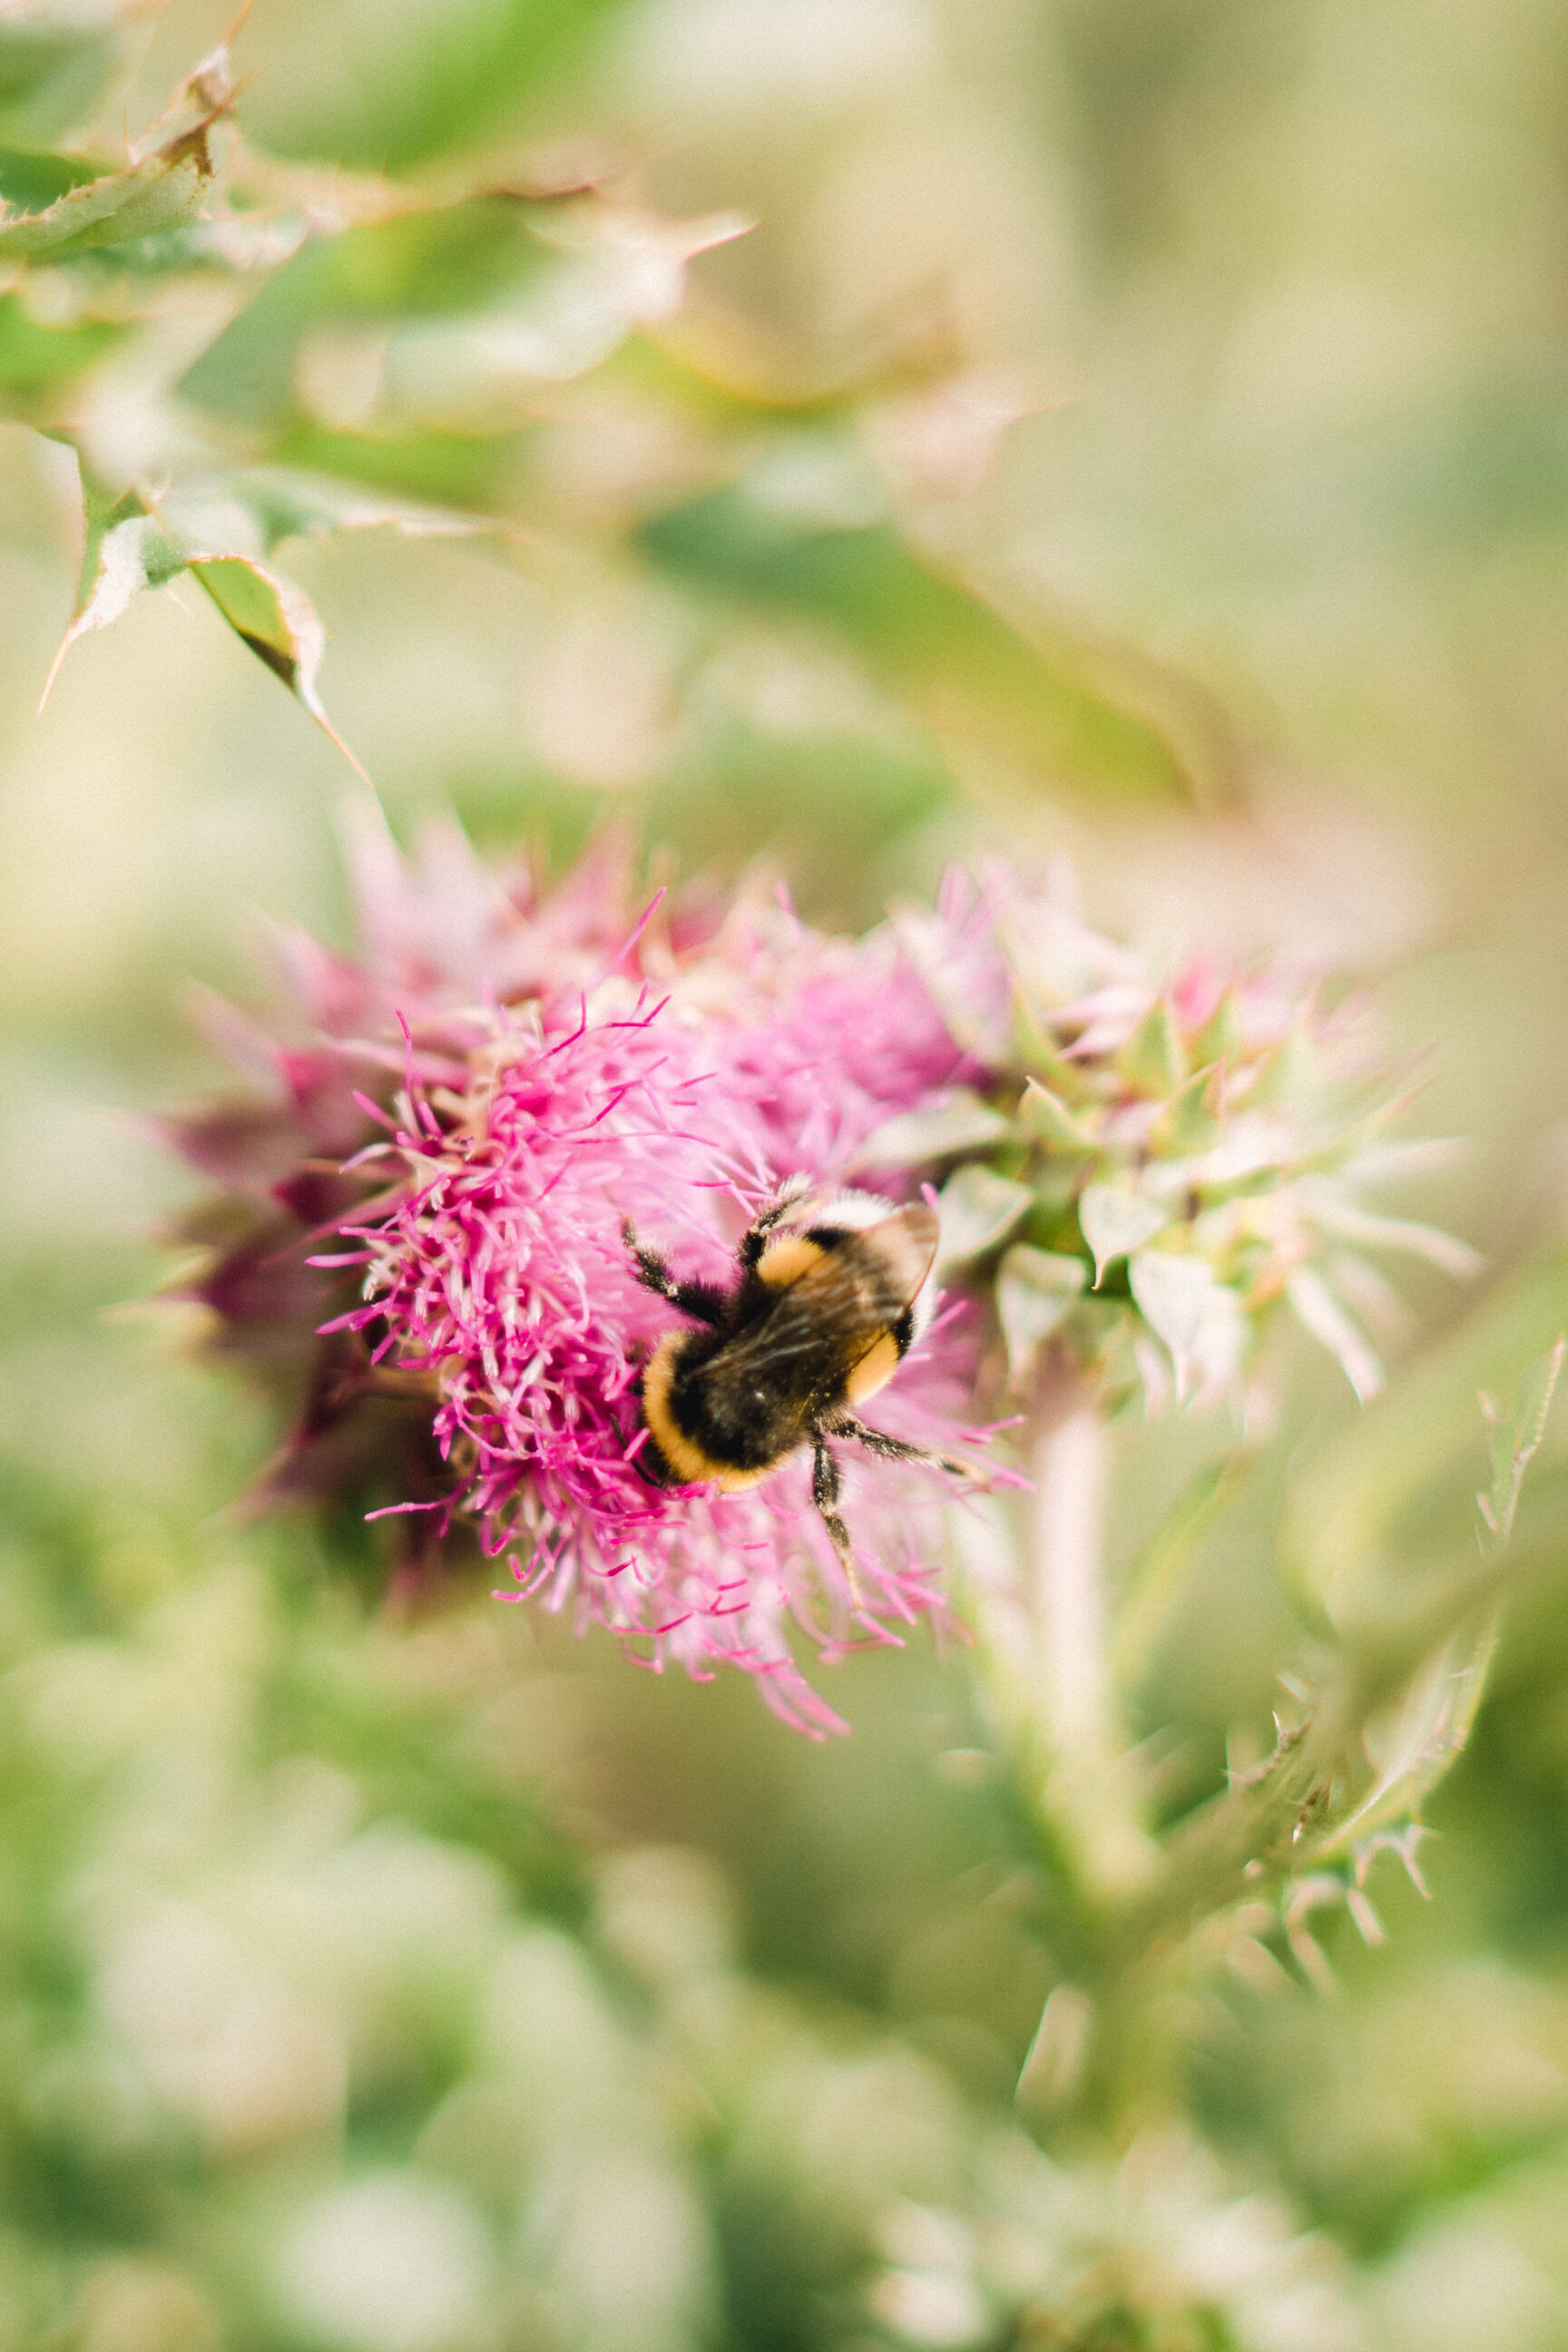
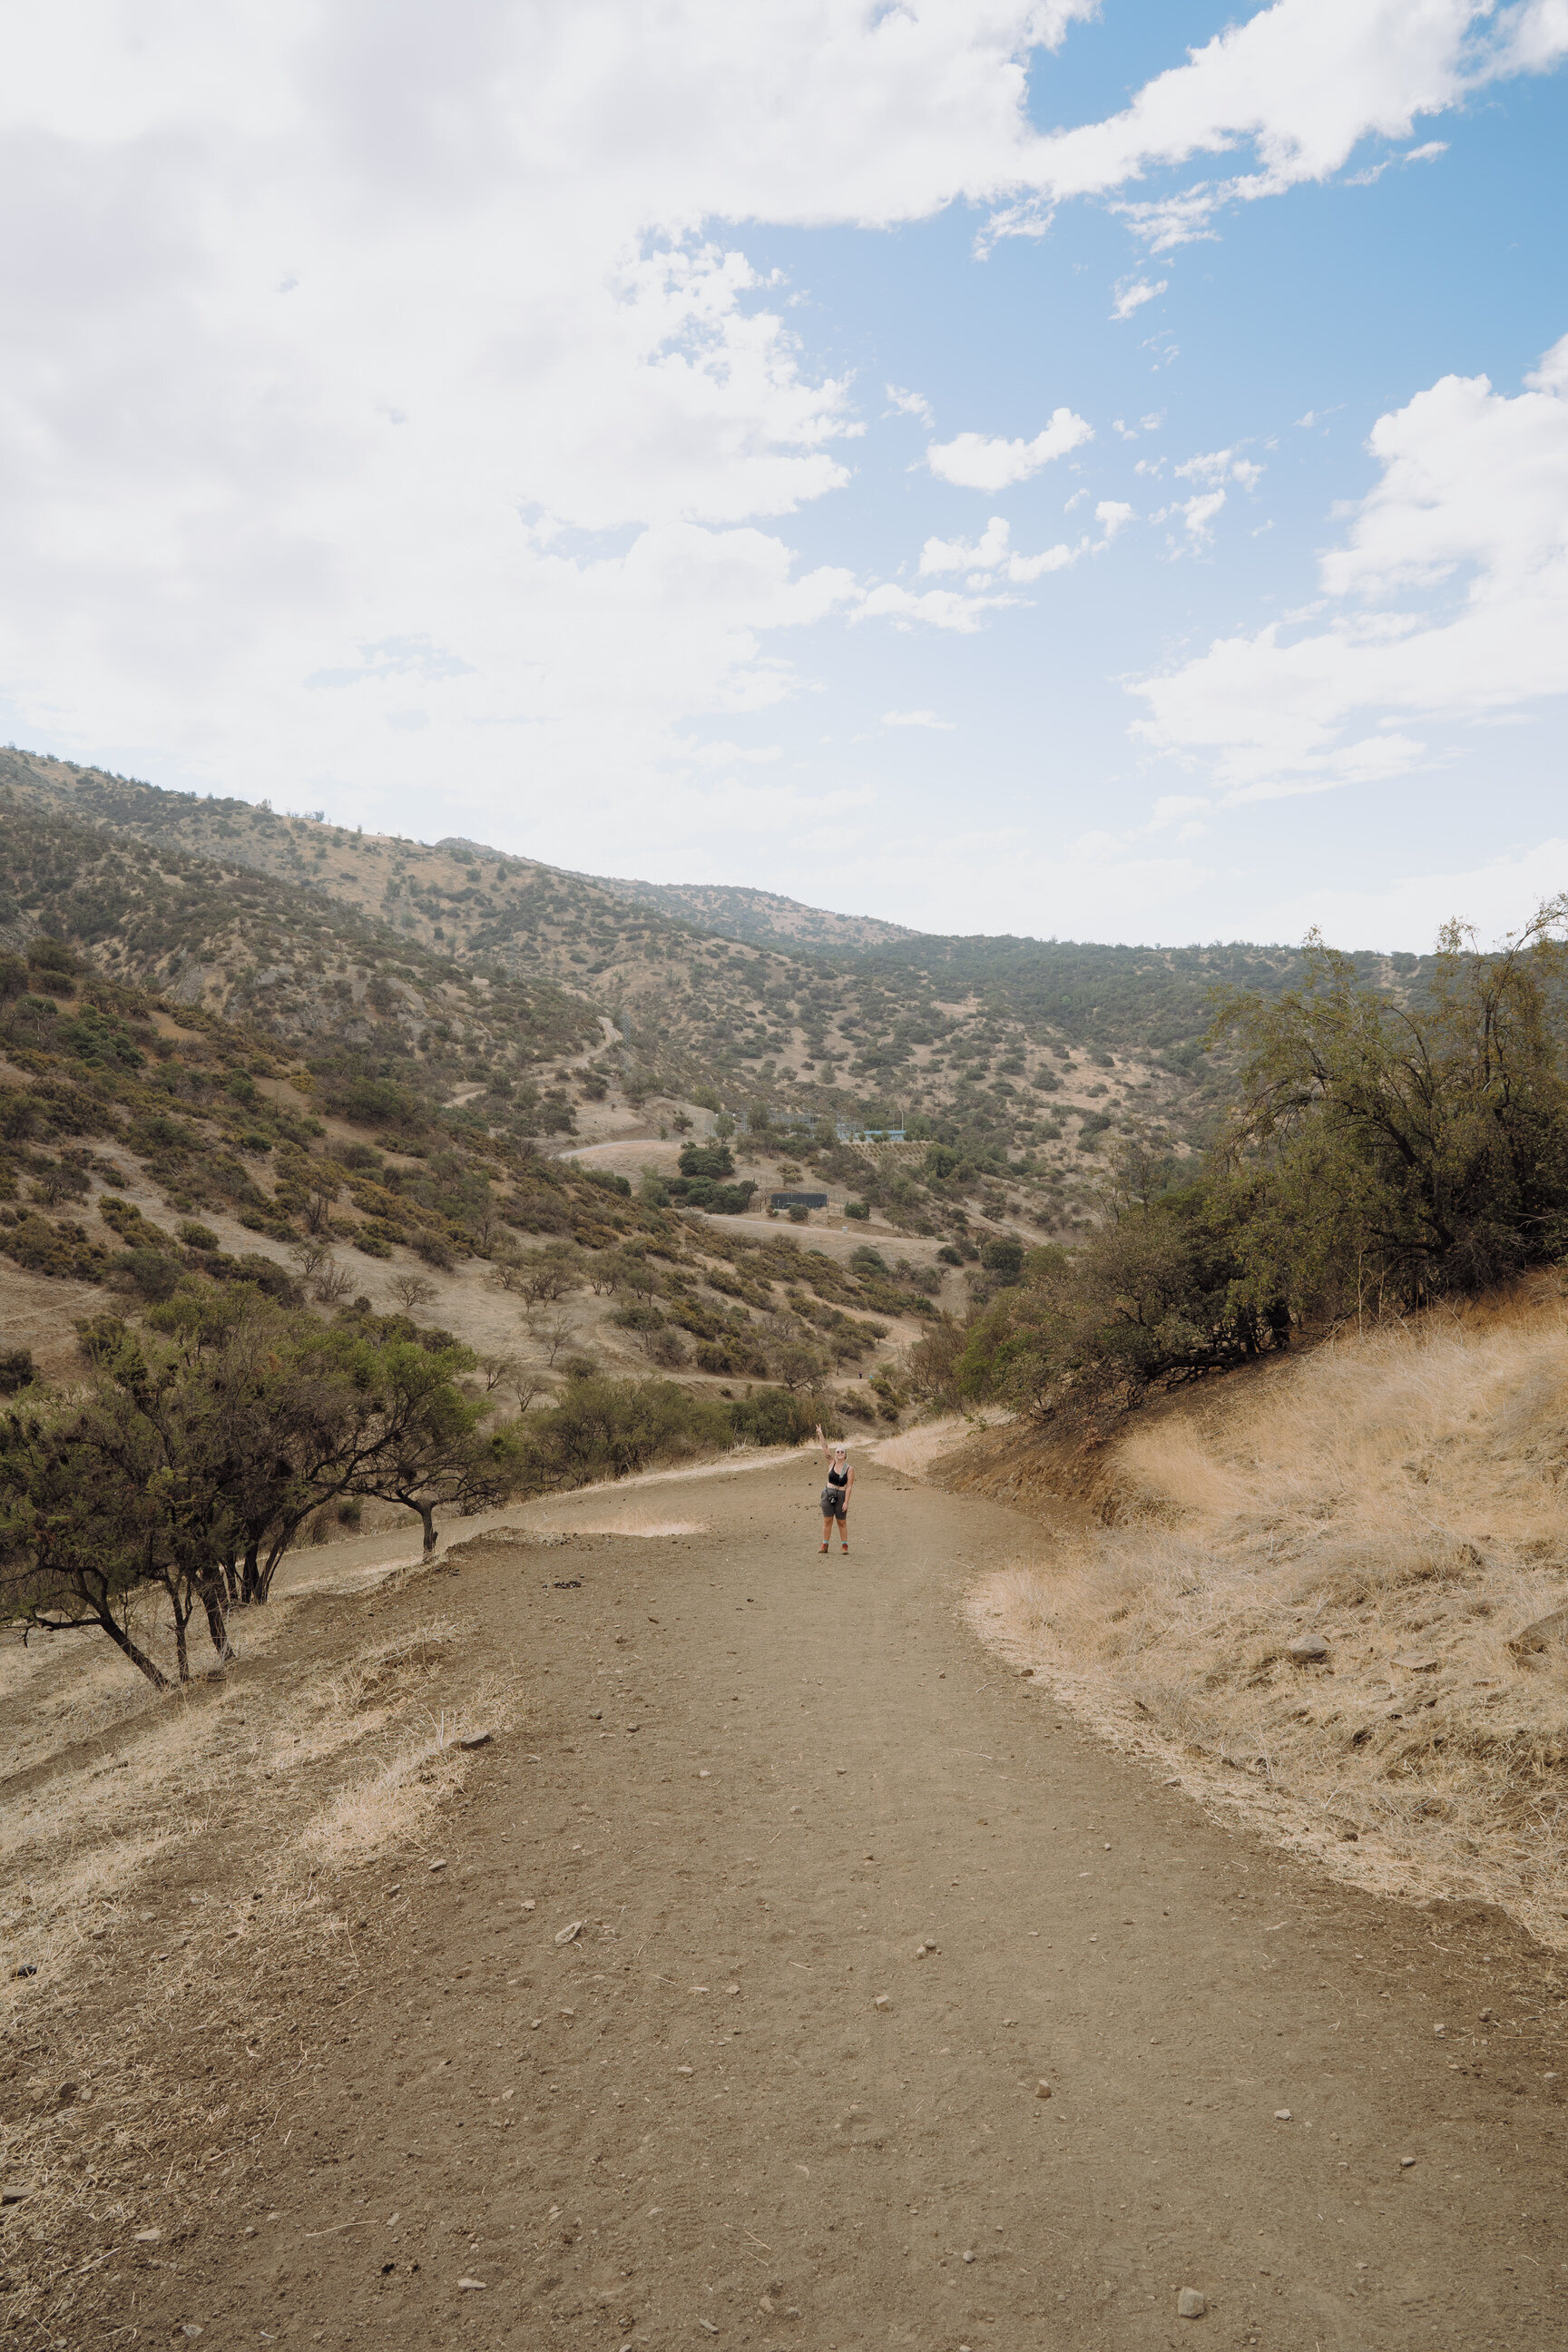
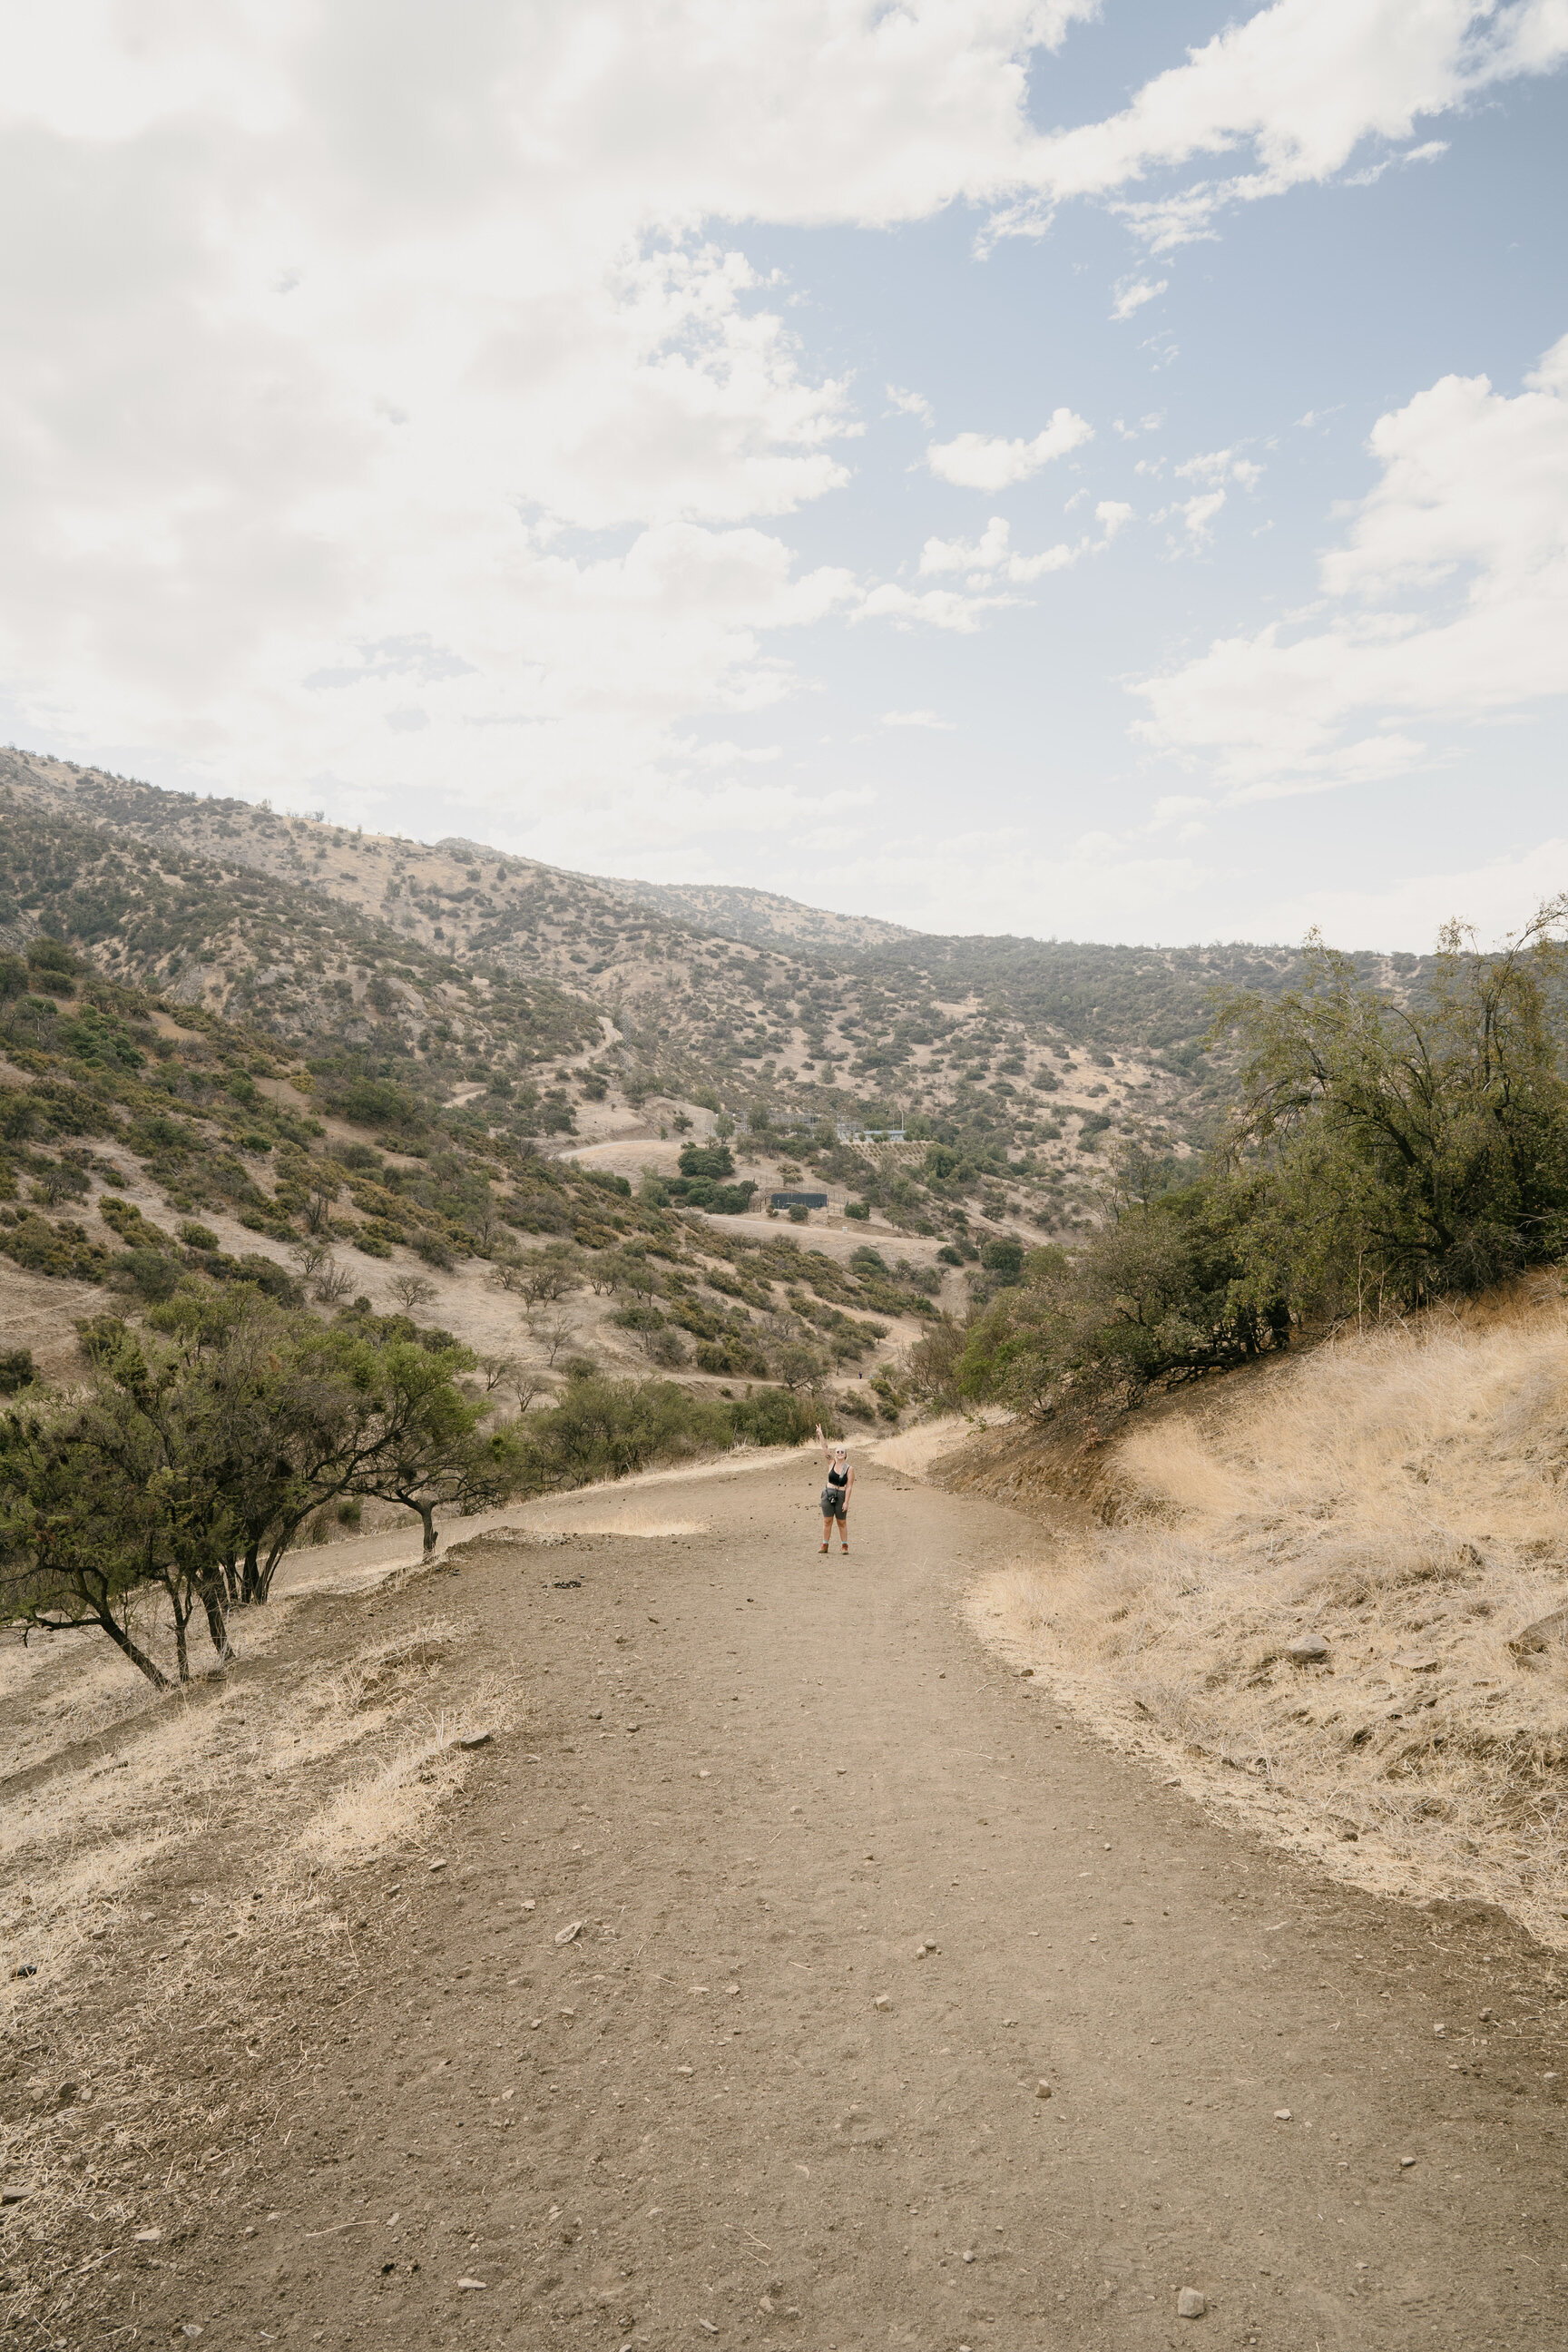
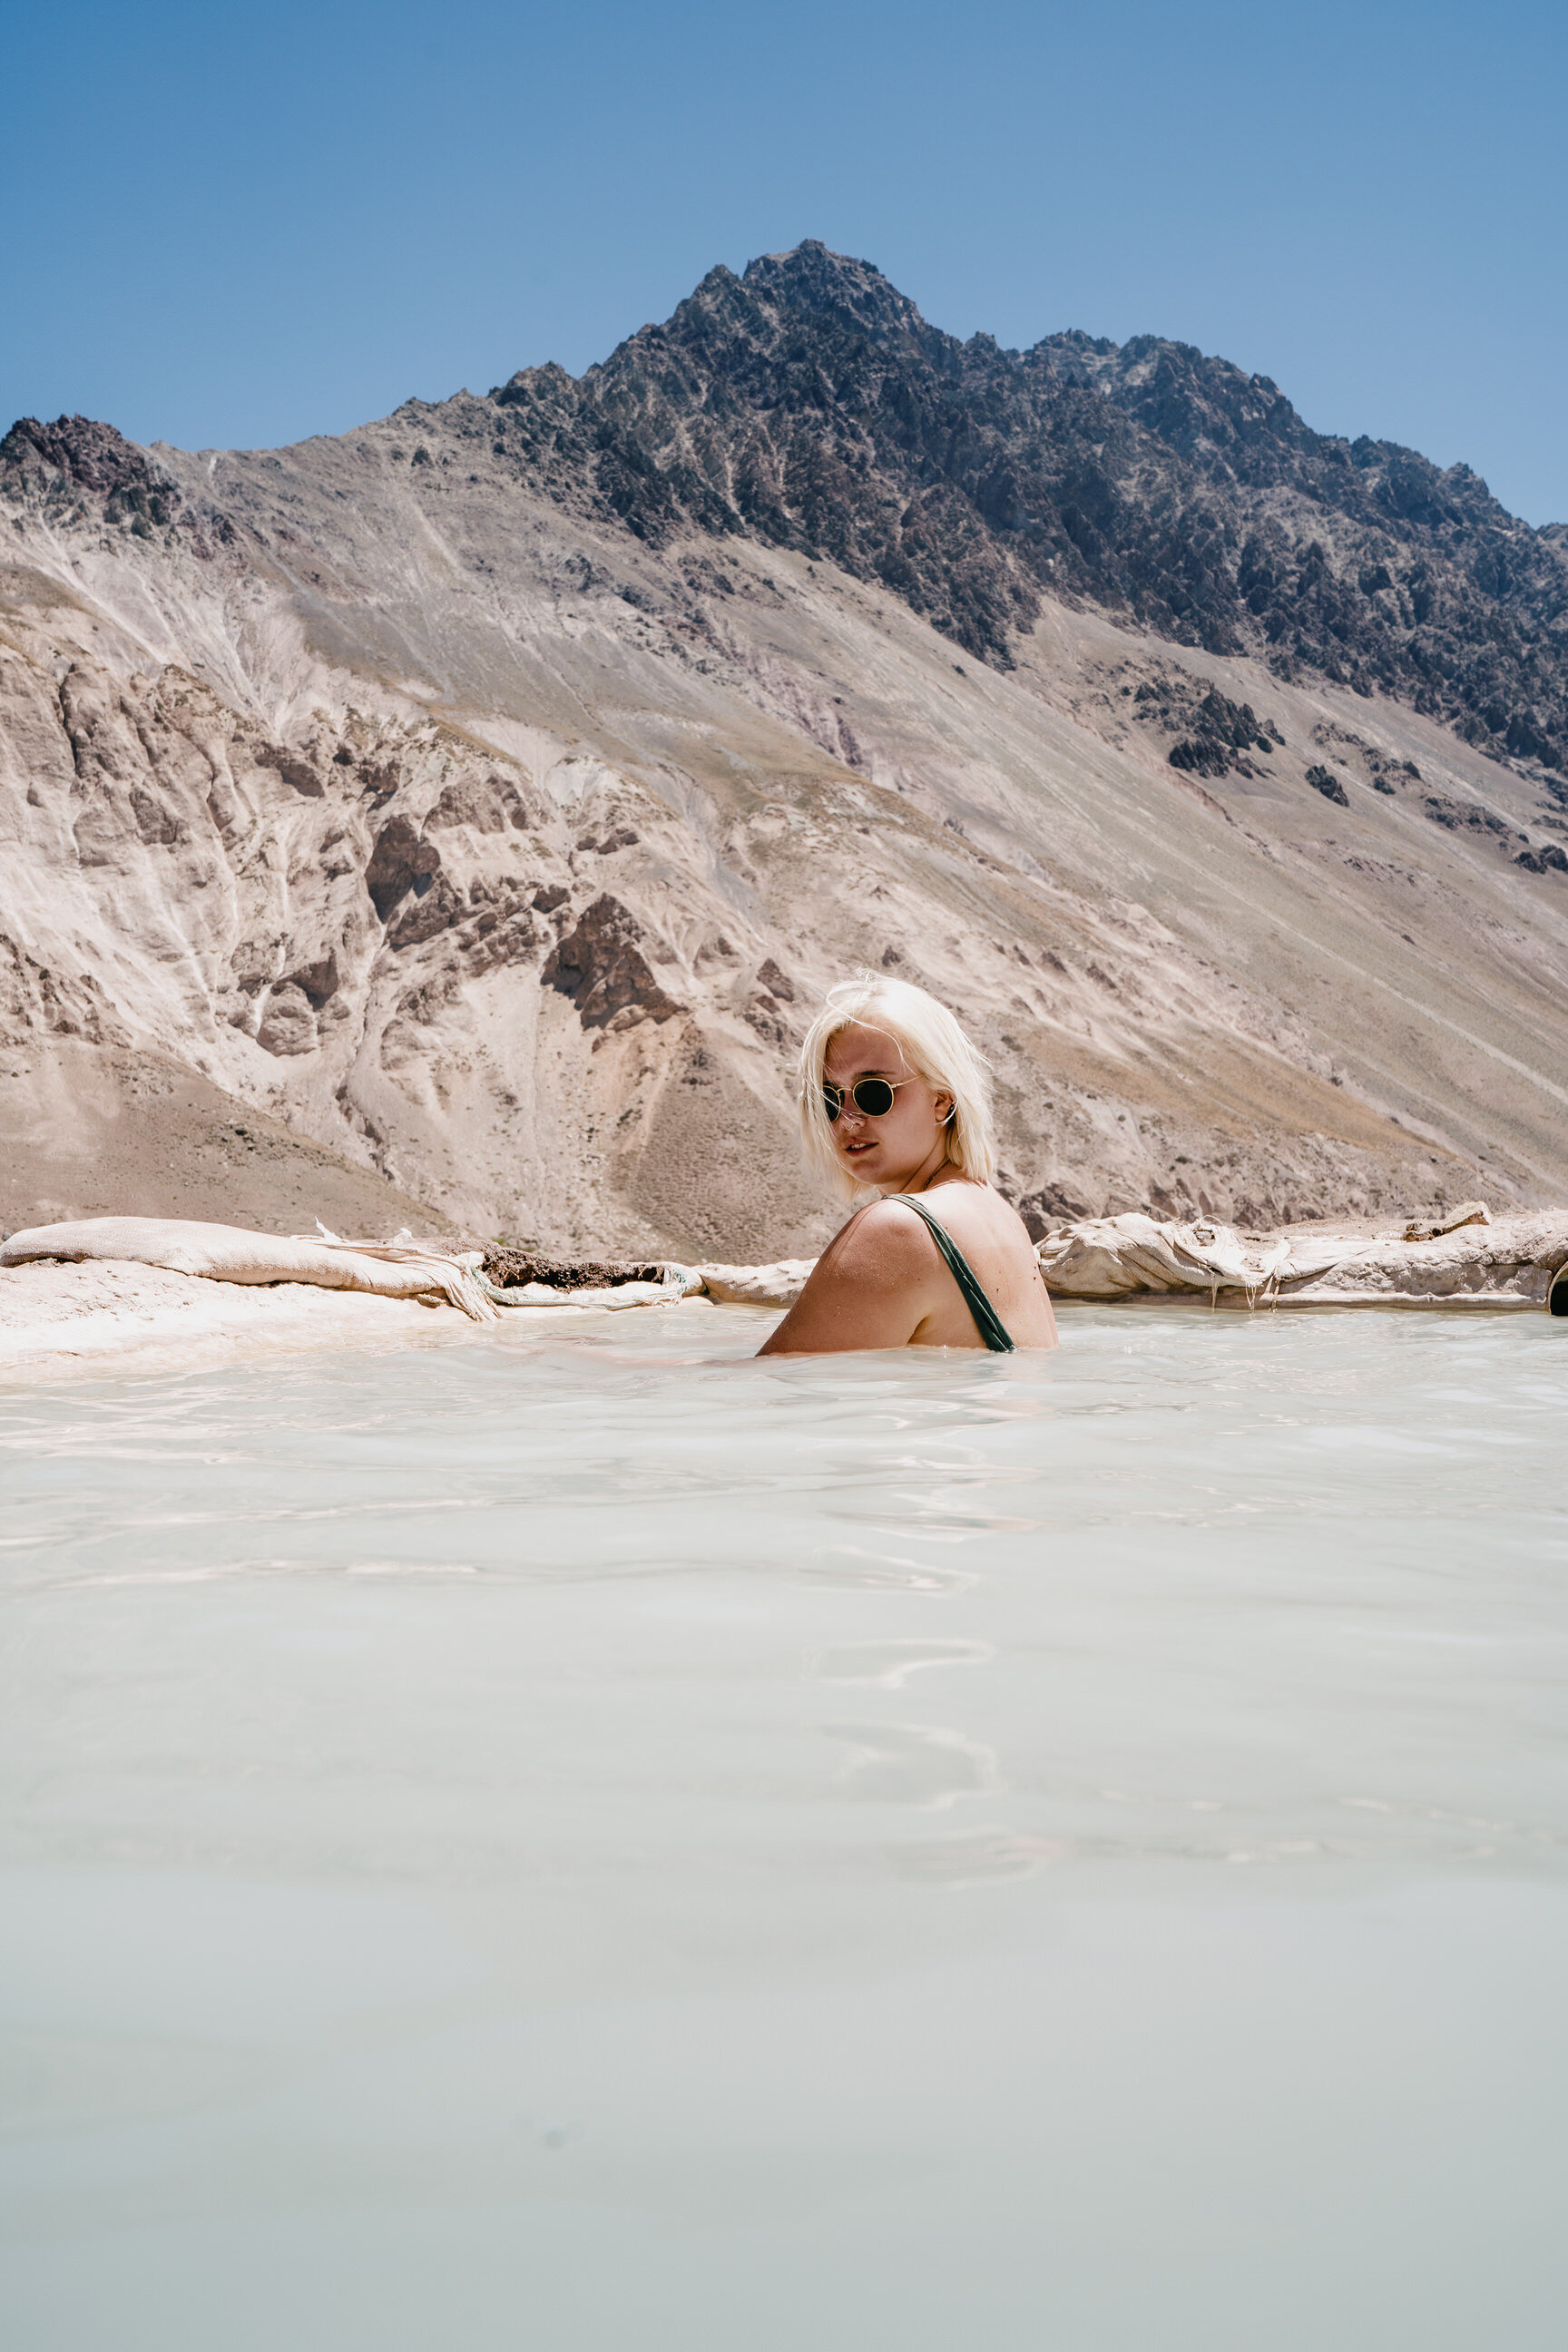
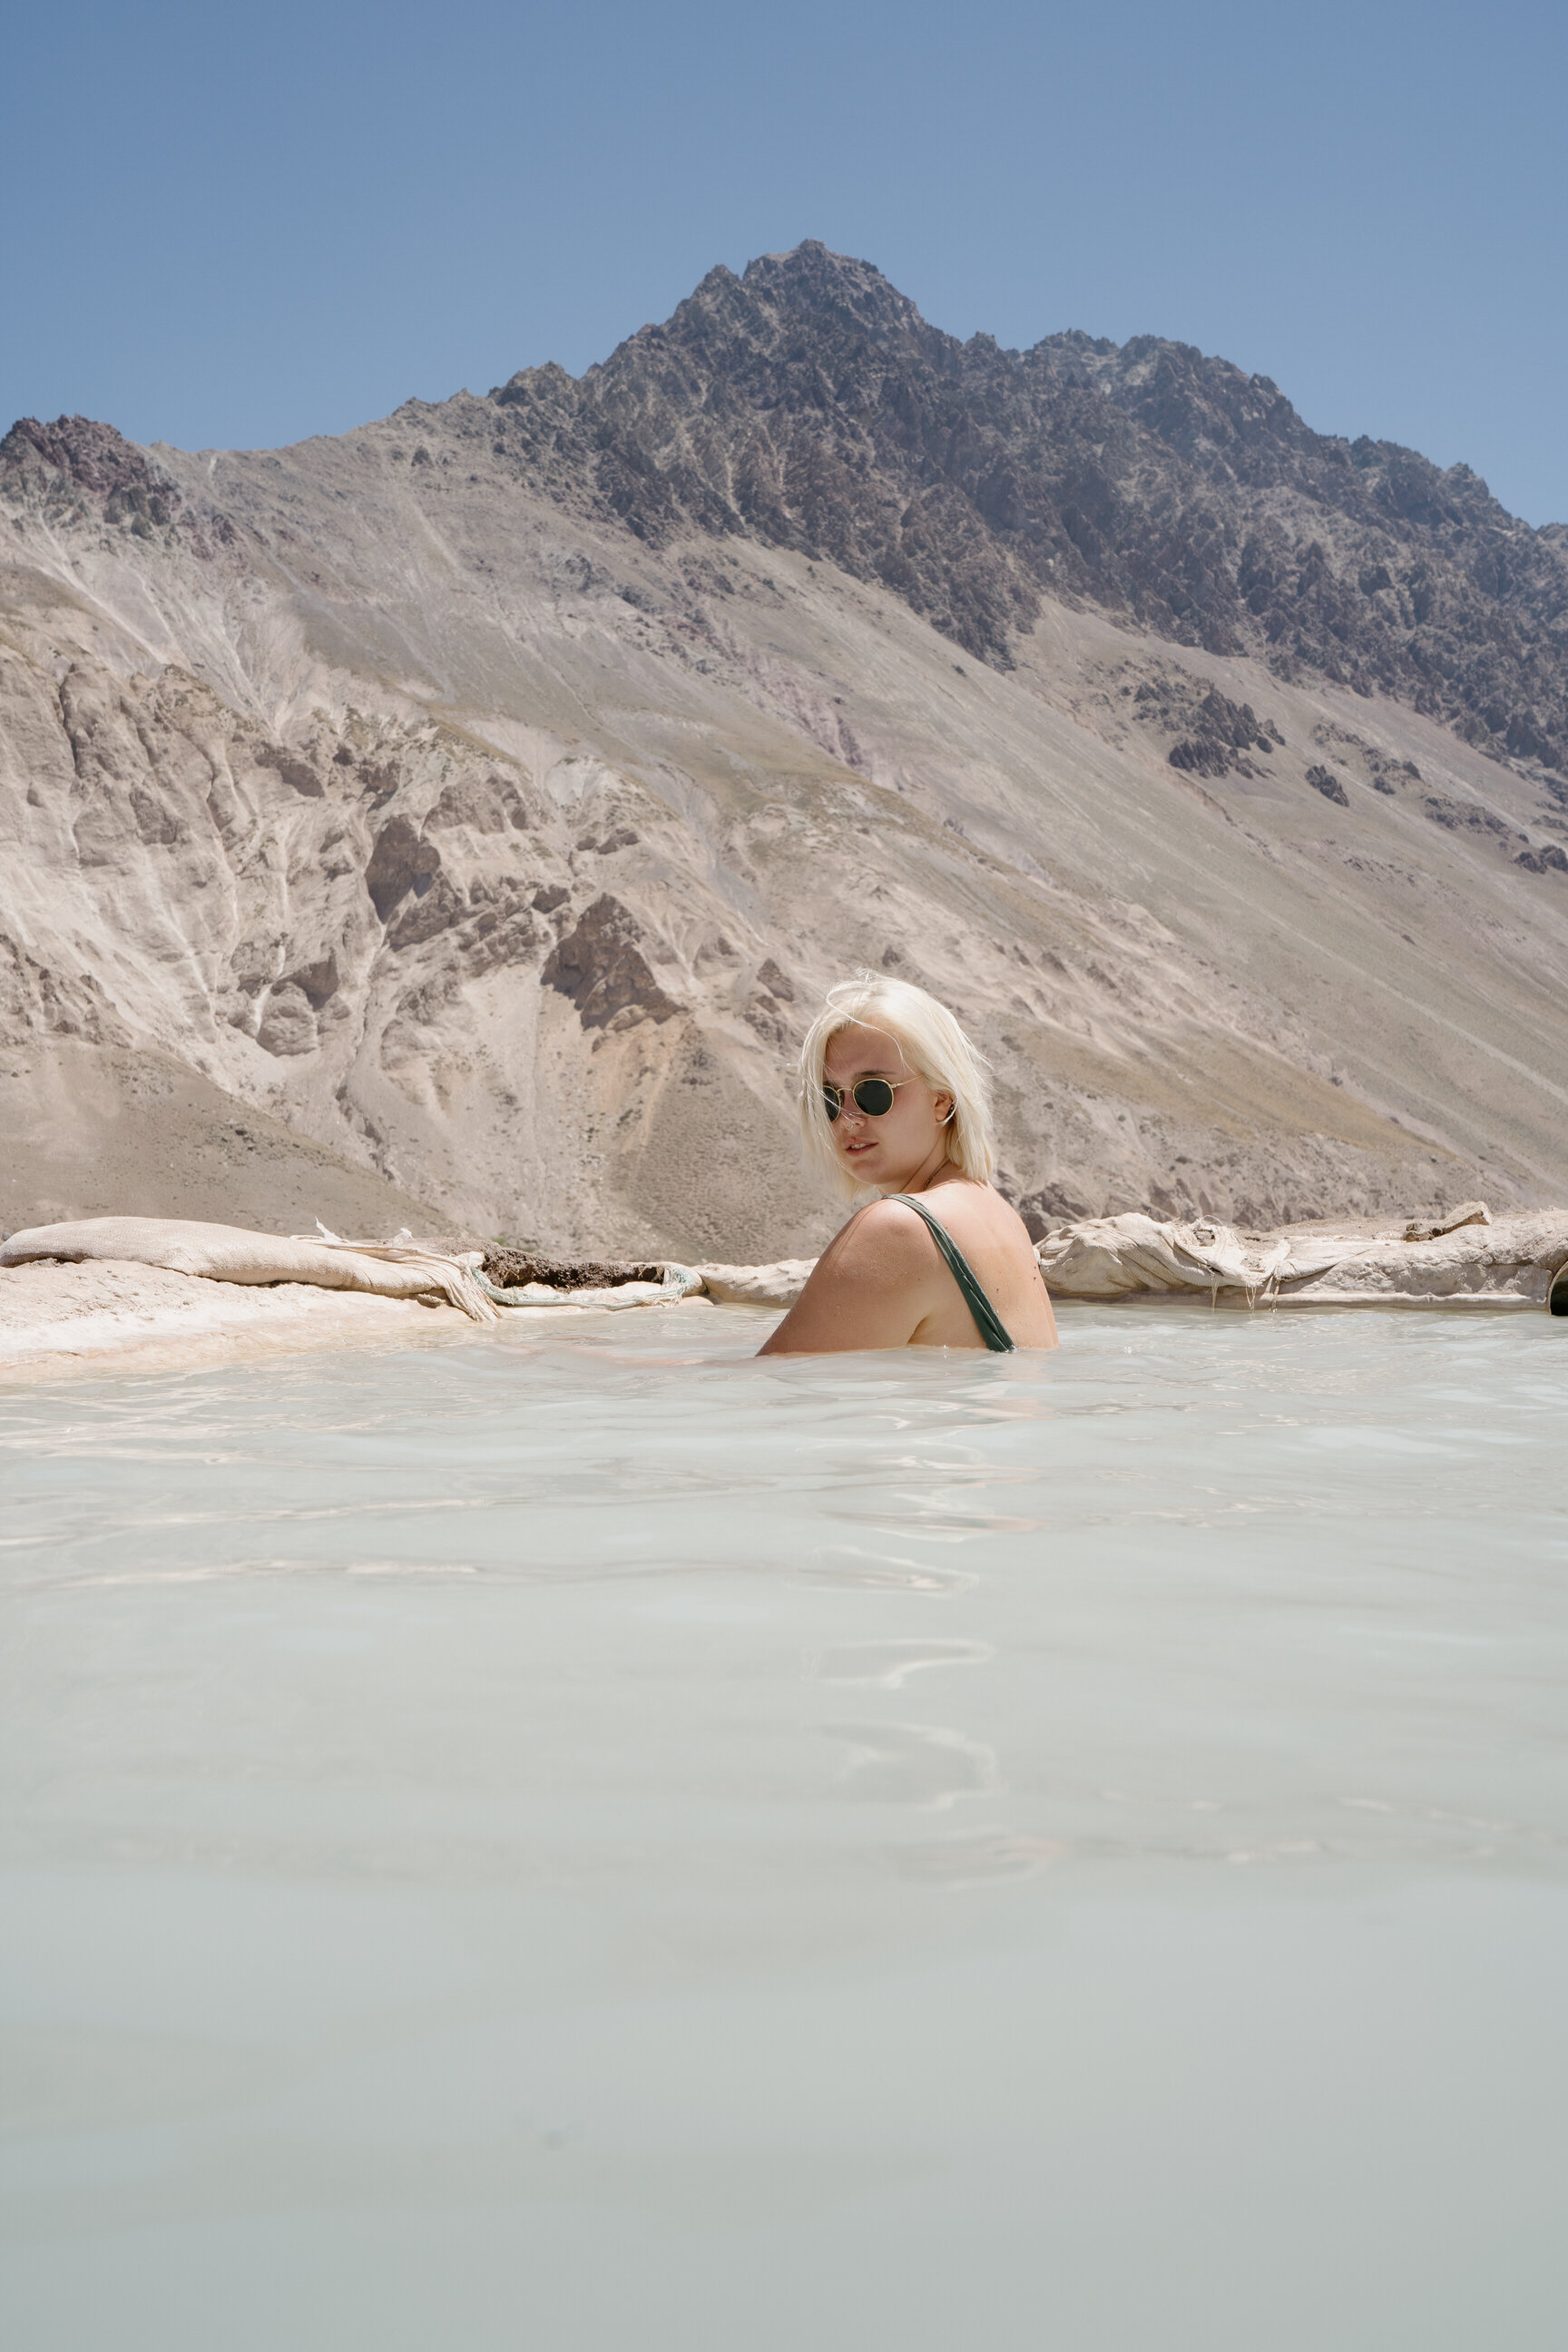
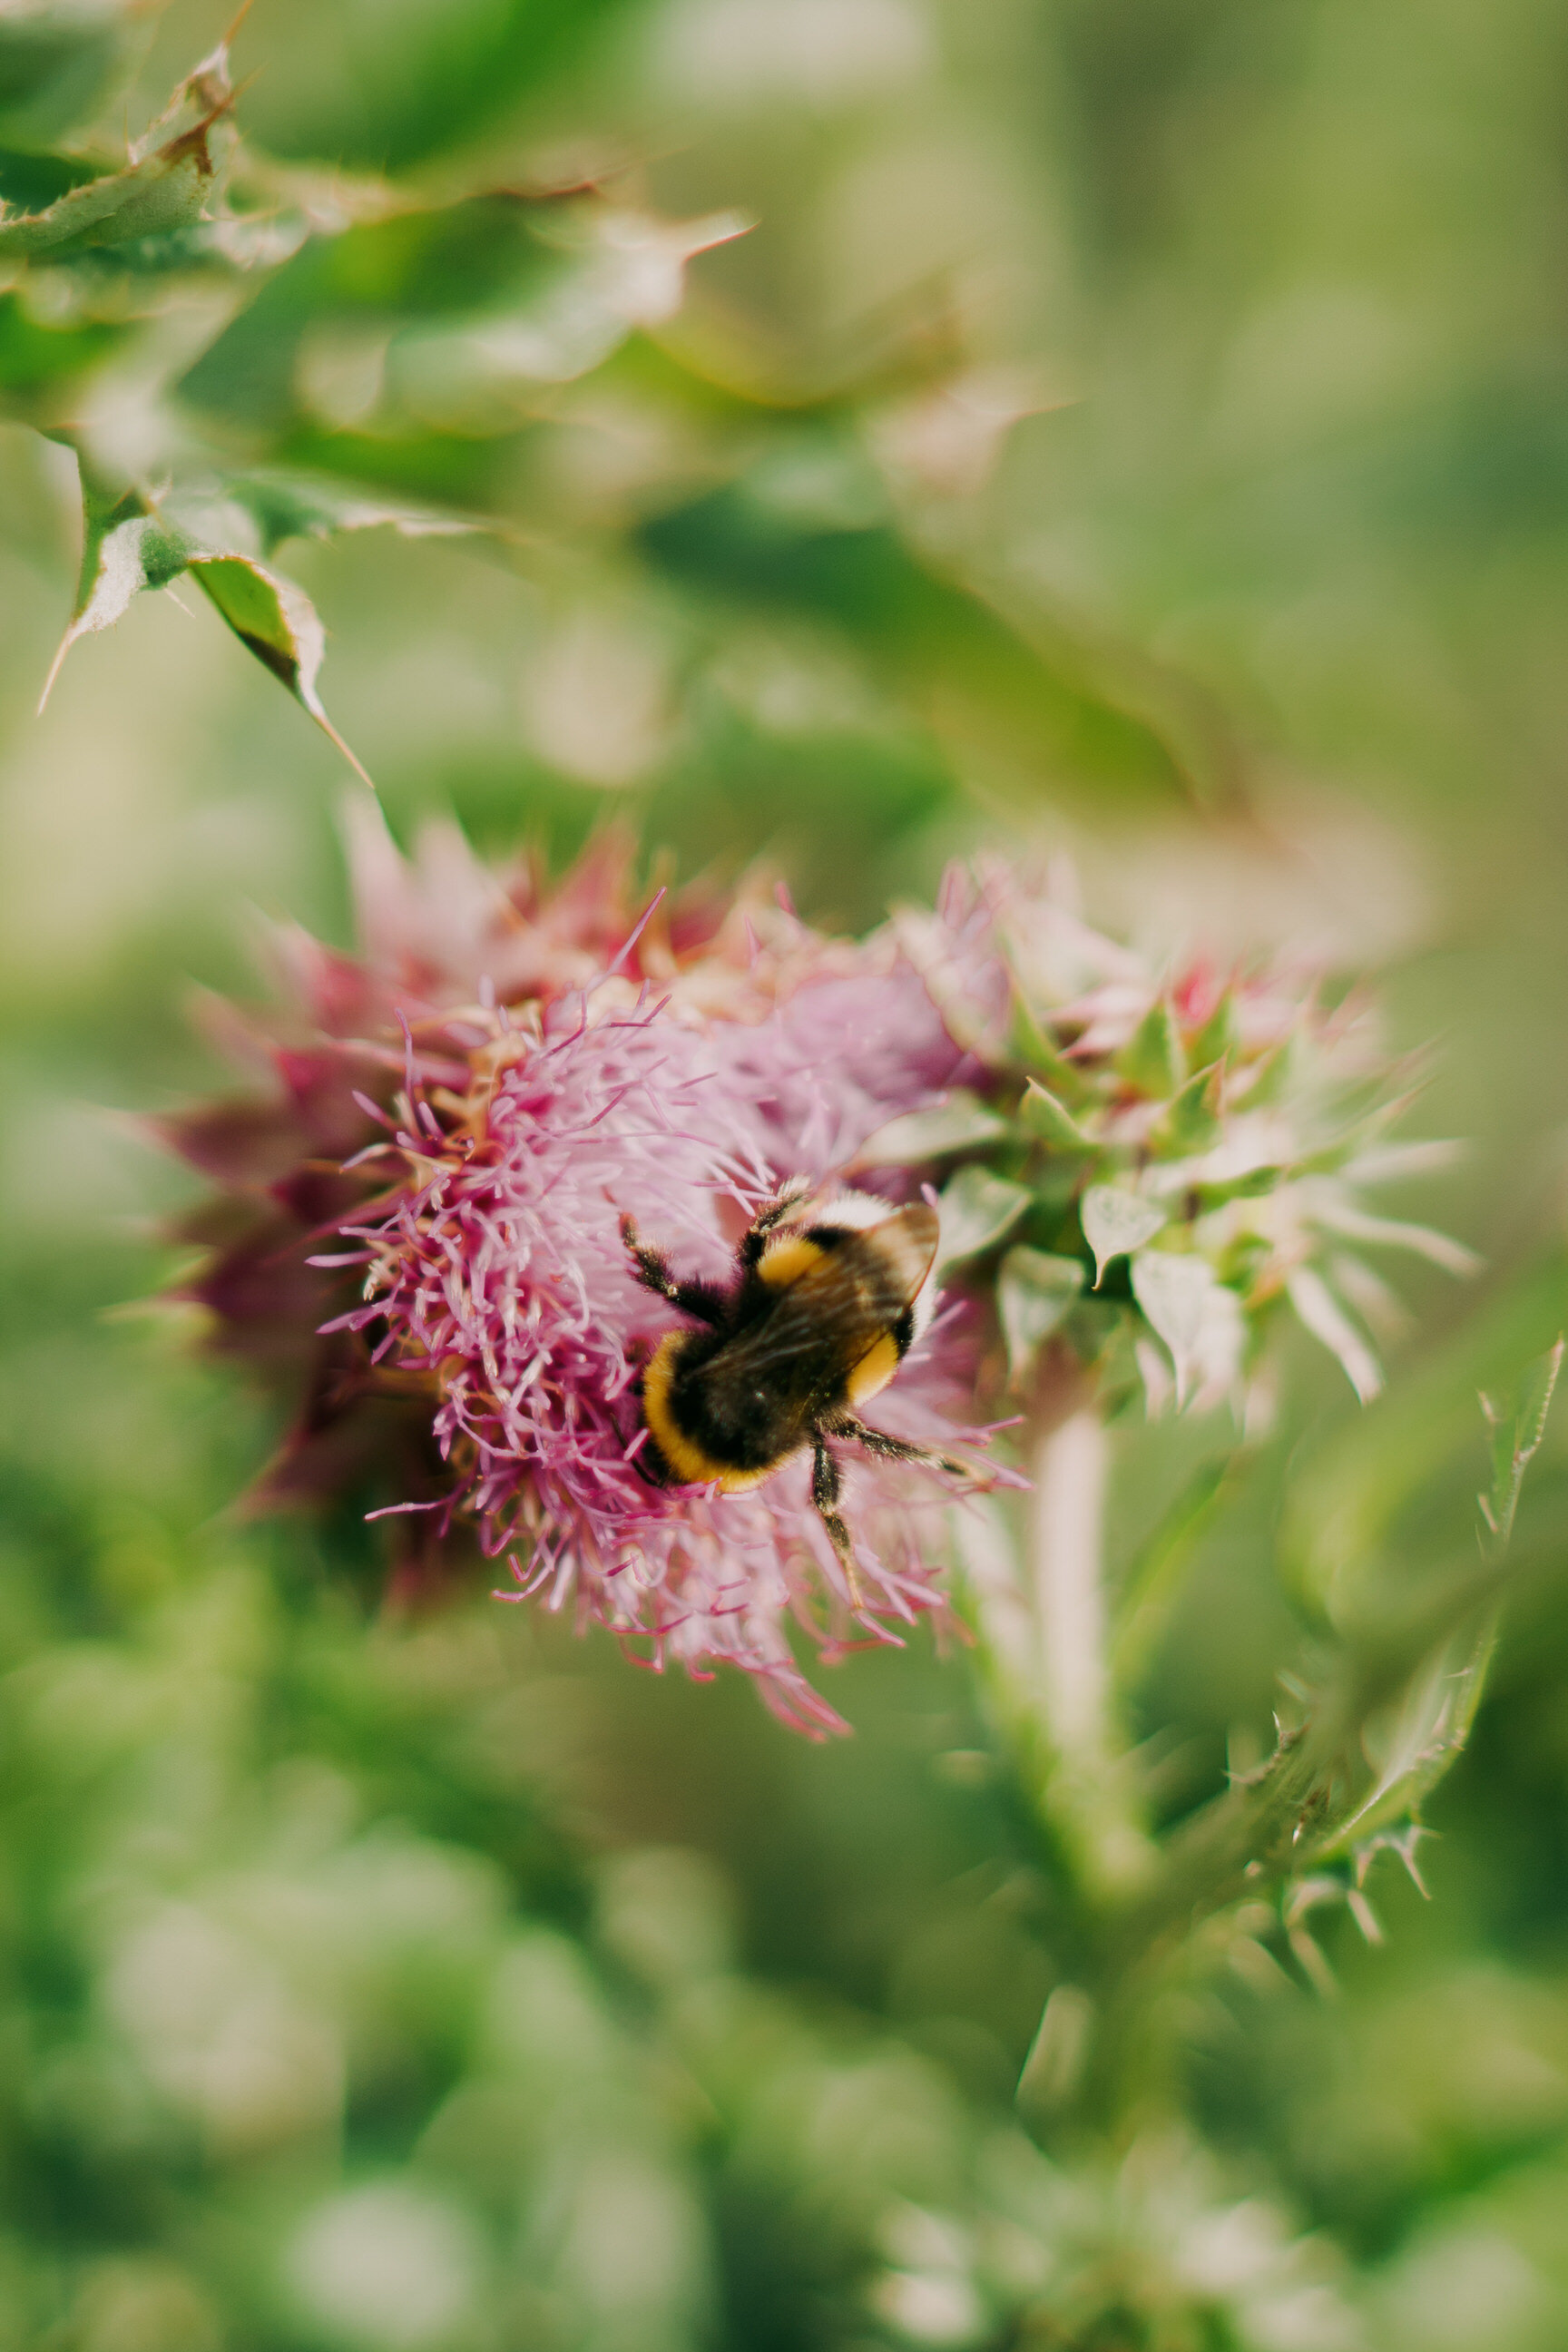
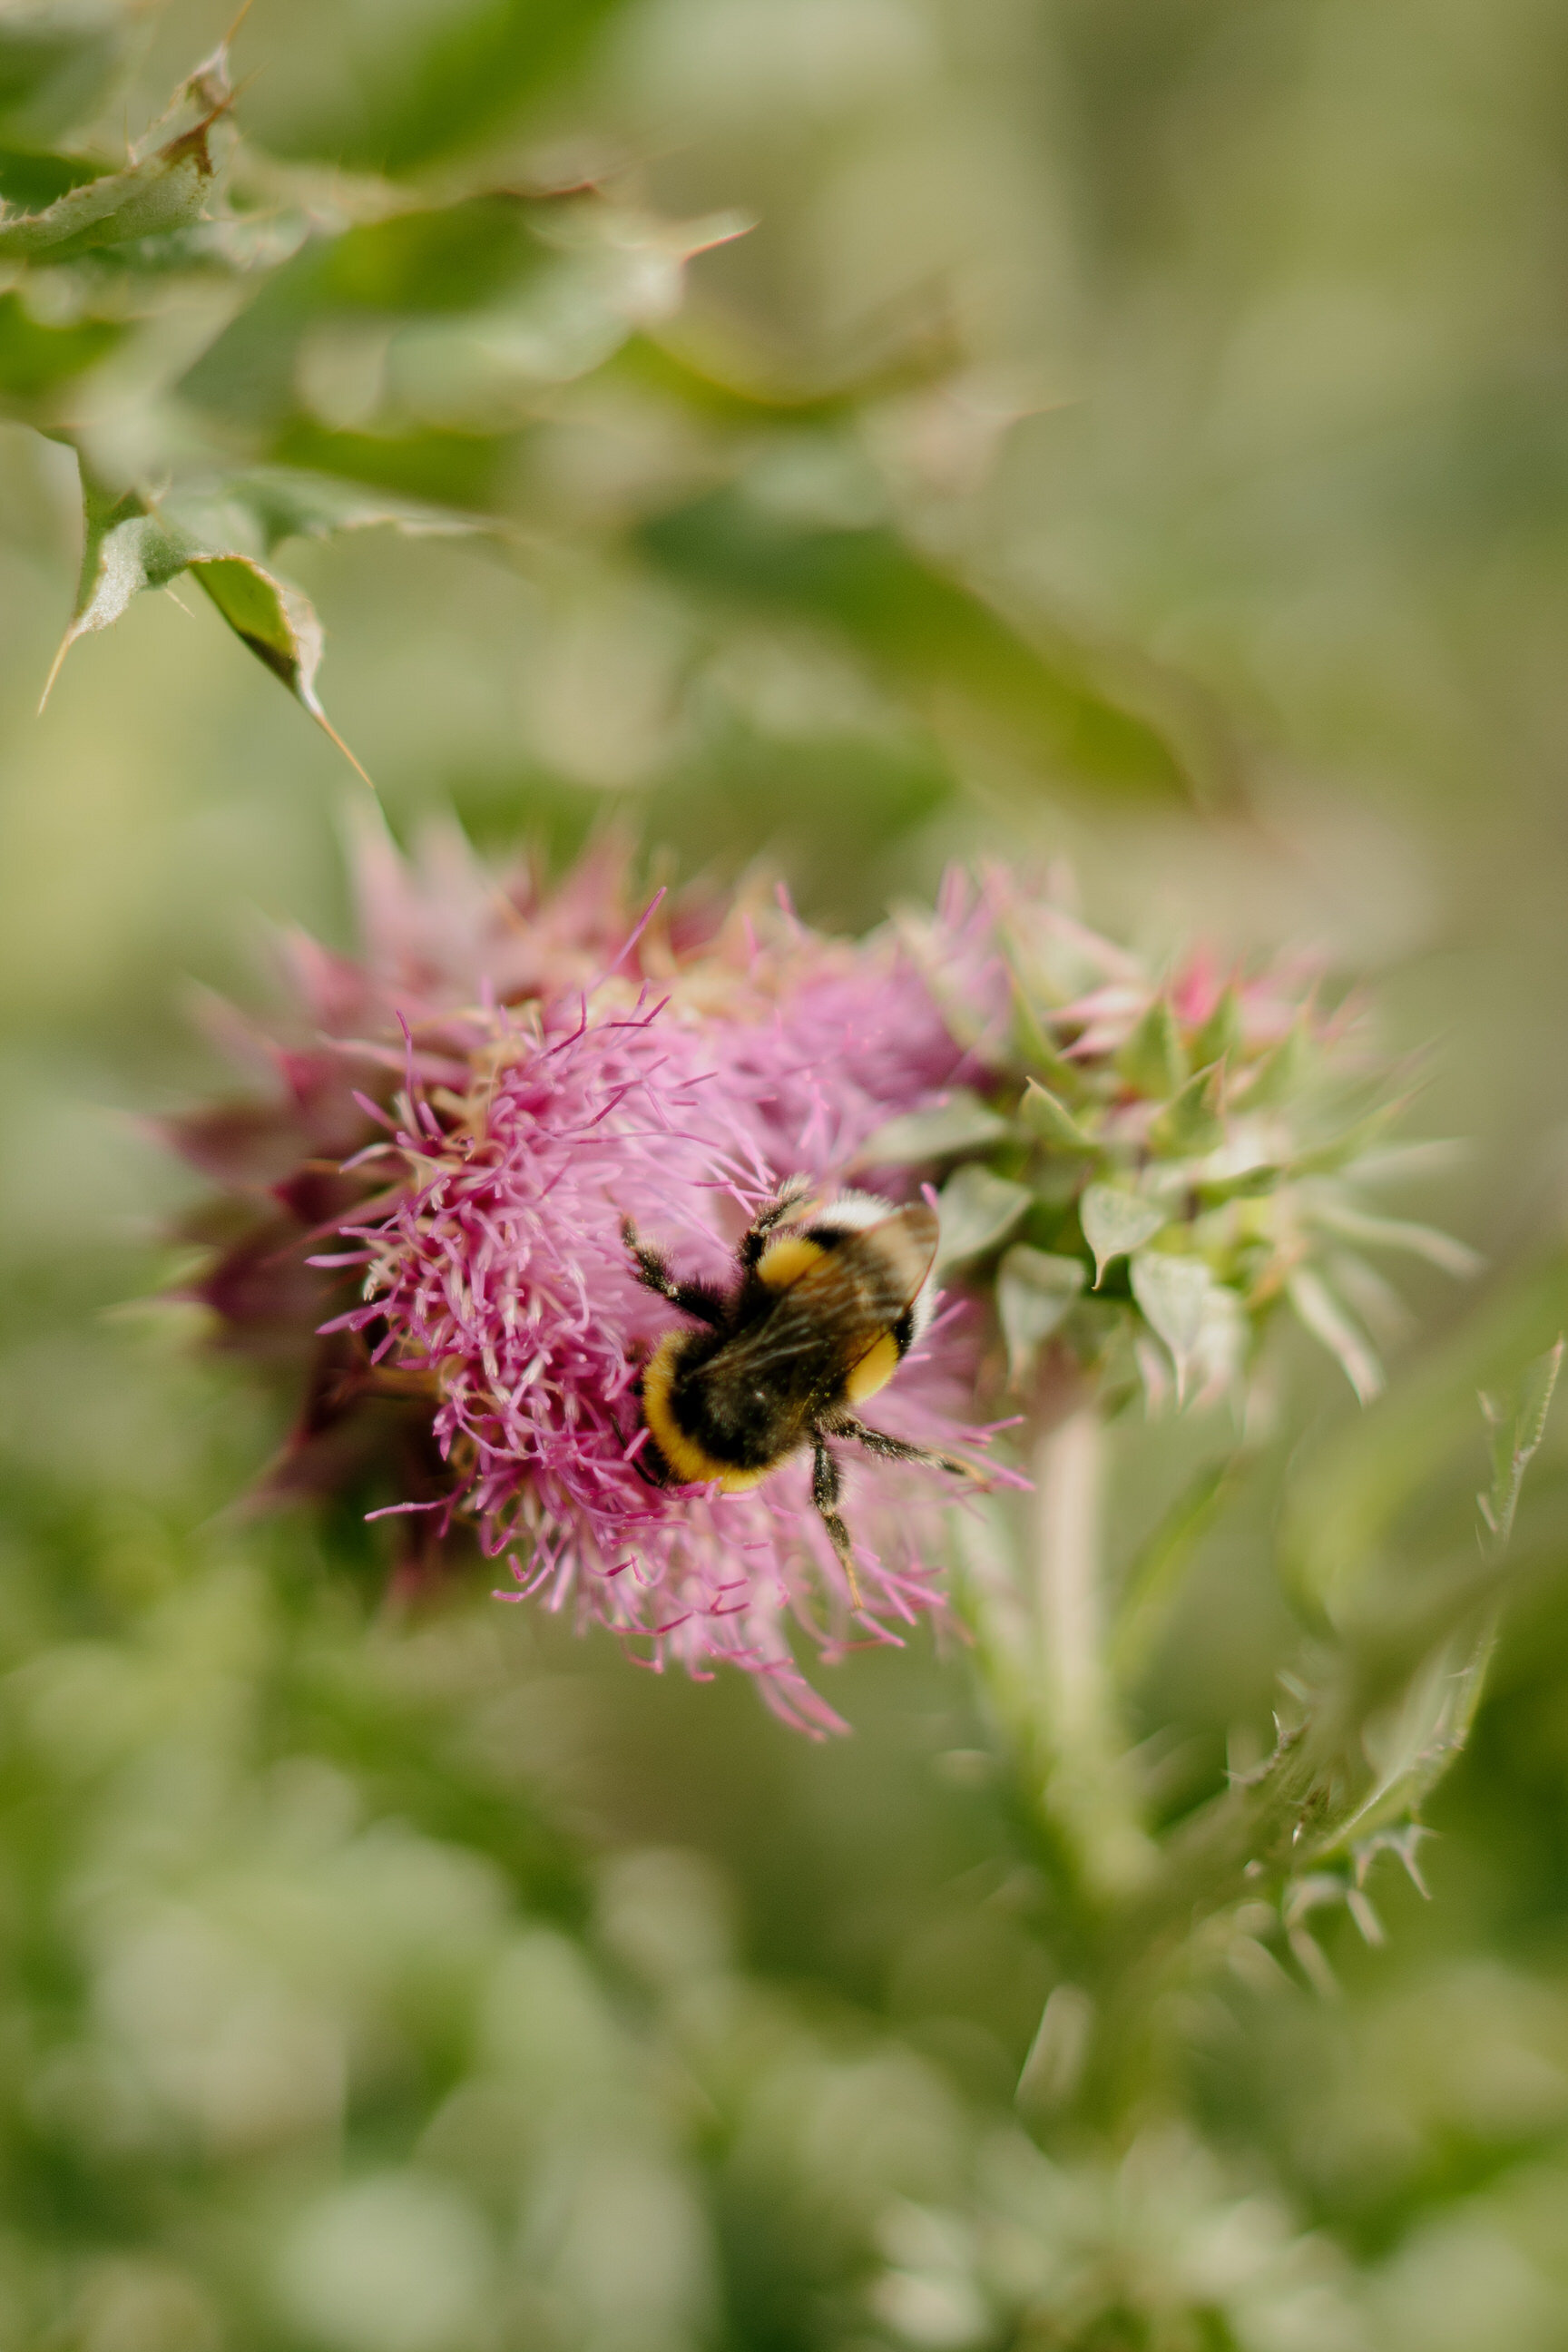
Before

after
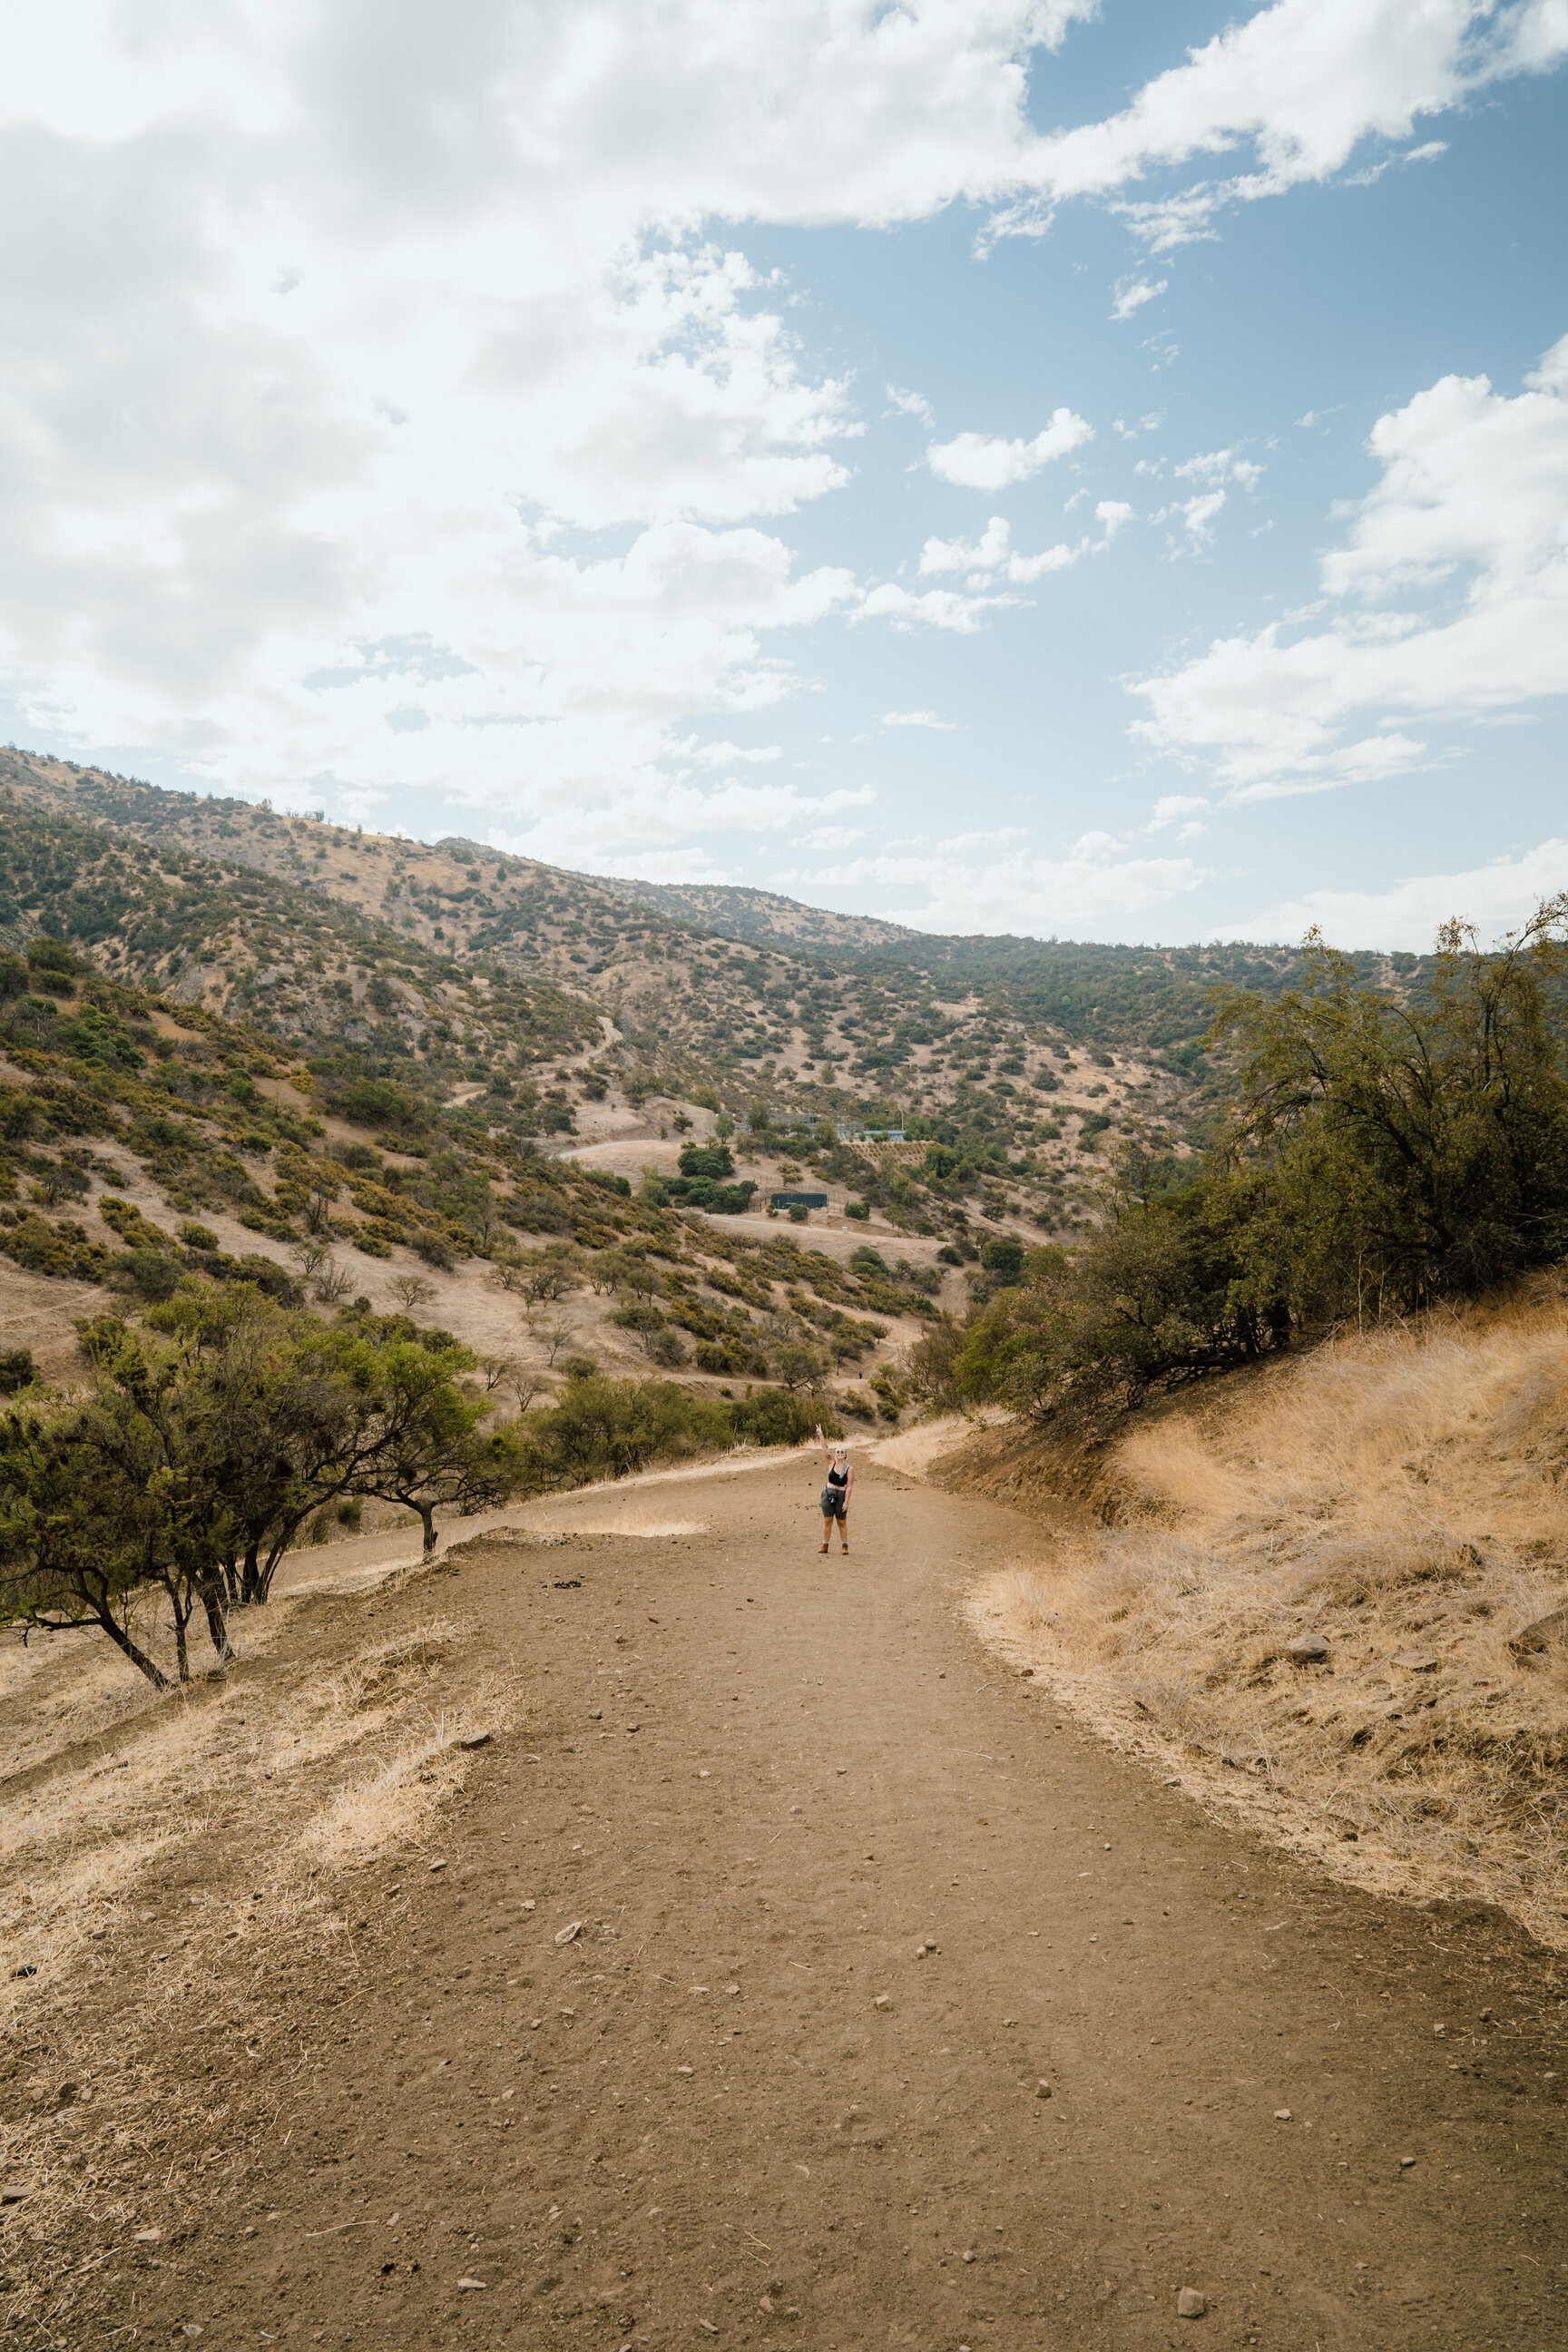
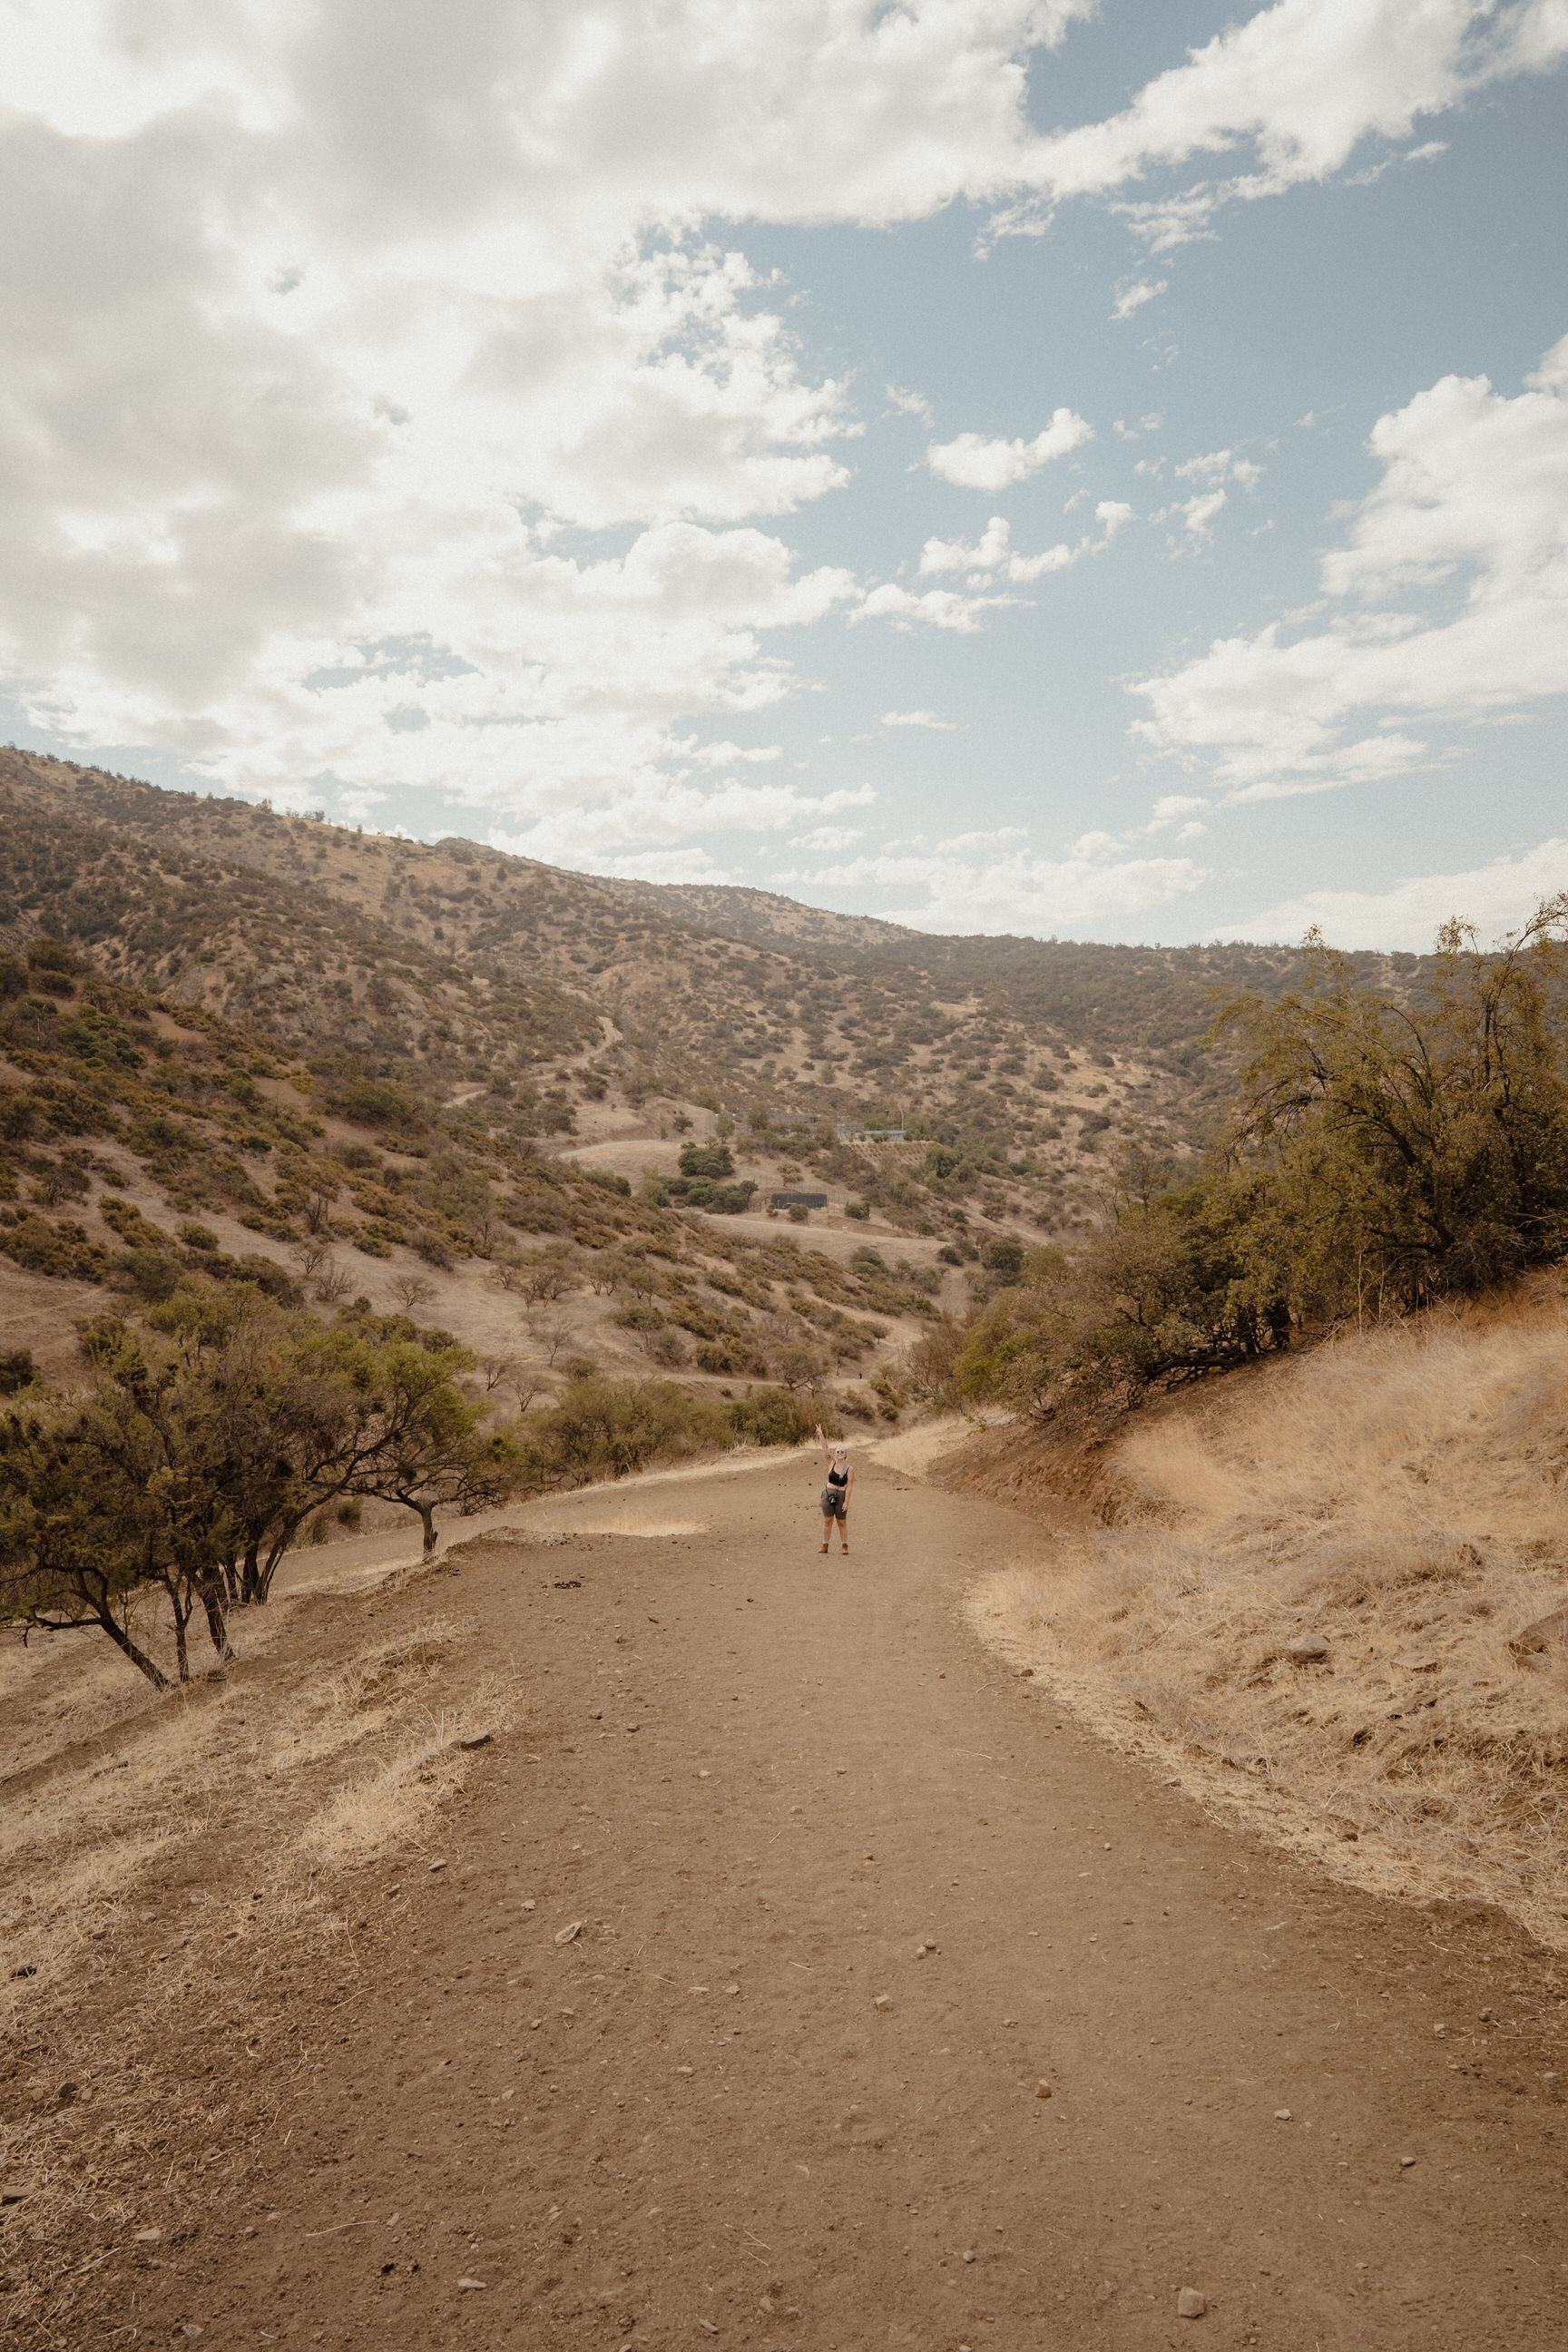
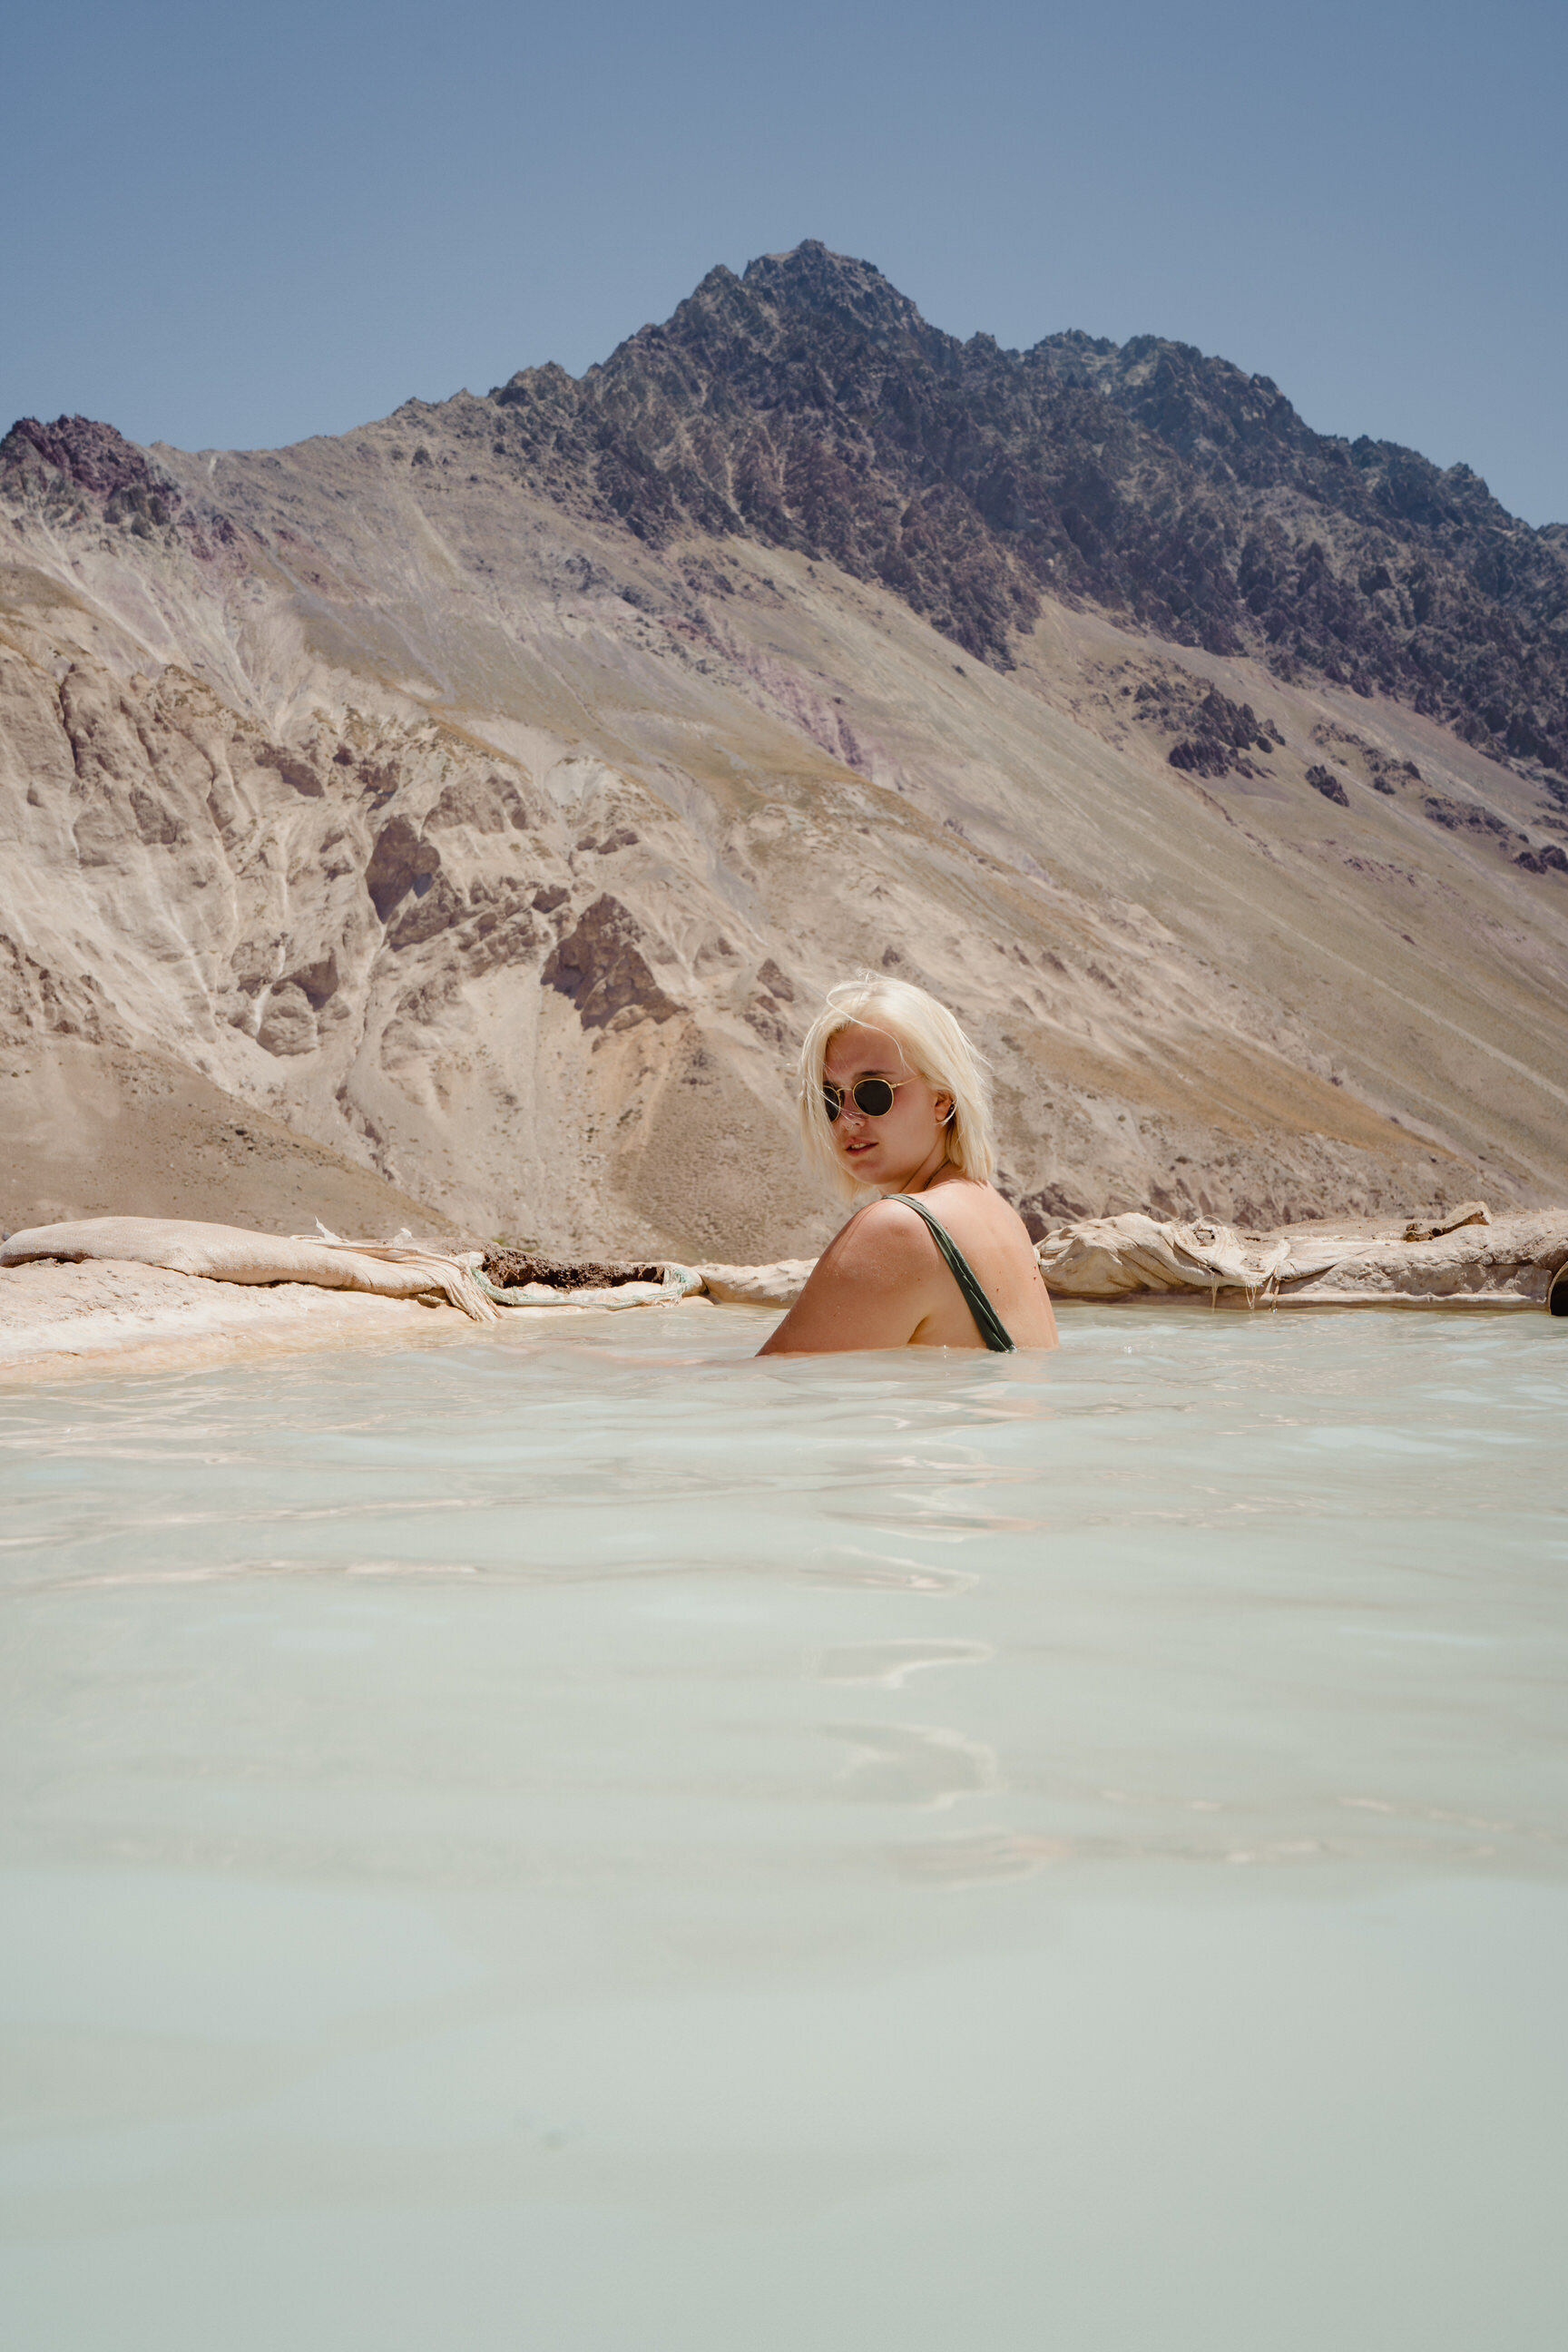
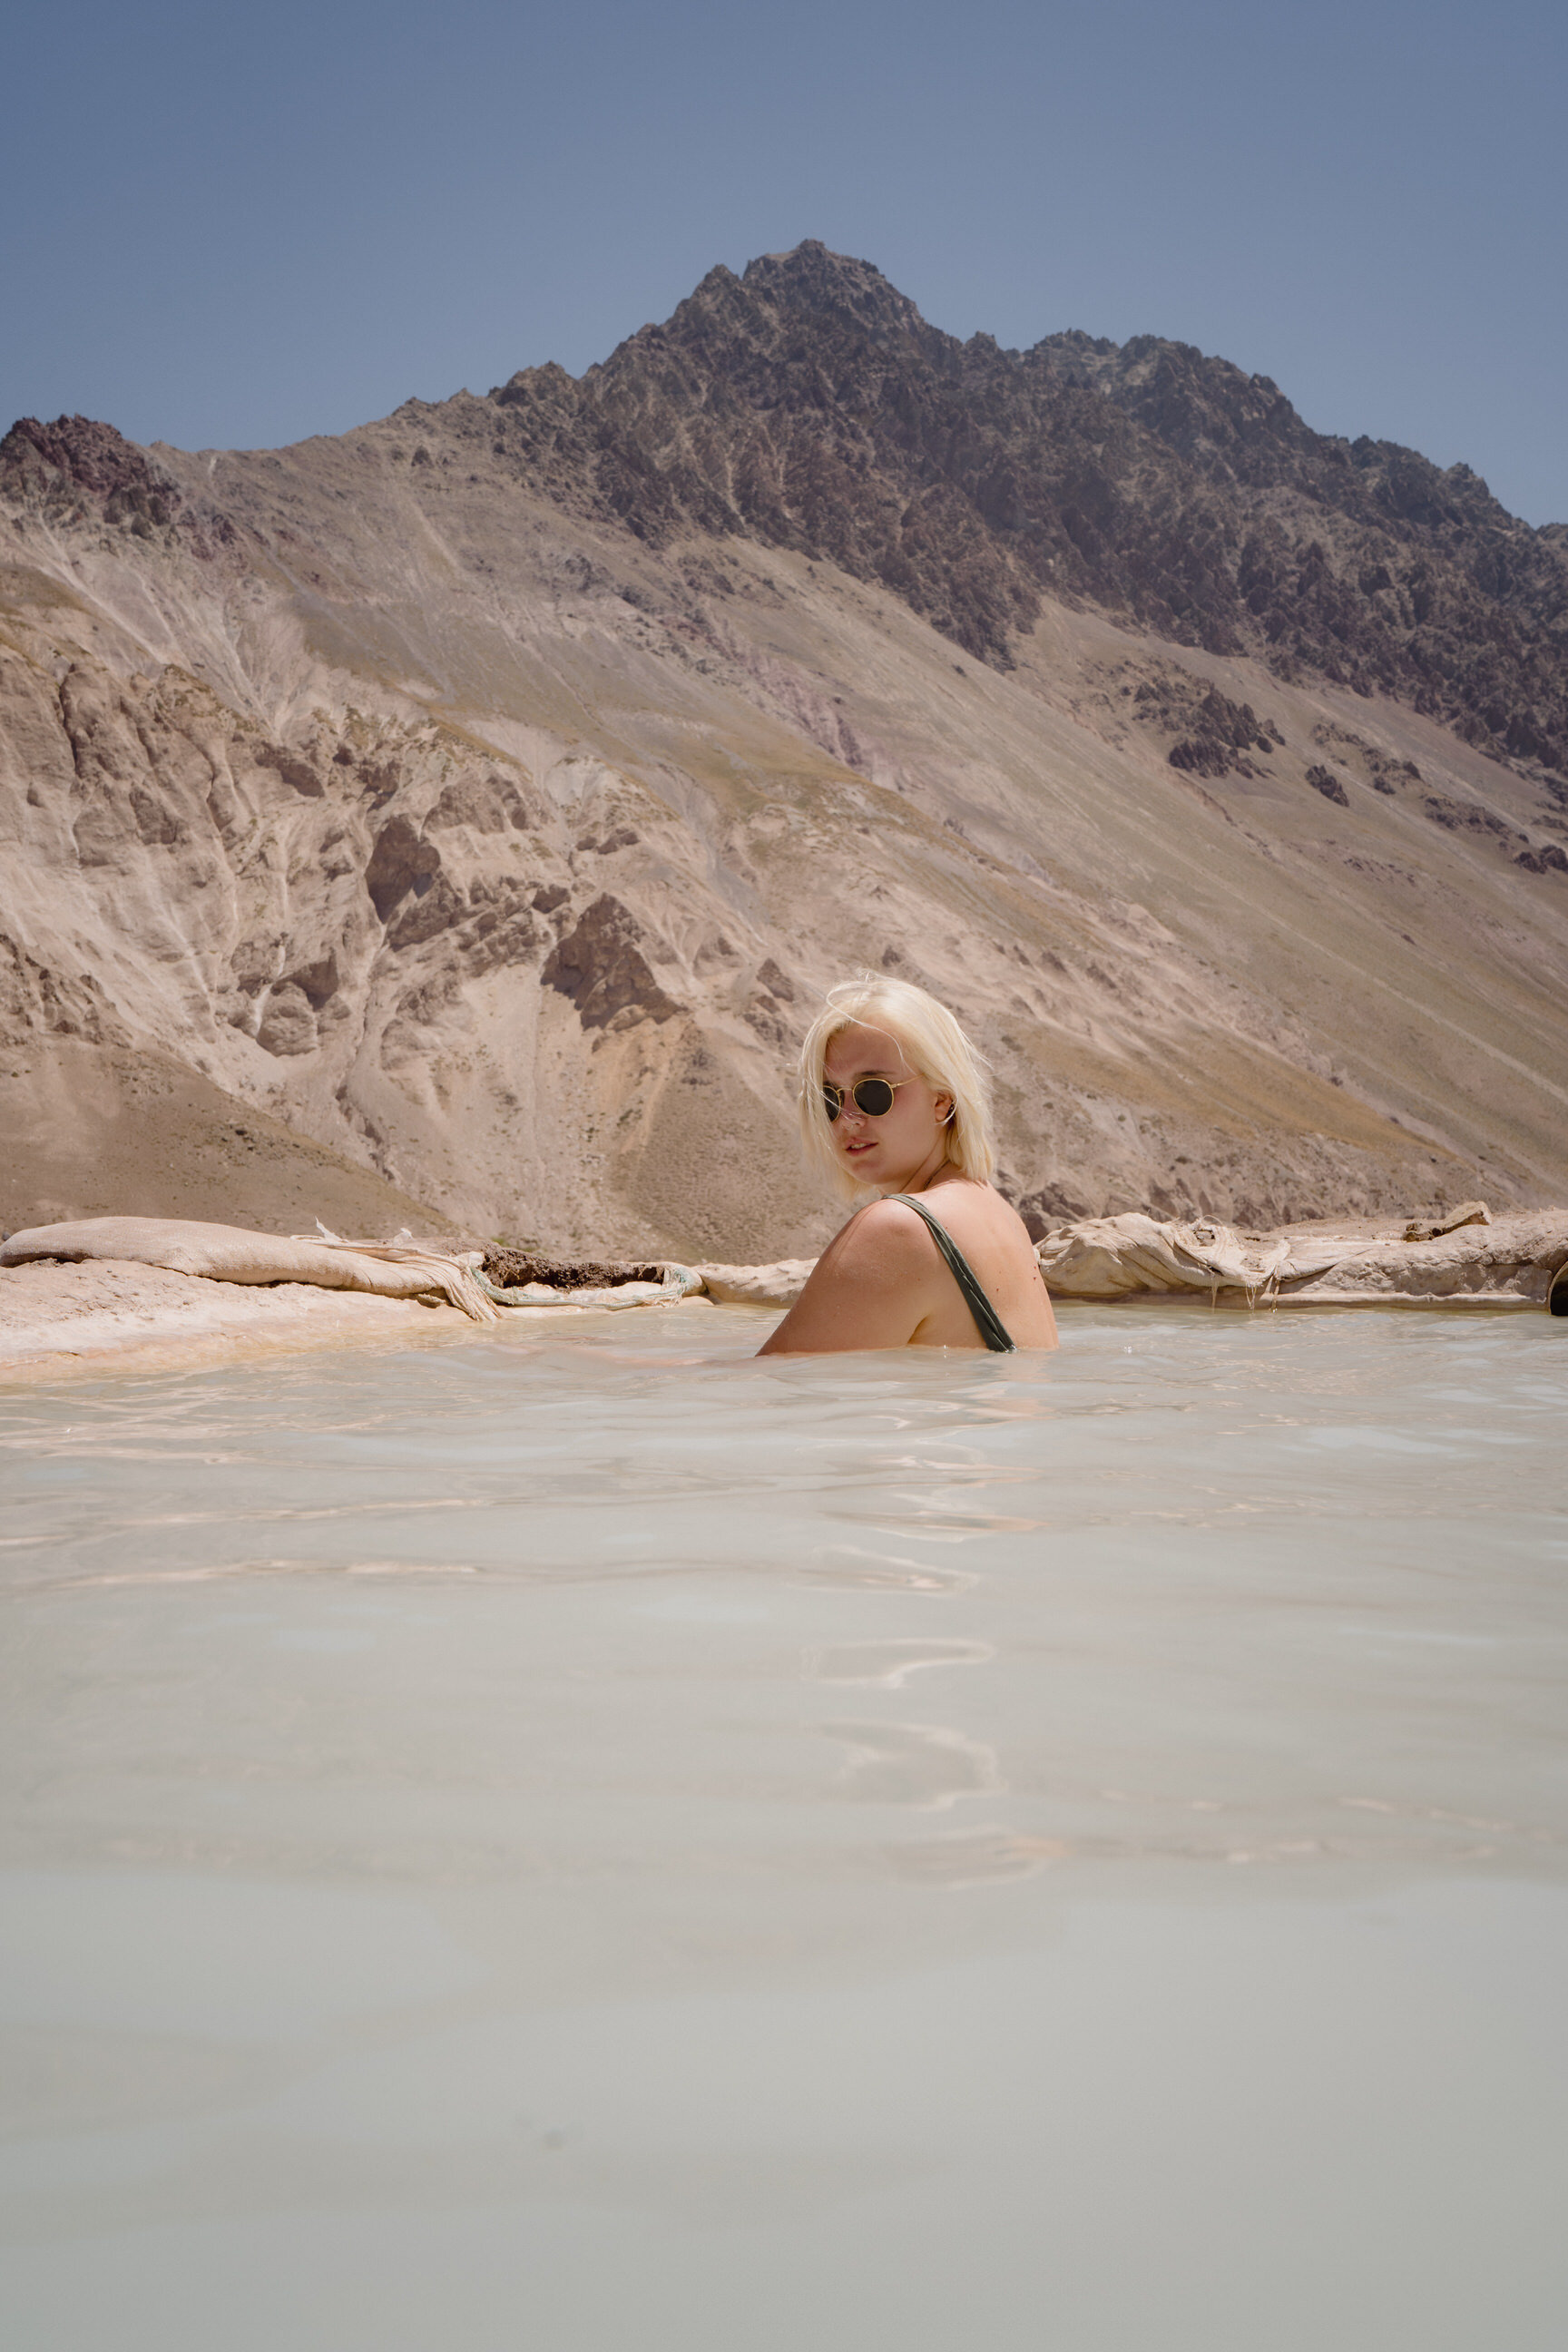
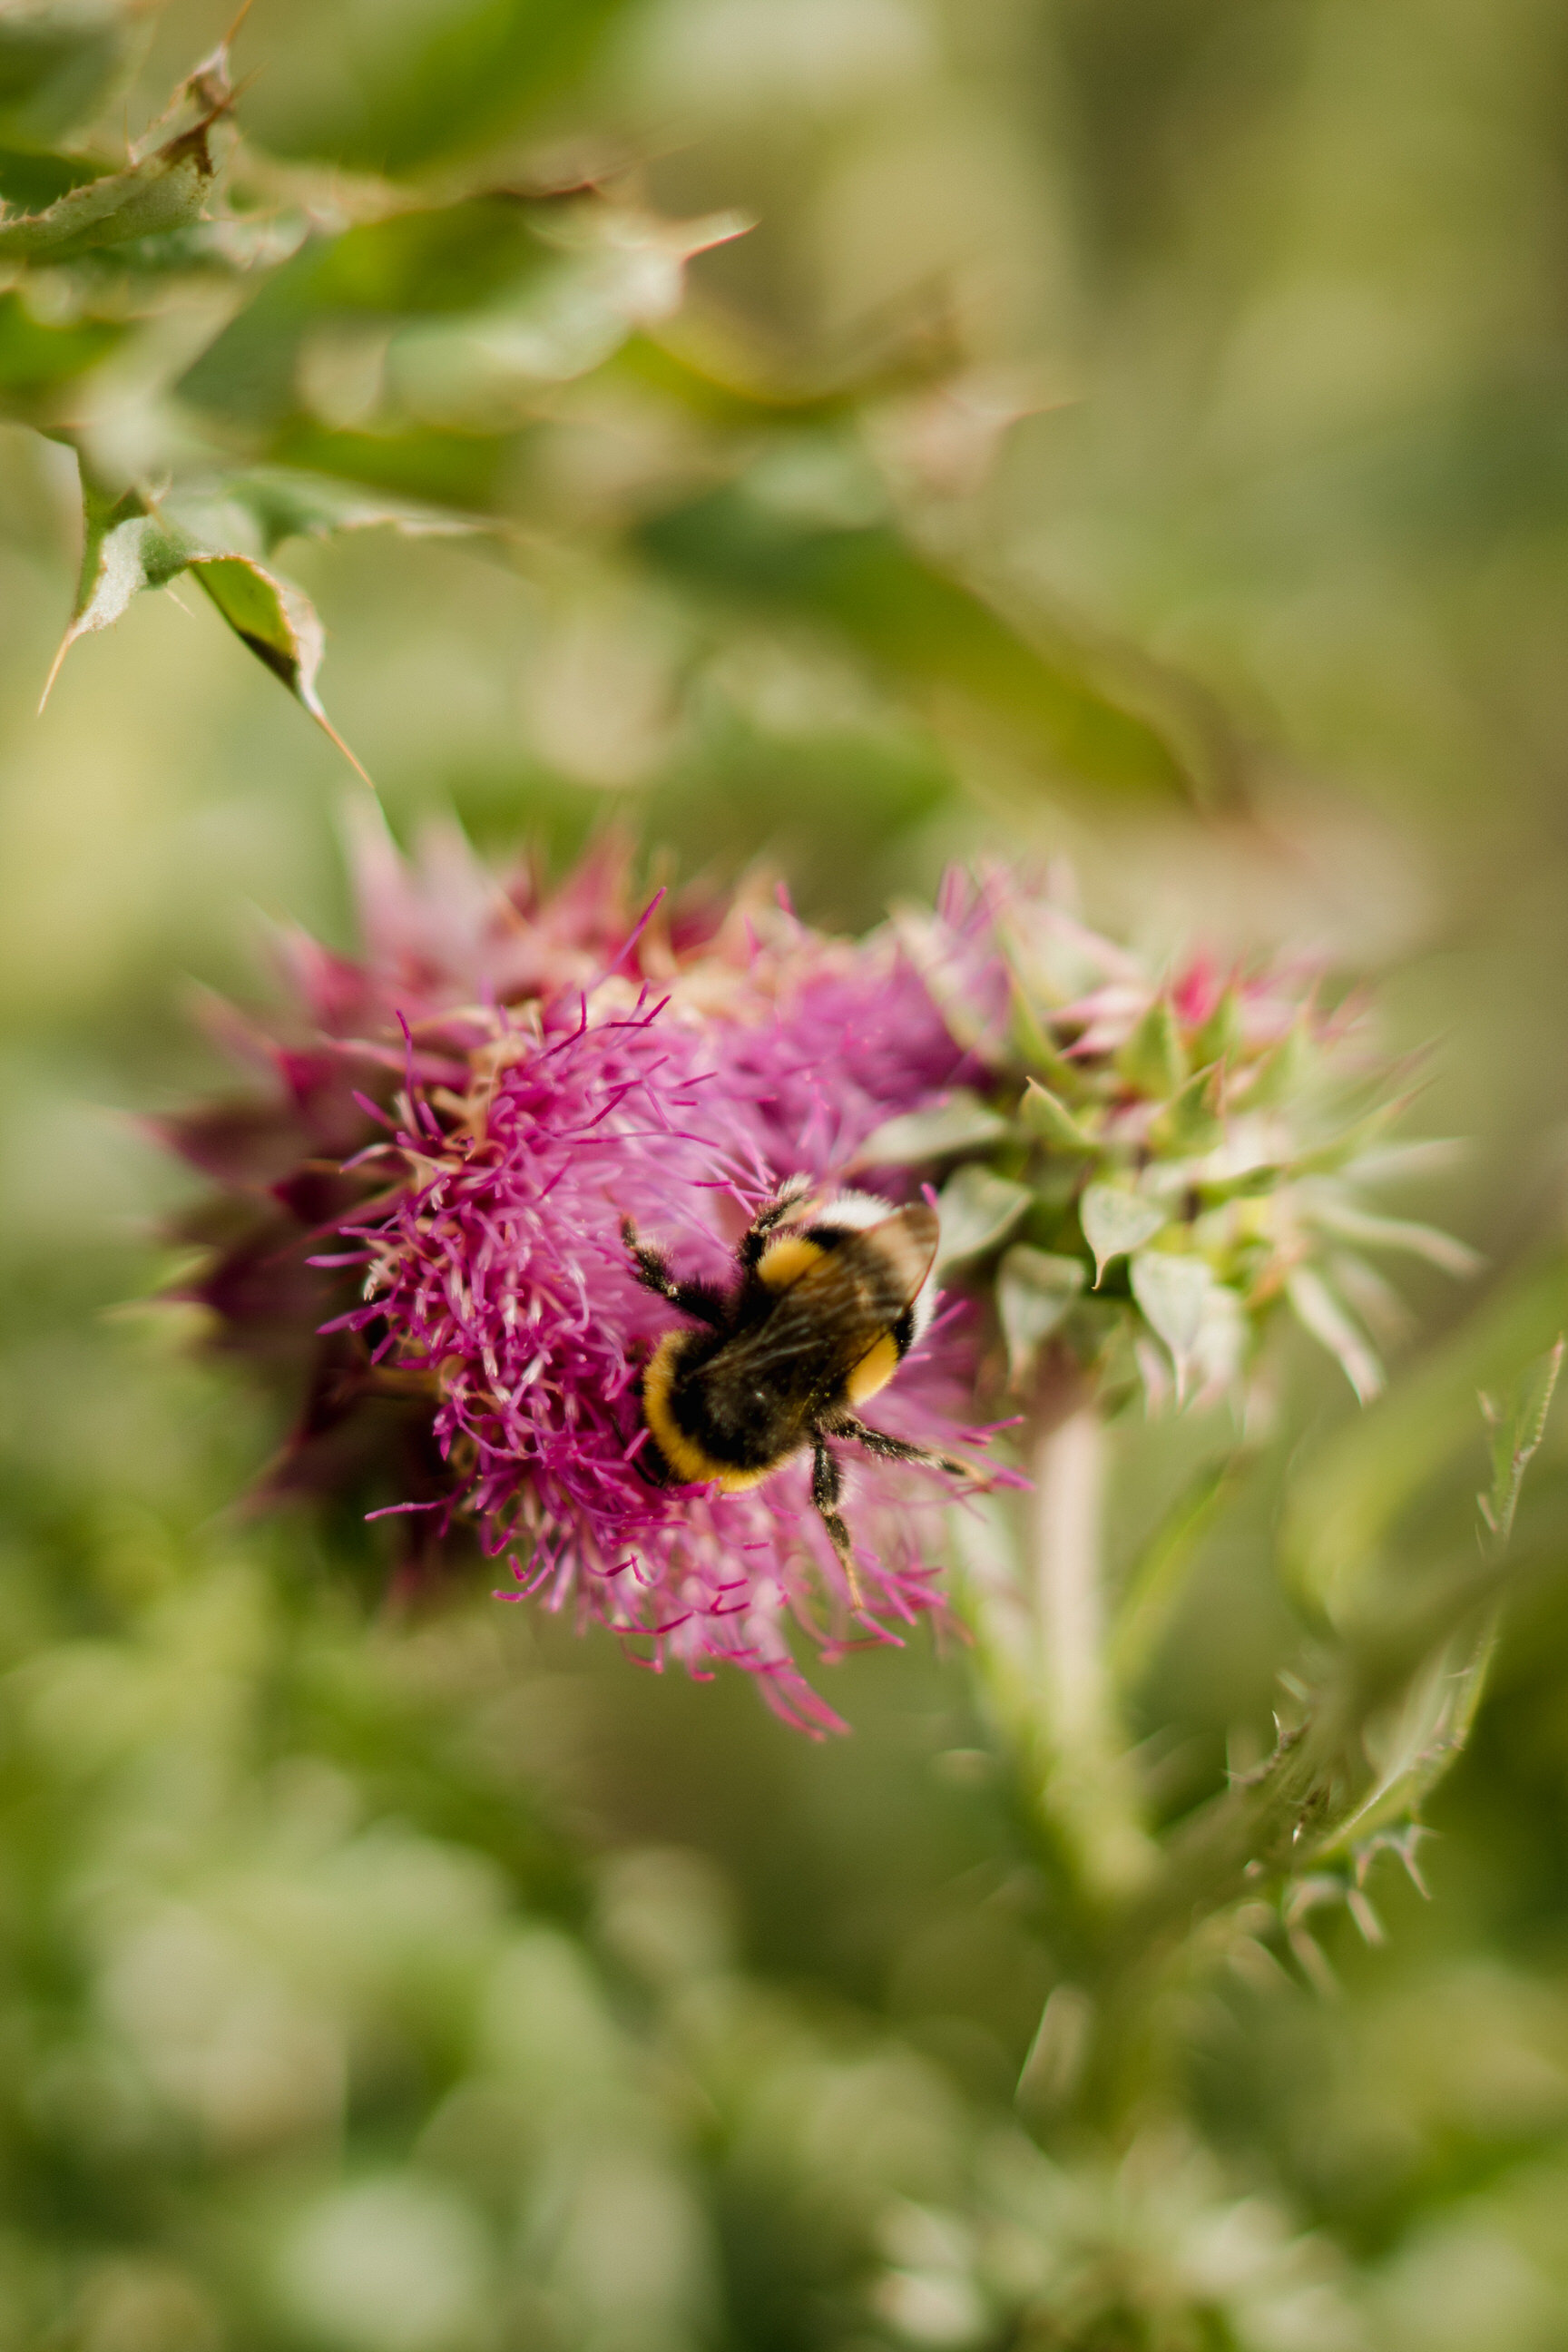
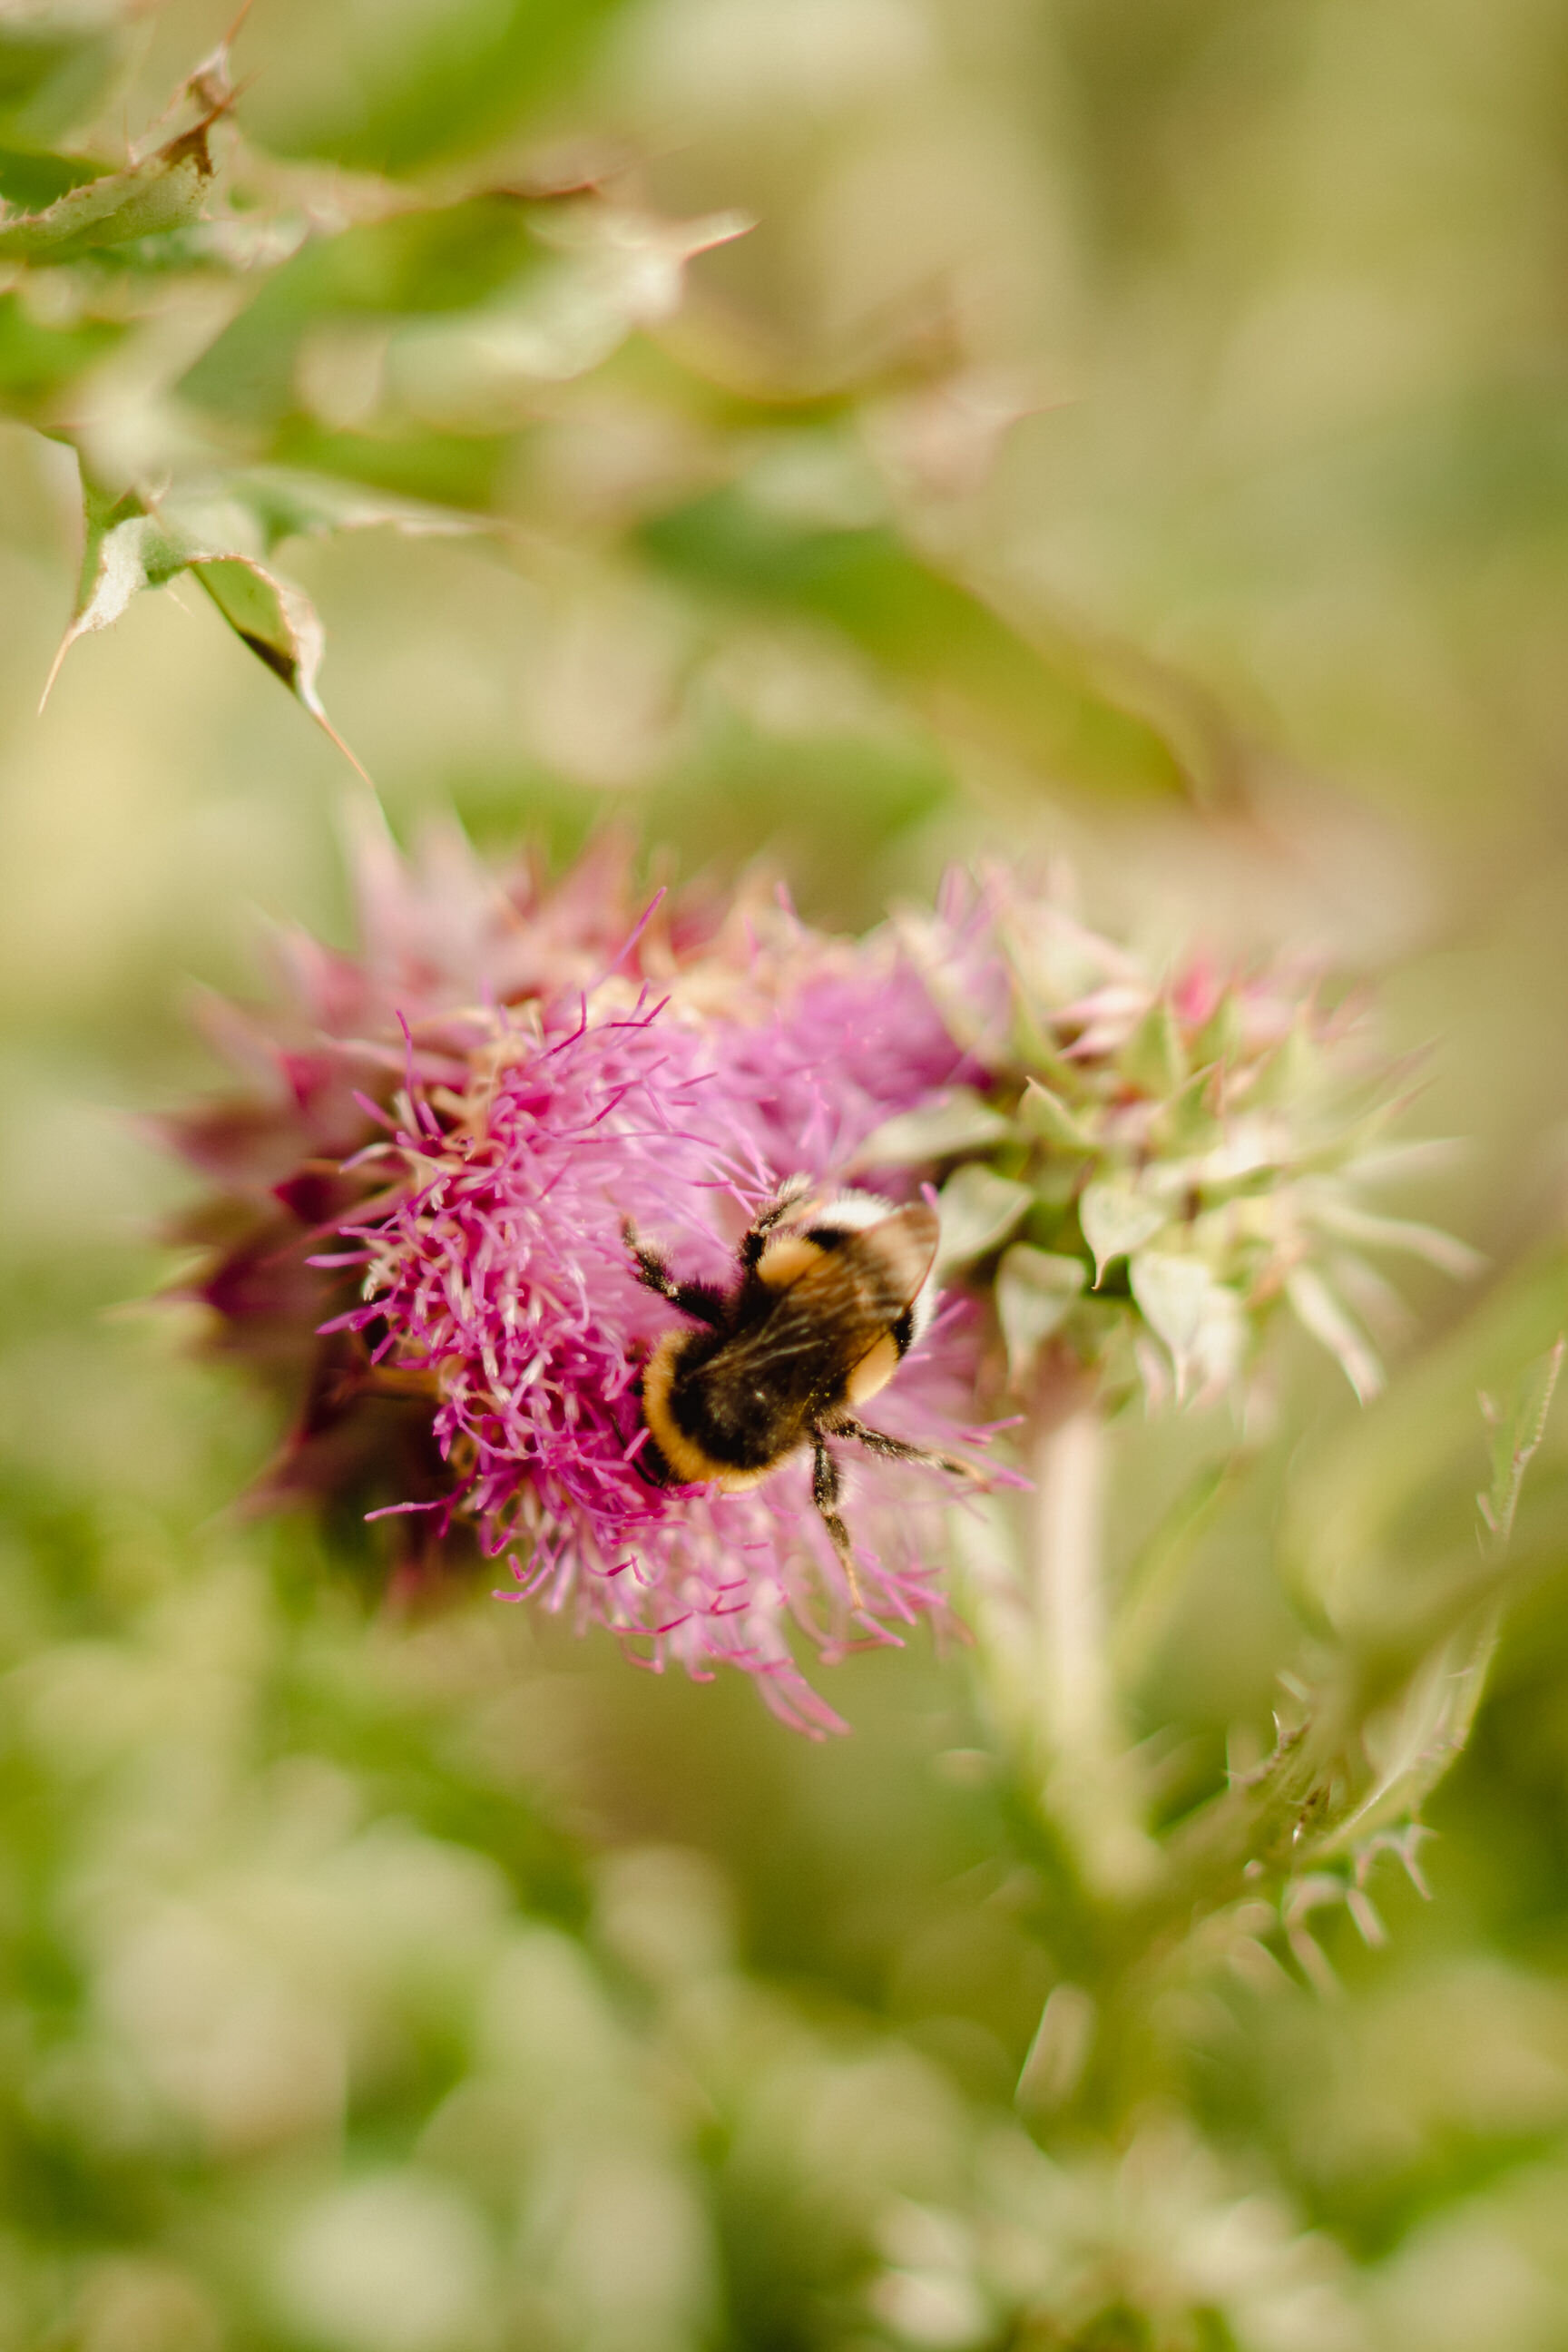
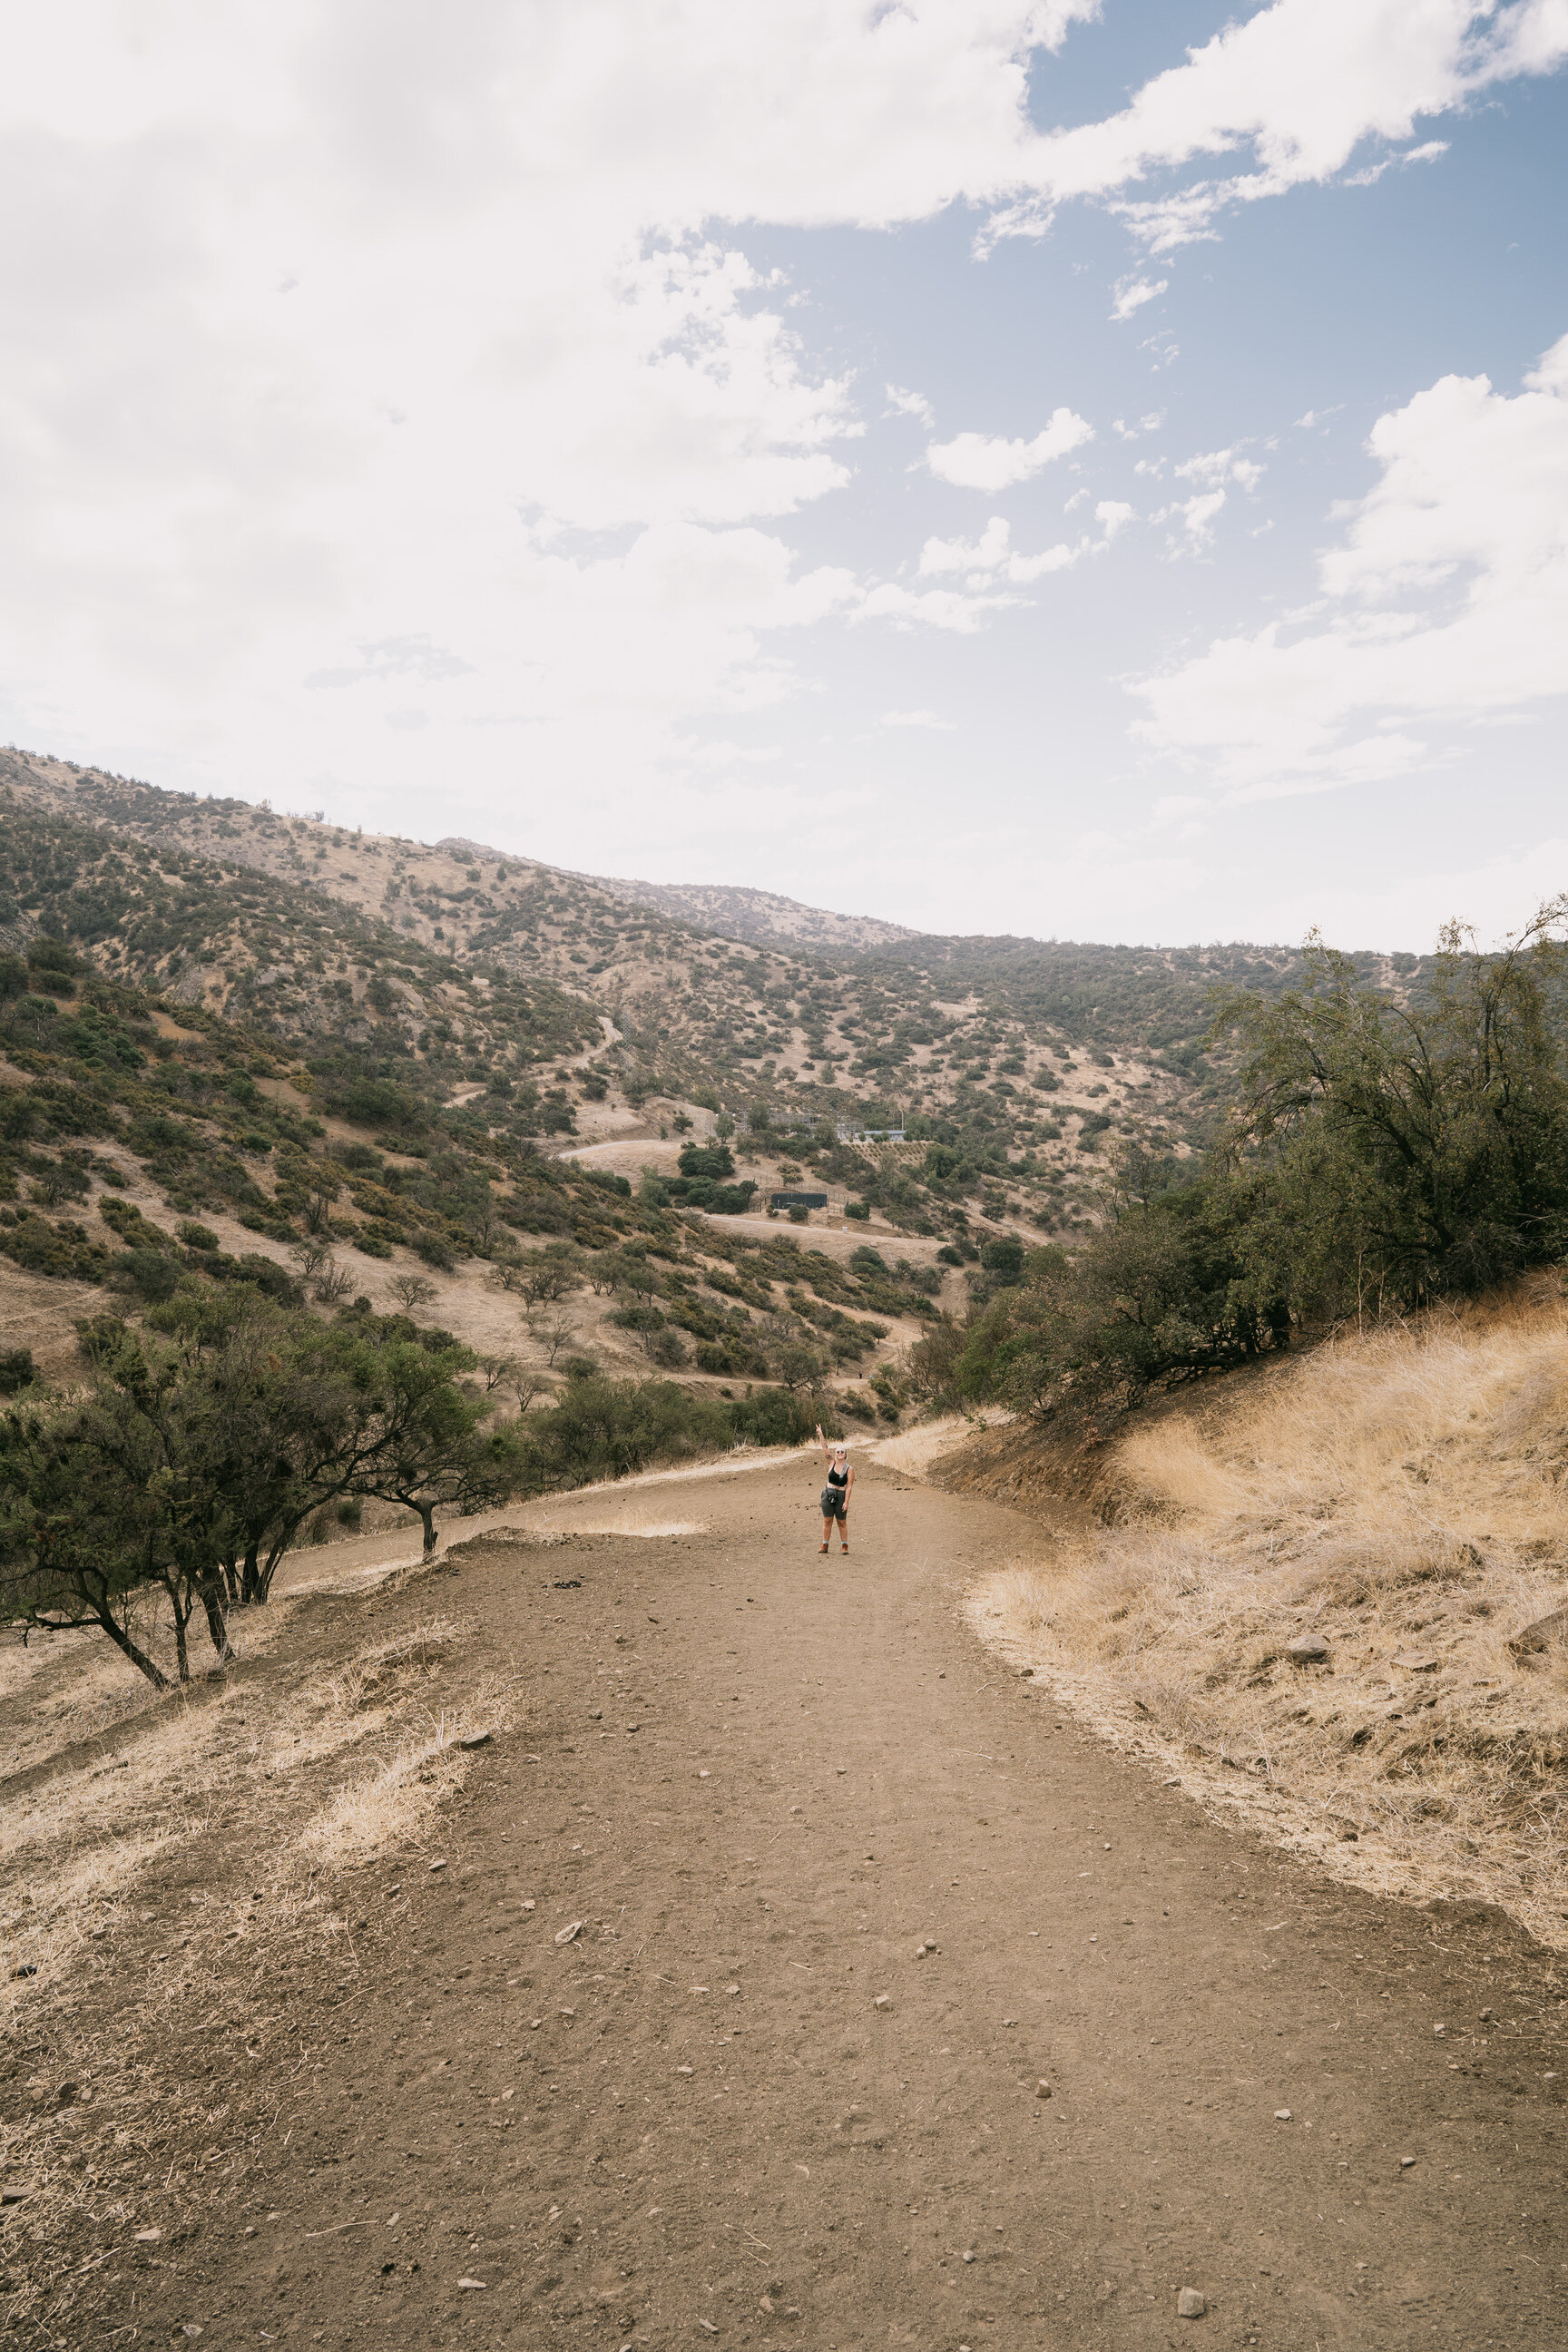
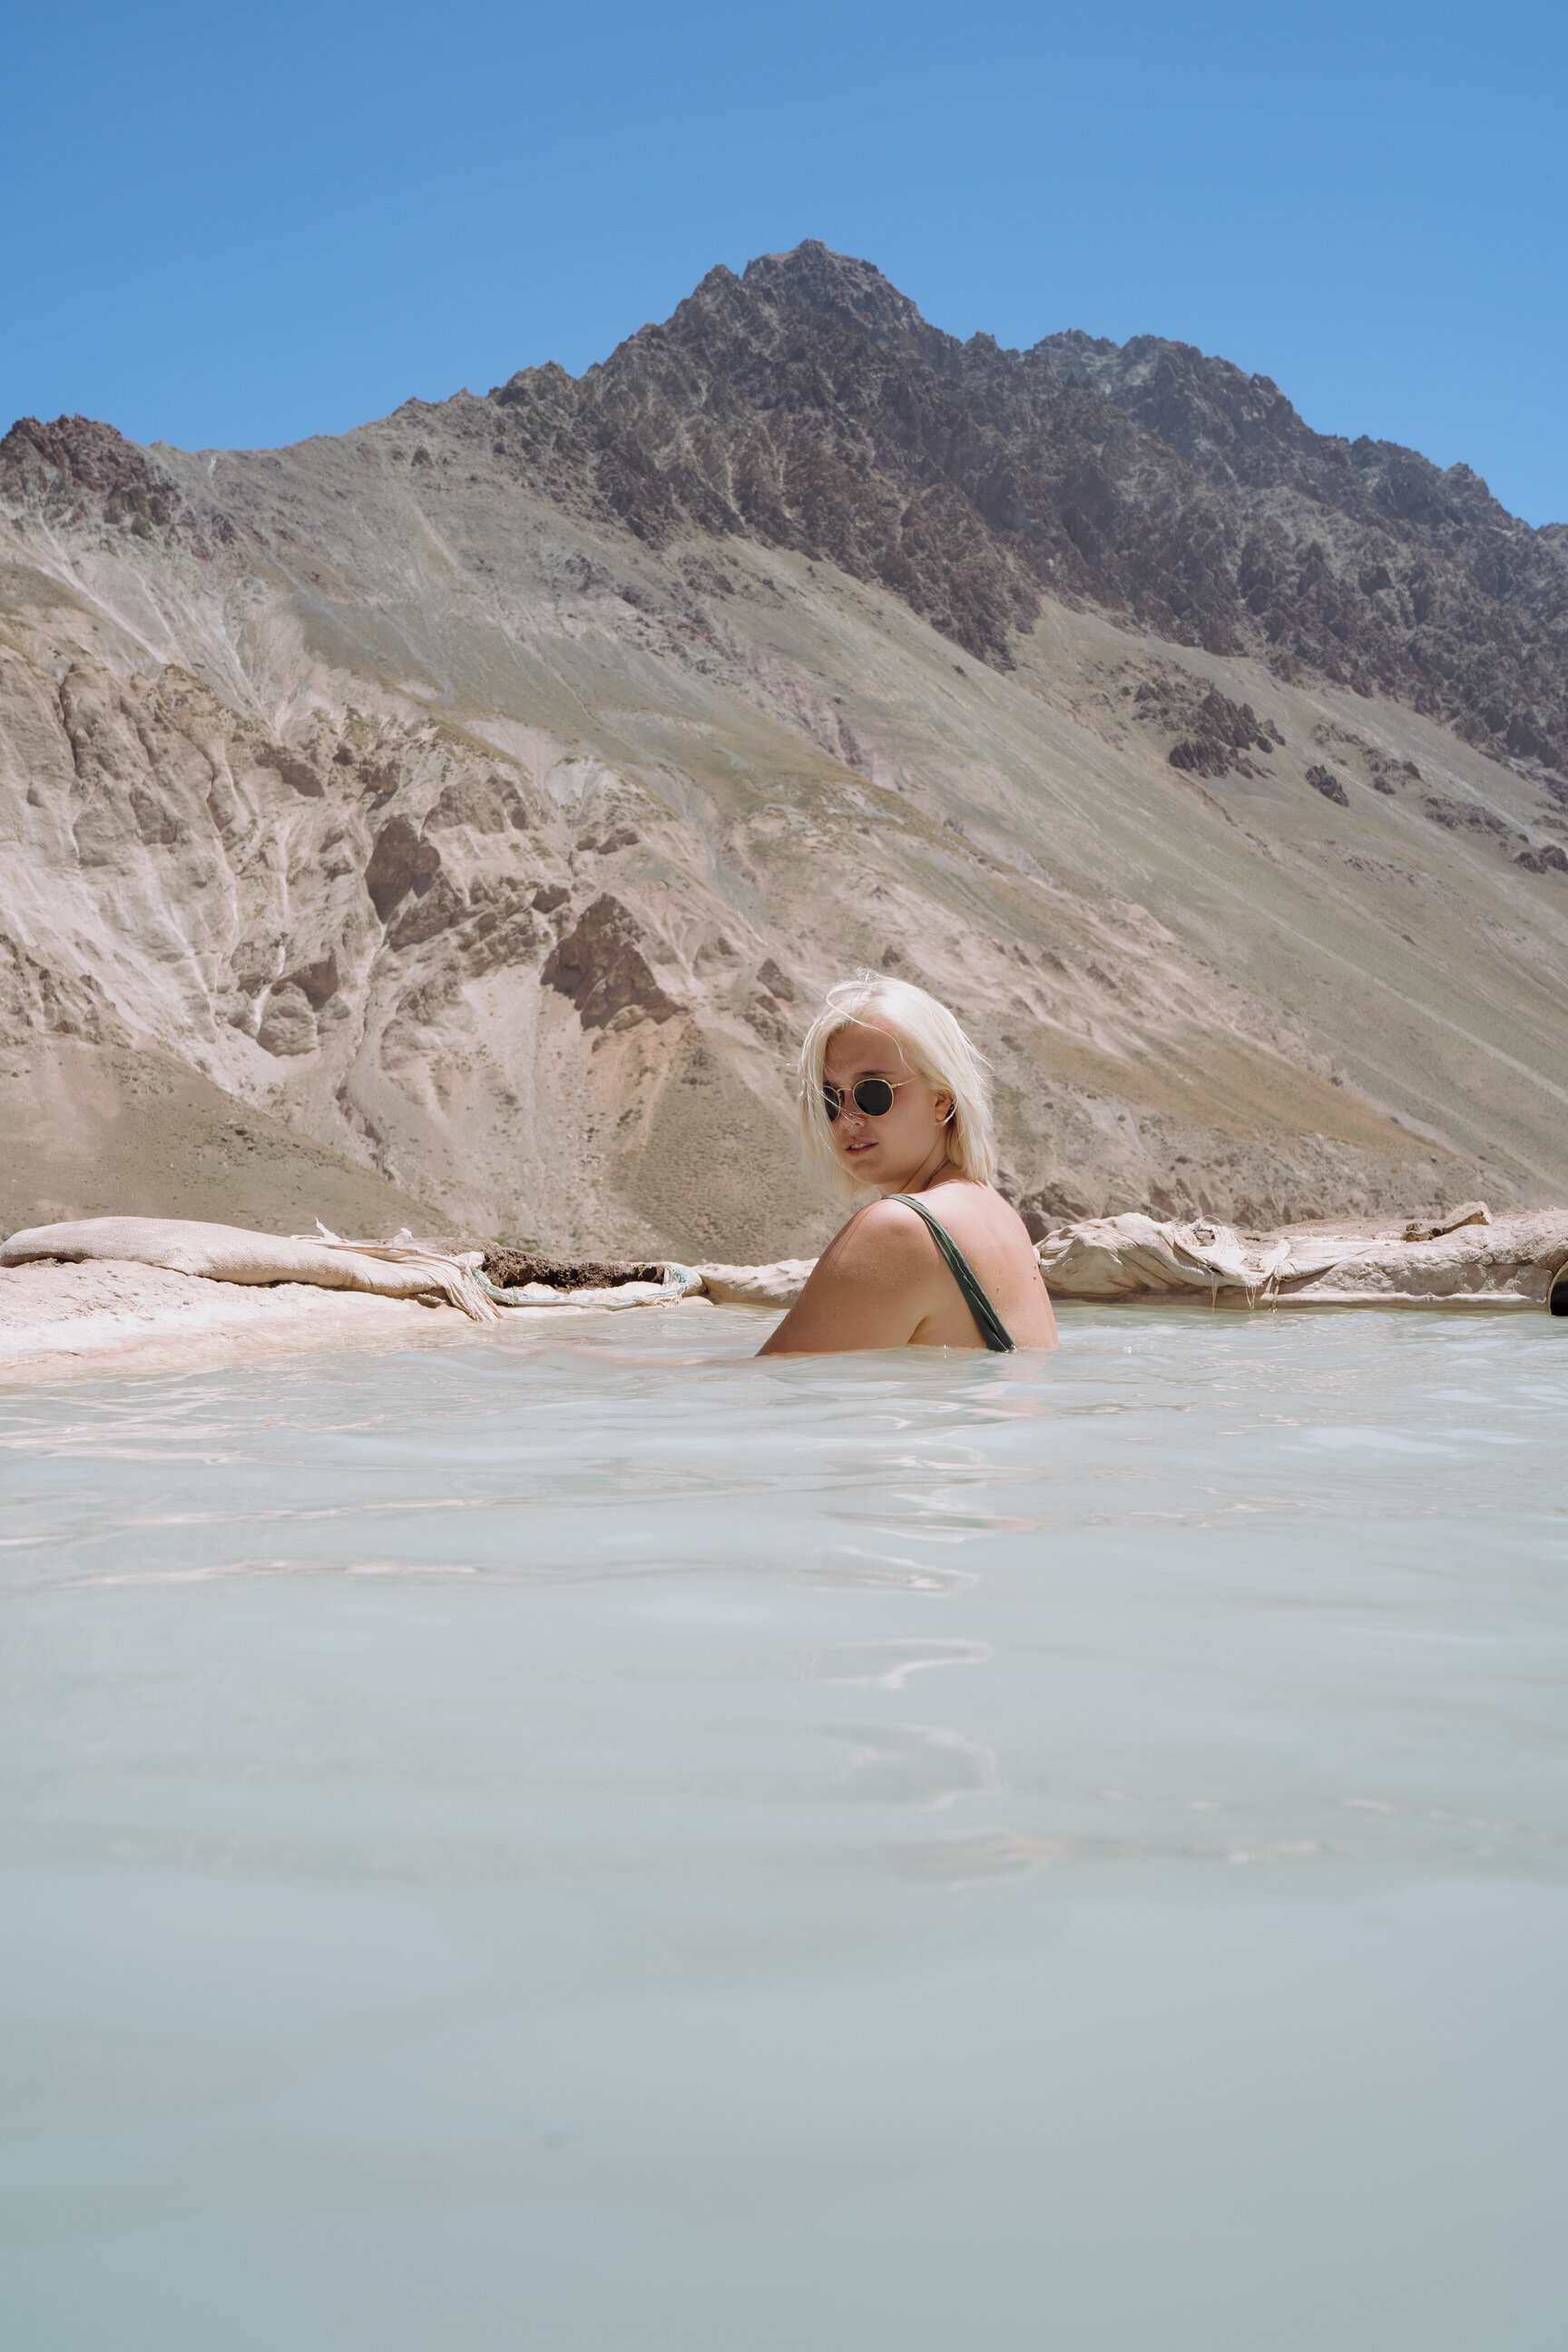
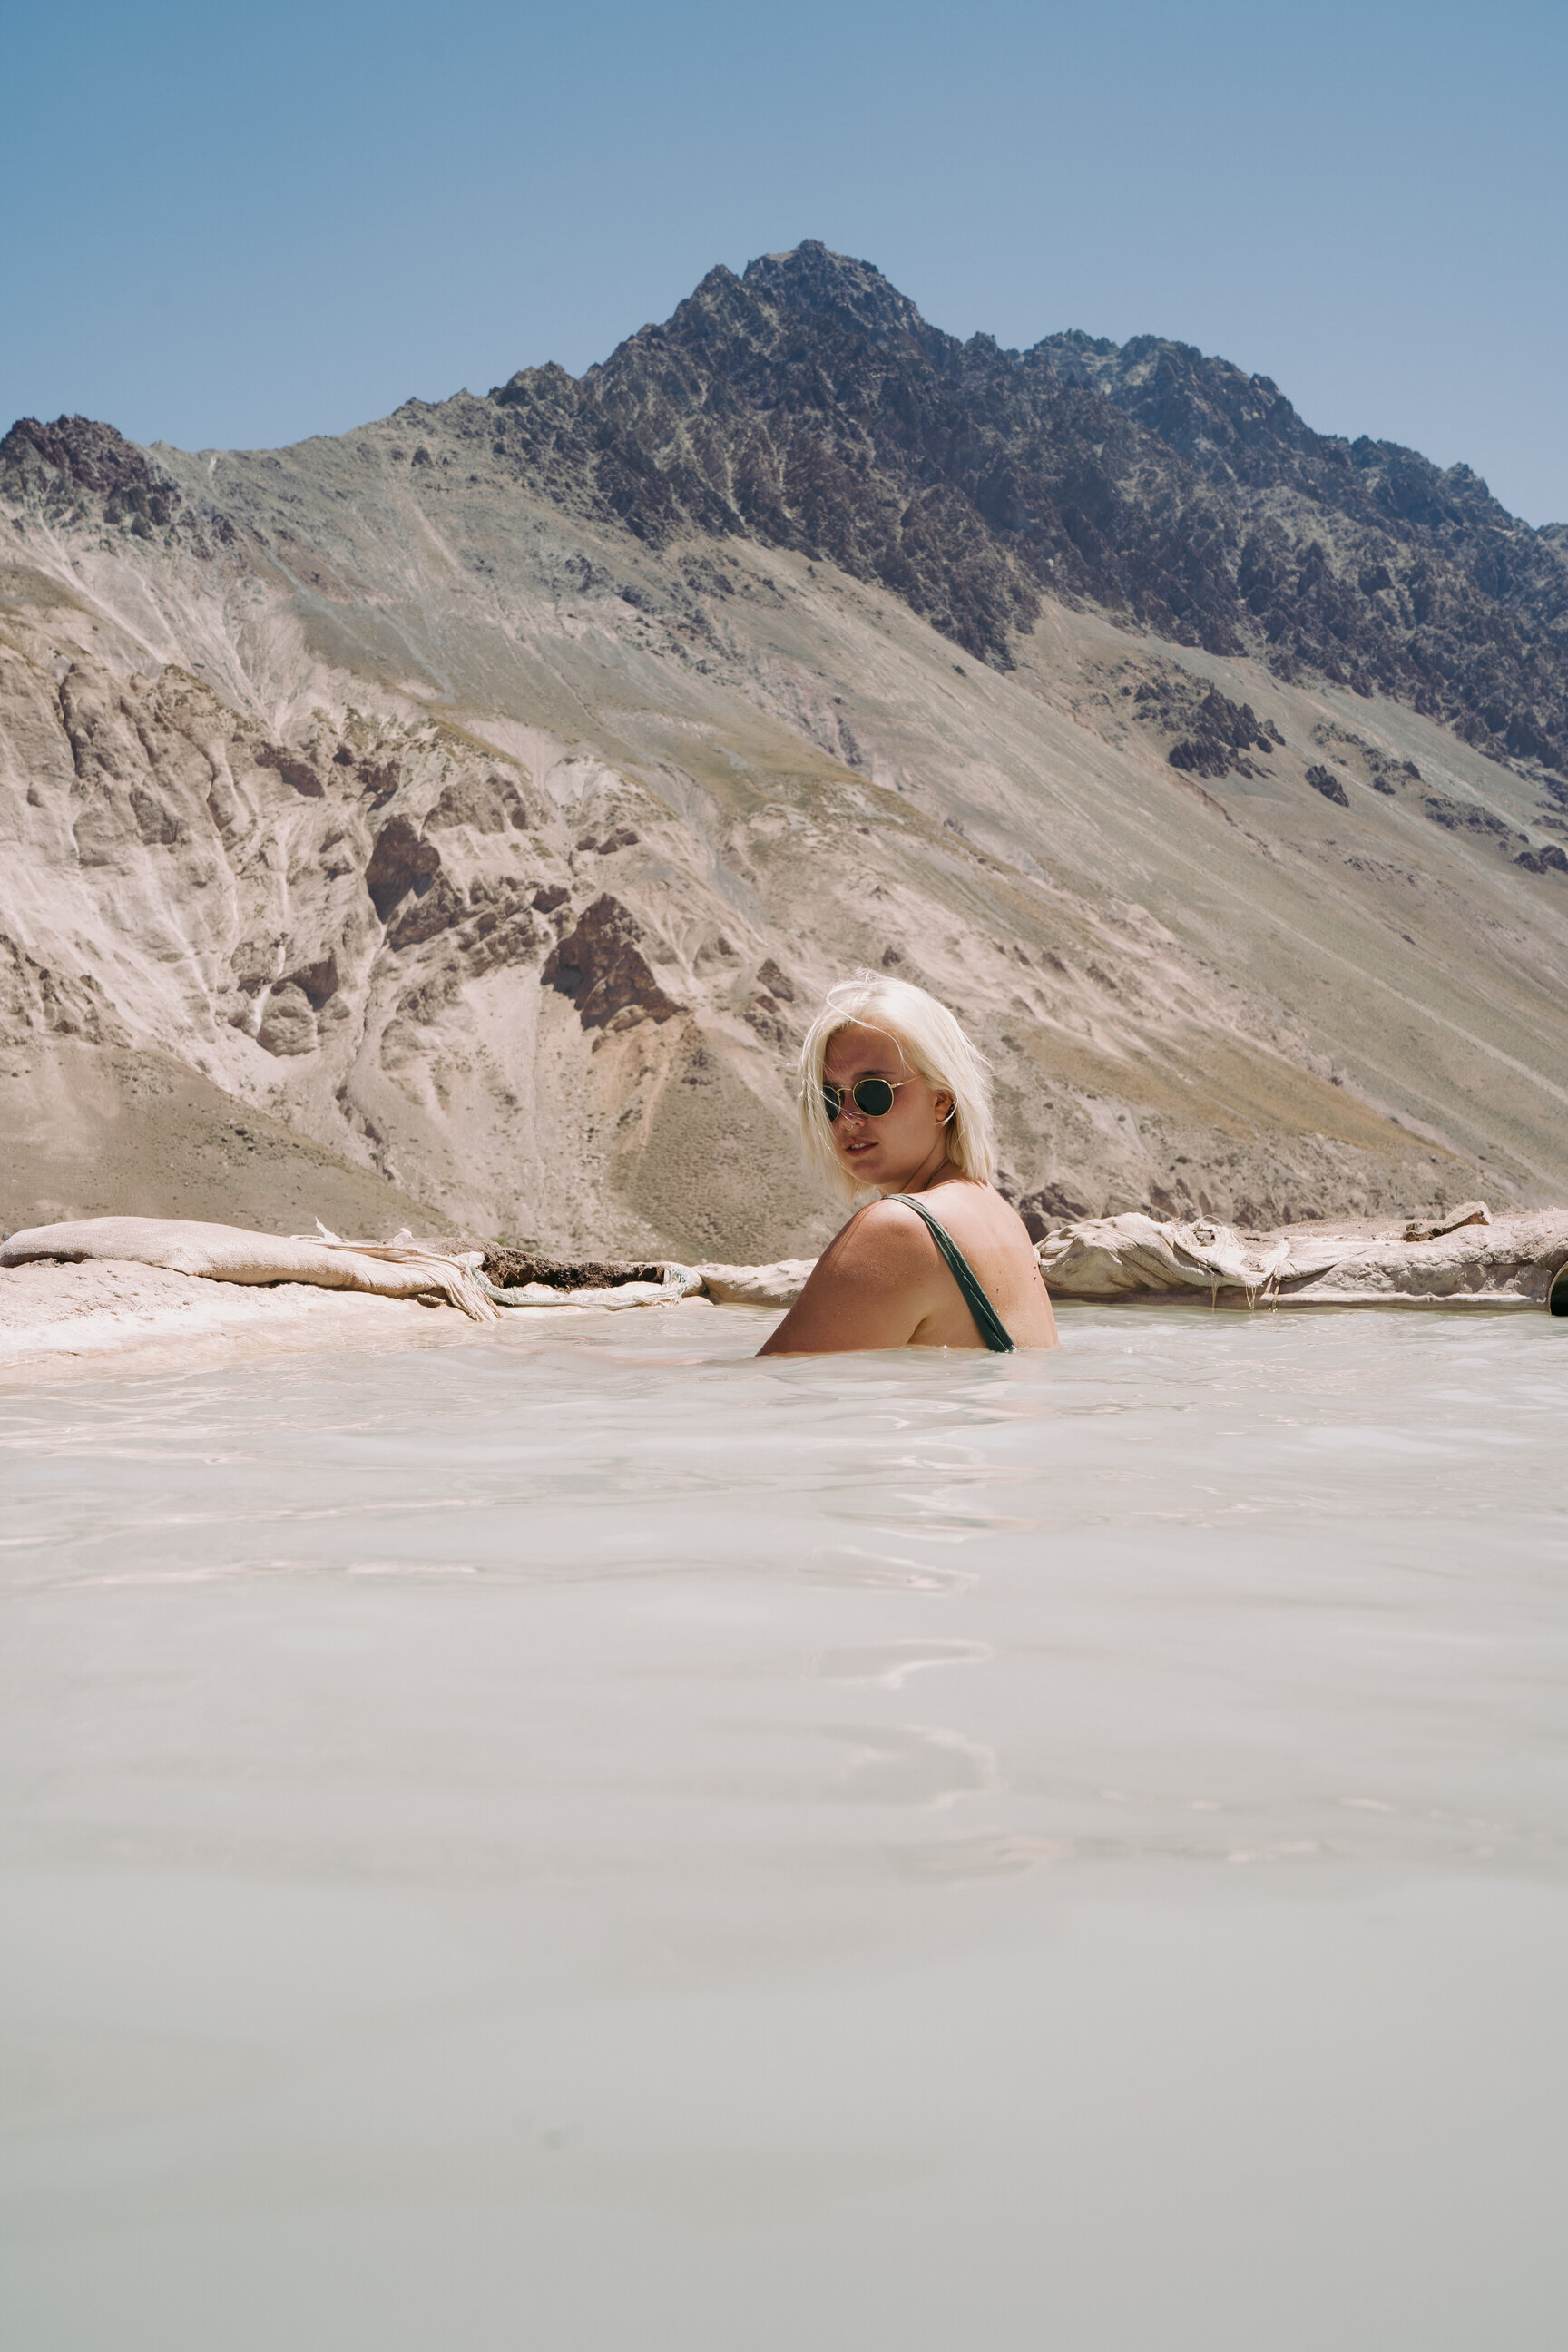
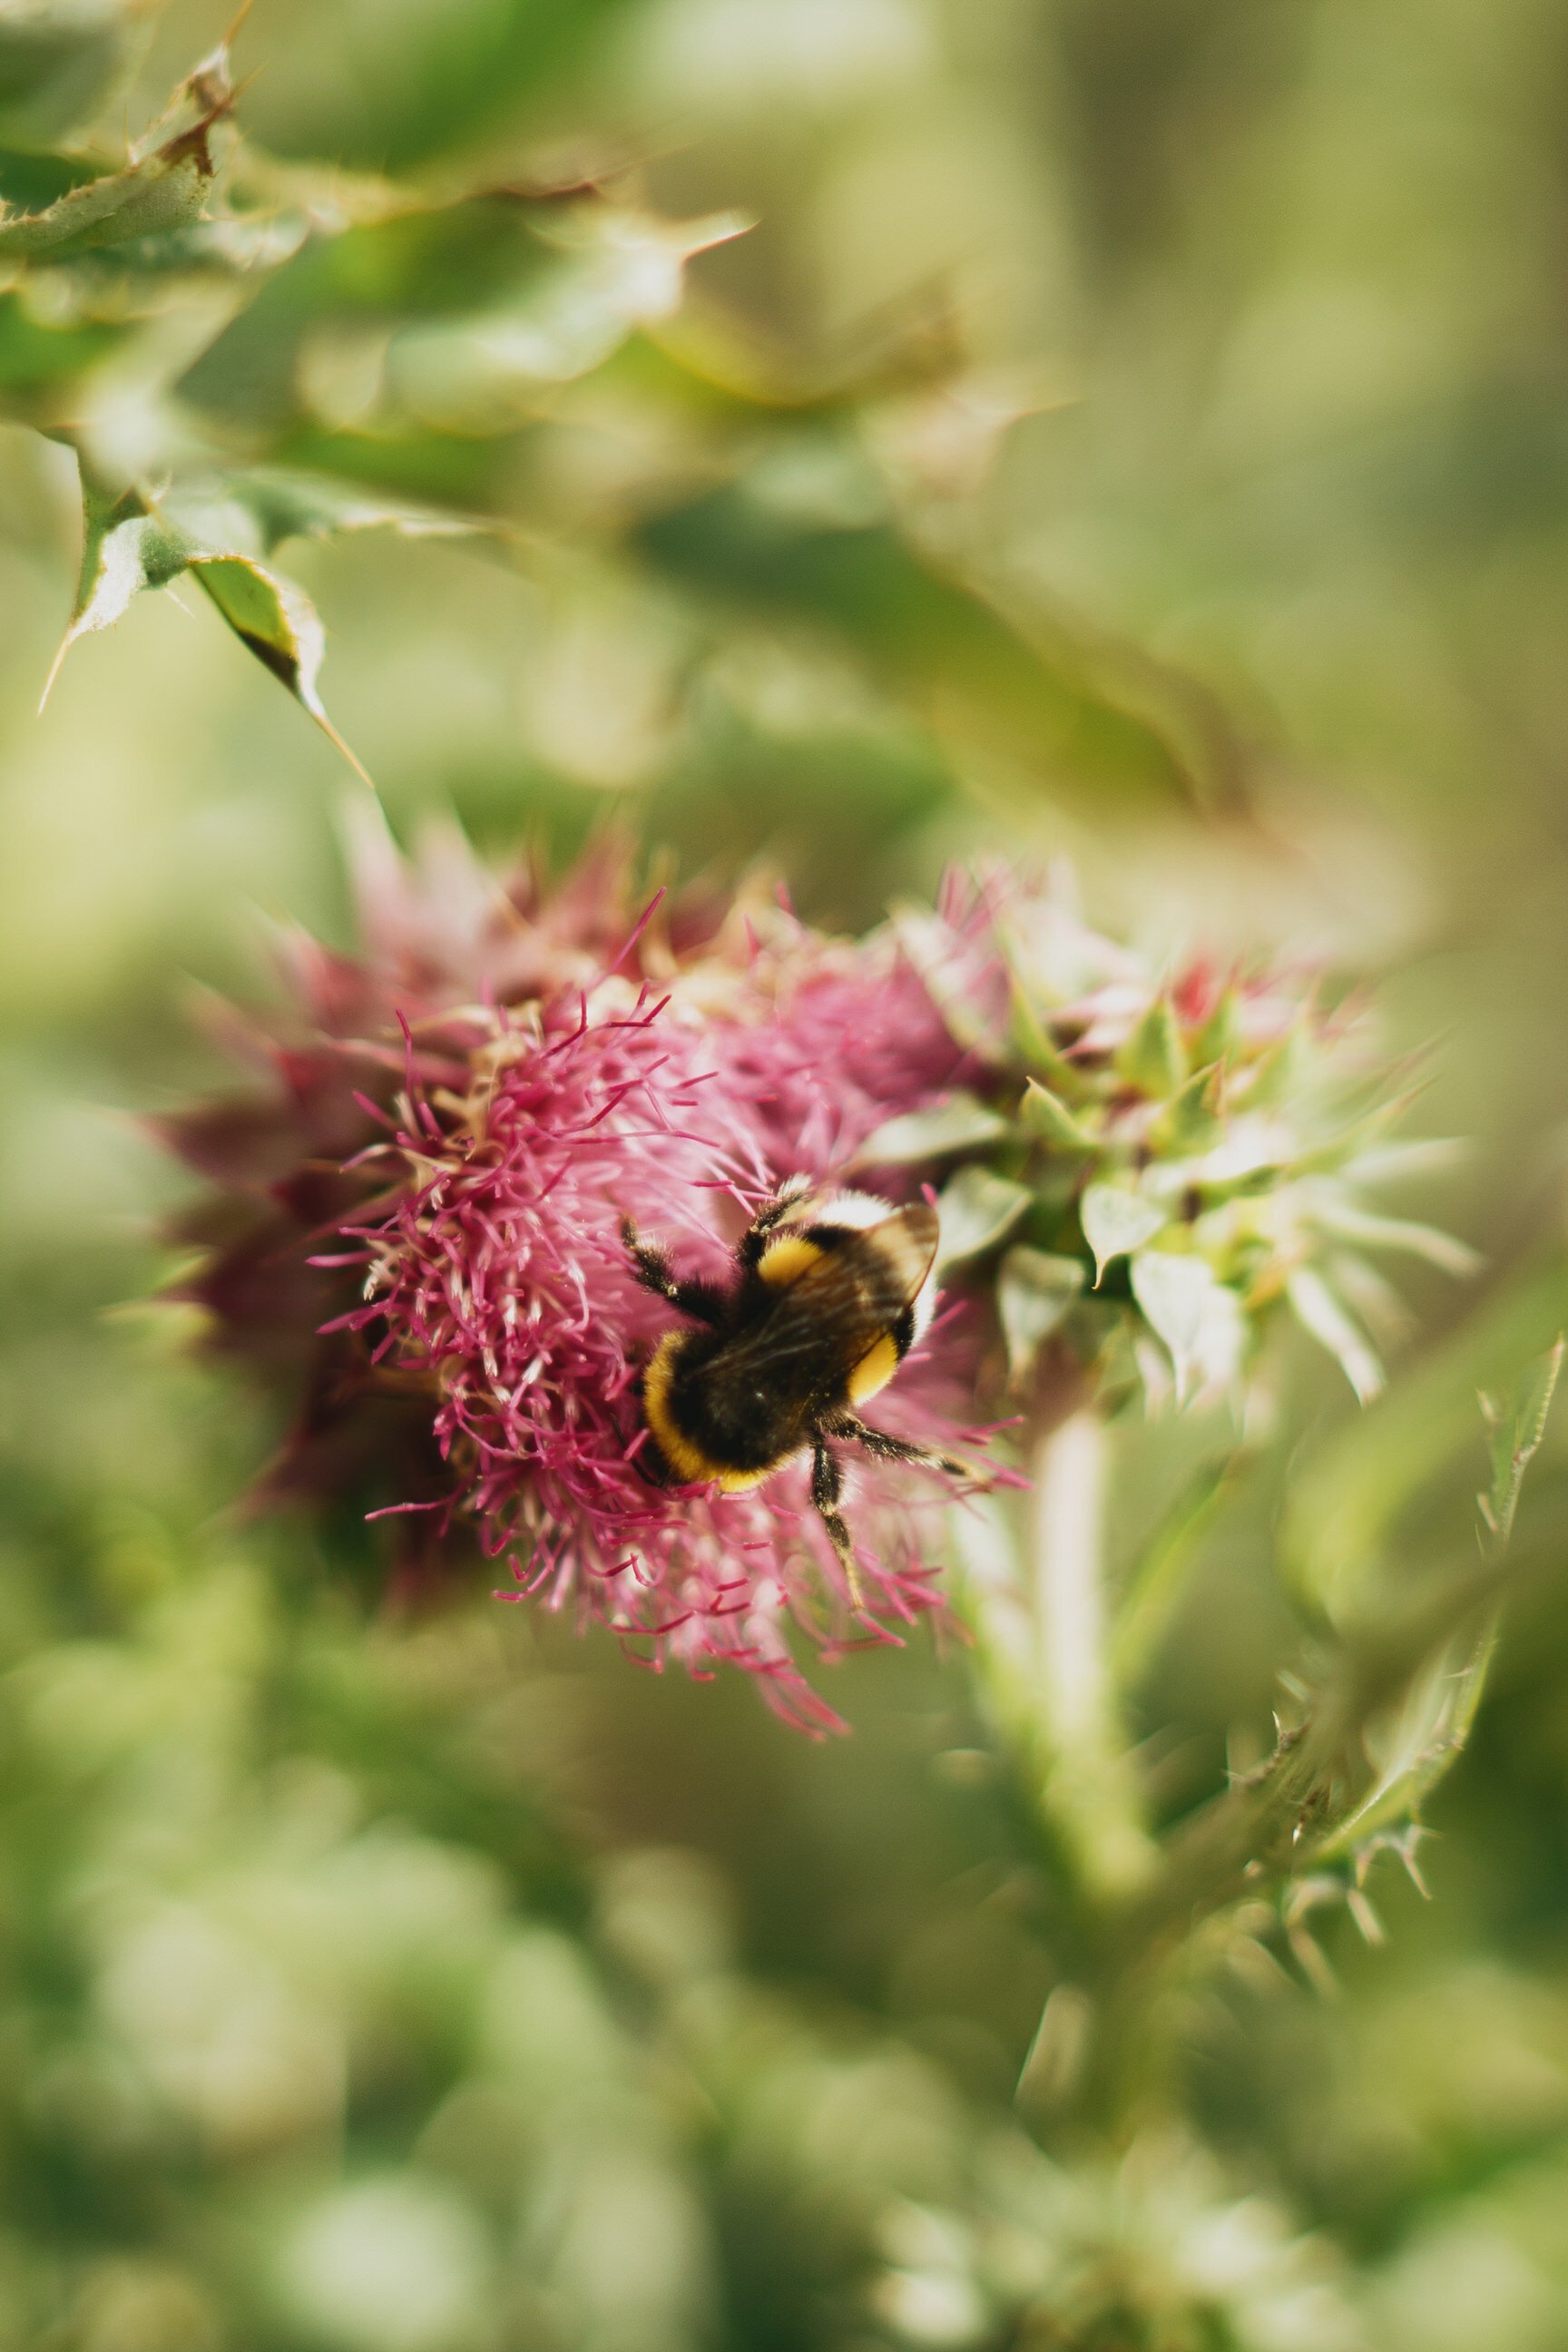
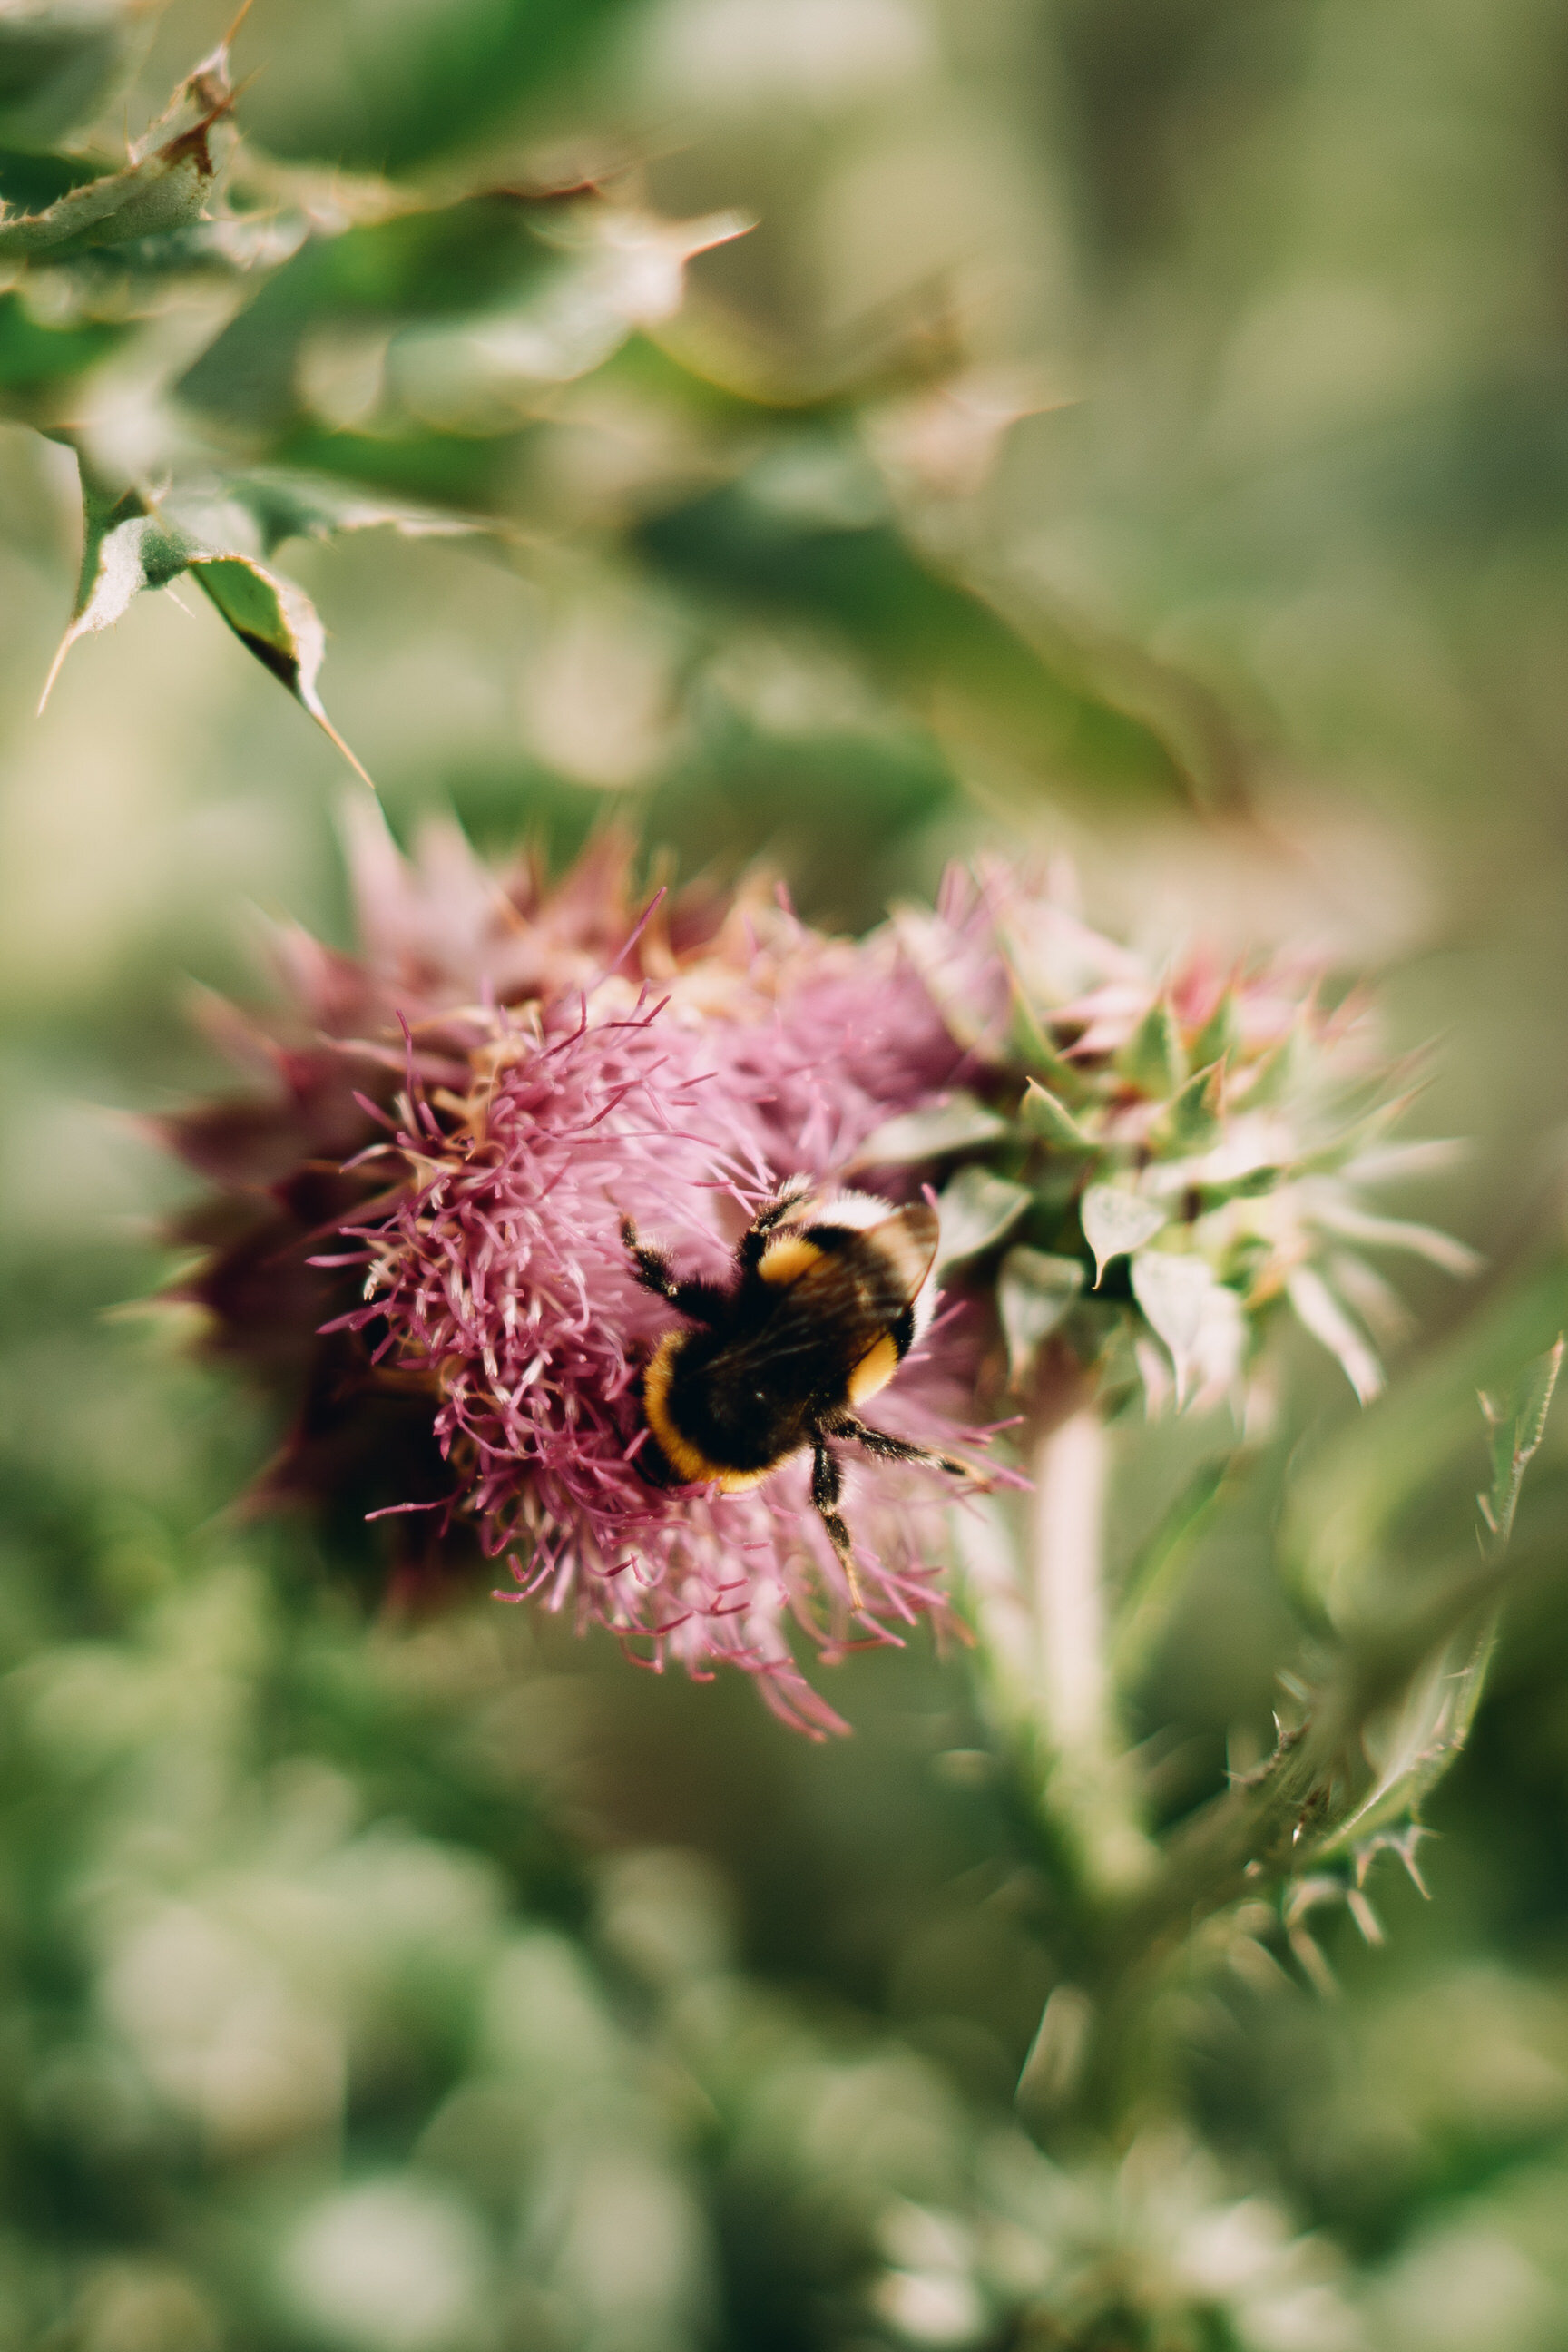
Before

after
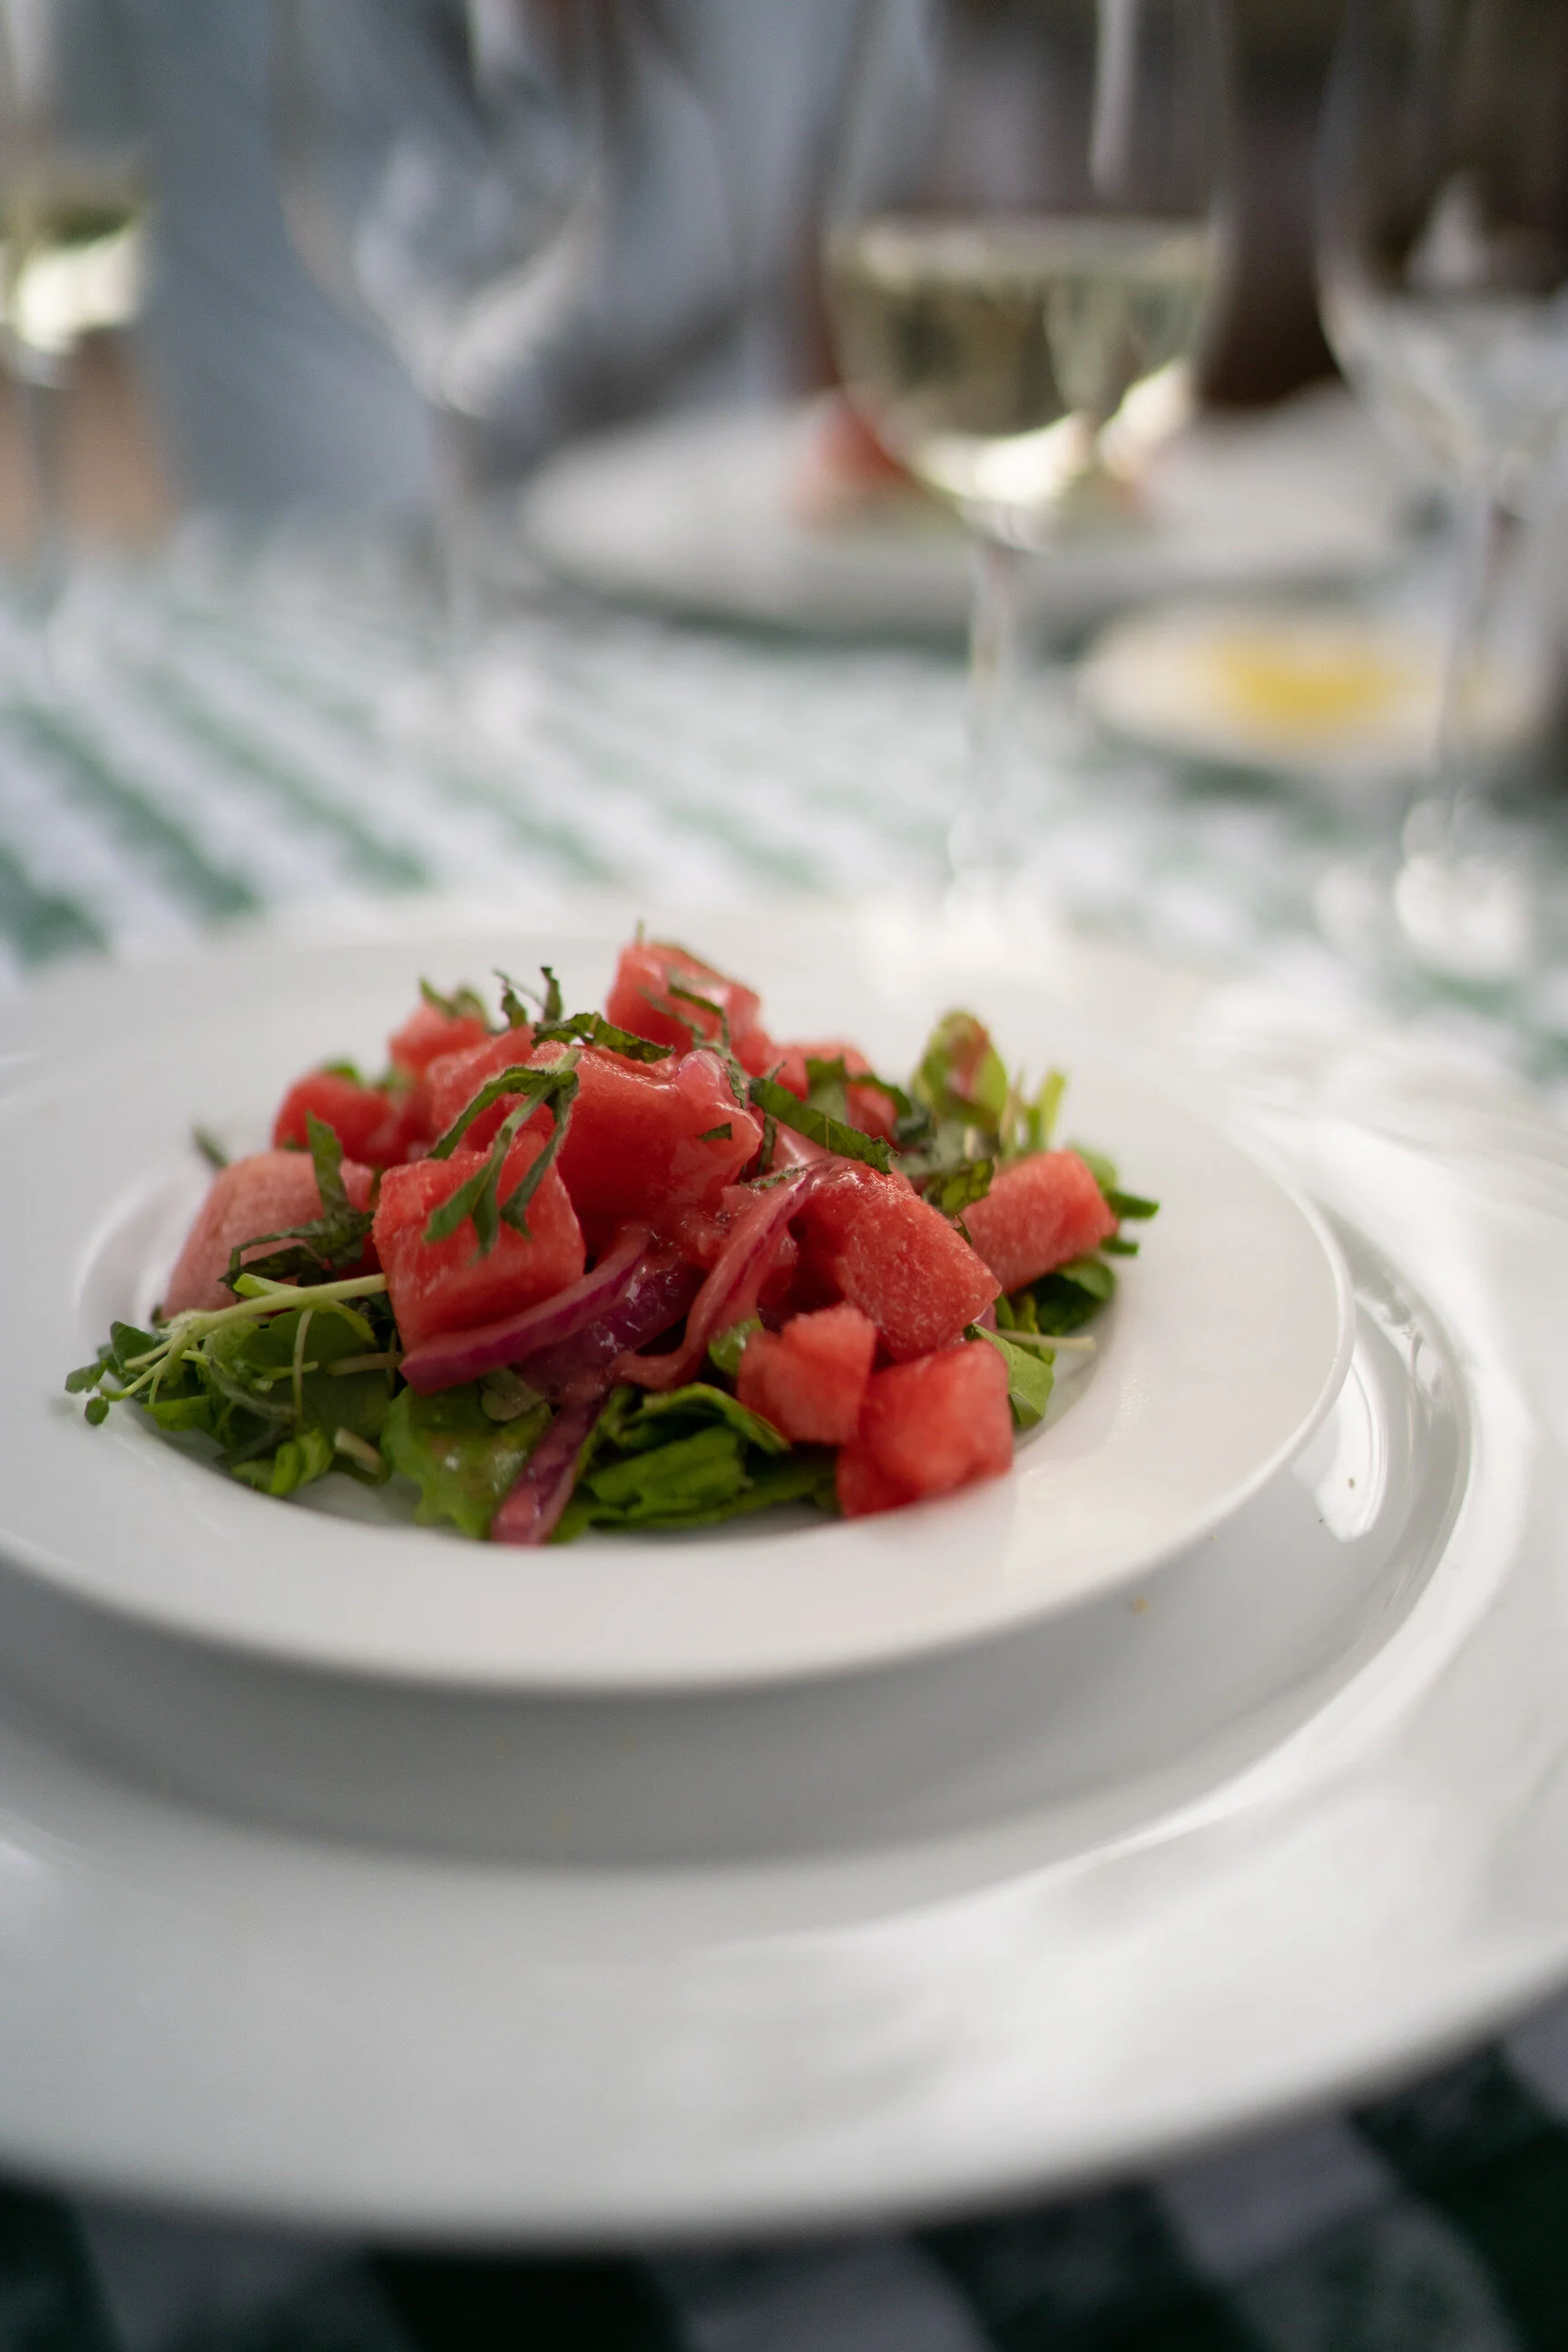
Before

after
Before

after
Rni film
The holy grail in film emulation (for me) is definitely RNI film. With the downfall of VSCO presets no longer being available, I was pretty heart broken because I love shooting film and I love emulating the film look on my own digital photos. In terms of the major film emulators on the market (vsco, mastin labs, etc) RNI is by far the most realistic to my eye. My favourite thing about them is not only do they do colour adjustments, but they also use camera profiles to achieve the closest emulation possible, with the ability to use the native look strength adjustment, meaning you can tune down the strength of your film look, or even push beyond 100% in some cases. With this, you have so much control over how the preset ends up looking. You can also use those camera profiles on other presets (which I do with the rebecca lily ones) to create your own custom looks.
Before

after

Before
after
Before

after
Before

after
Some other preset companies that I don’t personally use but I would vouch for being pretty good are MastinLabs, Soulmate, Tribe Archipelago, and Meridian. They all have their own facebook groups that you could join and people are more than willing to test out the presets on your raw files if you want to see them!
But with all that being said, it’s important to say that NO preset pack is perfect! There honestly is no such thing as a one click wonder that is going to work perfectly, first click, every single time. Why is that you ask? Because there are so many different shooting environments that can affect how the colour manipulations work on your photos. Indoor, outdoor, daytime, nighttime, sunny, cloudy… not to mention the main colours in the photos (for instance, shooting in a forest vs shooting at a beach). All presets are going to need a bit of tweaking with white balance, exposure, contrast, and HSL to make it perfect to your taste. But that’s okay! Presets are not supposed to be a one click and you’re done, they’re there to help you batch process photos so you don’t have to edit from scratch every time and also make sure that the overall tone is consistent and cohesive across your work.
Preset Tips:
1. Make sure to fix your white balance and exposure first before applying your presets (I always try and shoot for skin tones). If these look a little wonky after apply the preset, adjust accordingly to get the look you want.
2. If any colours look slightly off, for example say your greens look too yellow, or maybe your blues are too saturated, or your yellows are too light, go to your HSL panel and make slight adjustments to colours individually to tweak the colours to your taste.
3. Play around with adjusting your contrast, lens corrections, vignetting, etc to make sure you get the look you want.
There you guys have it! That is my overall guide to Lightroom presets. Just don’t forget, all presets need a bit of tweaking. The more you play around in Lightroom the more comfortable you’ll get and quicker you’ll be at batch editing photos. Don’t get discouraged if things don’t look perfect with one click. I hope you guys found this guide helpful, and if you have any questions at all please let me know in the comments and I’d be happy to help.